Cart
Your cart is empty
Source: Mohd Syis Zulkipli/Shutterstock.com
Chances are, if you have an iPhone, you have AirPods. A hugely popular product, AirPods offer seamless integration across the Apple universe. And they are used a lot — probably every day, in fact. So, you need to clean them from time to time to keep them free of pocket lint, dirt, gunk and, yes, even earwax. But how? In this guide, we offer steps on how to clean your AirPods case safely and adequately. Plus, some signs that indicate it’s time to shop around for a new Apple AirPods case or AirPods Pro case.
HOW TO CLEAN YOUR AIRPODS CASE
Let’s get started. Here is how to clean your AirPods case, inside and out. Plus, some must-have tools for the job.
Tools You Need
- Microfiber cloth
- Isopropyl alcohol
- Toothpick
- Cotton swab/Q-tip
- Tacky tape
If you want something more gentle, use a hearing aid cleaning kit. Perfect for the job, this kit comes with mini brushes and tools that are easier to work with than toothpicks and cotton swabs.
The Exterior
The first step is to clean your AirPods case’s outside area. Give it an initial wipe down with a non-abrasive microfiber cloth, removing any lint, dirt or wax buildup that can be easily removed. Next, use a Q-tip to dig into especially grimy areas and to loosen dirt and wax.
Since Apple advises against using liquids, how do you tackle tougher grime? If you absolutely can’t get rid of stubborn dirt, your best option is to use a tiny amount of isopropyl alcohol. Unlike water, it dries faster on the spot, minimizing the chance of damage to your electrical components like the charging ports of AirPods. However, the key here is to do so gently and conservatively and with the tip of a cotton swab.
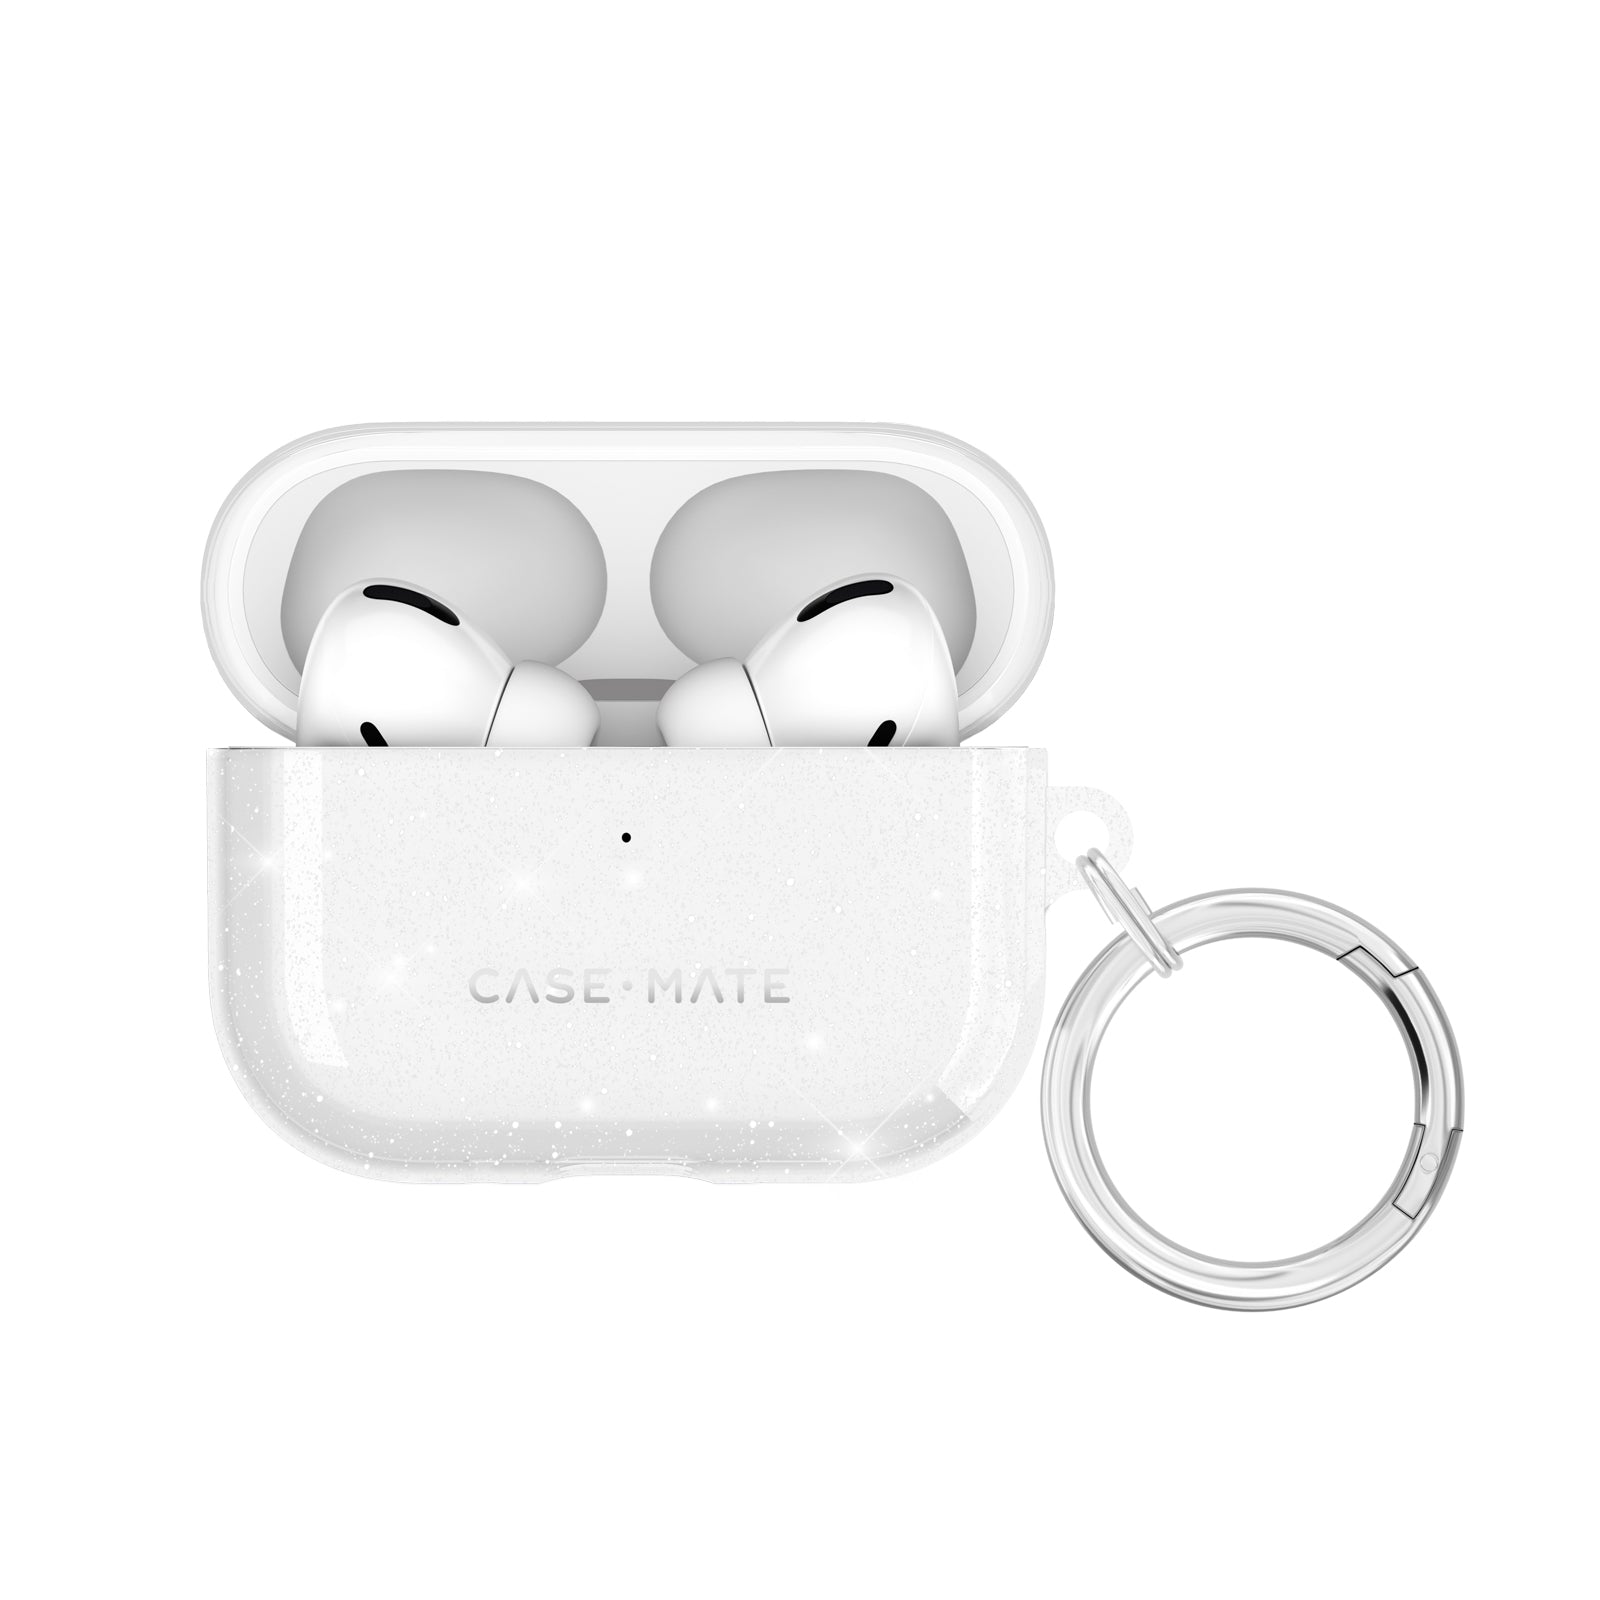
airpods cases
The Interior
Source: VVVproduct/Shutterstock.com
Cleaning your AirPods case’s interior is more challenging. Since this is where the charging ports are located, it requires some delicacy. So let’s break it down:
Step One: Give It an Initial Wipe Down
In the same manner you cleaned the exterior, you want to clean the interior’s nooks and crannies of any initial dust and lint. Don’t forget the inside of the top of the case, too. Be sure to focus on the contact, too, ensuring that the case can charge quickly. This will also prevent the AirPods case from shorting out.
Step Two: Do a Thorough Cleaning
At this step, you can use a very small amount of alcohol. Take caution not to soak the Q-tip. Use as little as possible and avoid drips that fall into the electronics. With the slightly damp cotton swab, gently work at any wax buildup. Still, avoid the grilles of the AirPods themselves and speaker elements.
Step Three: Pick Away Grime
Use a toothpick and tacky tape to chip away and peel up any stubborn grime, particularly in areas like the cracks and fissures inside the case. This is really important in removing bacteria. If using a toothpick, just be extra gentle and patient around these areas and don’t apply too much pressure. With the tape, press it firmly into the grooves and peel it back up to remove caked in wax, et cetera. This works wonders for the tiny holes in the grilles!
Step Four: Wipe Everything Down Again
Take the microfiber cloth and wipe down everything once again, inside and out. Polish the AirPods case until it looks as good as new. Last, but not least, place your AirPods back inside their case and let them charge for their next use.
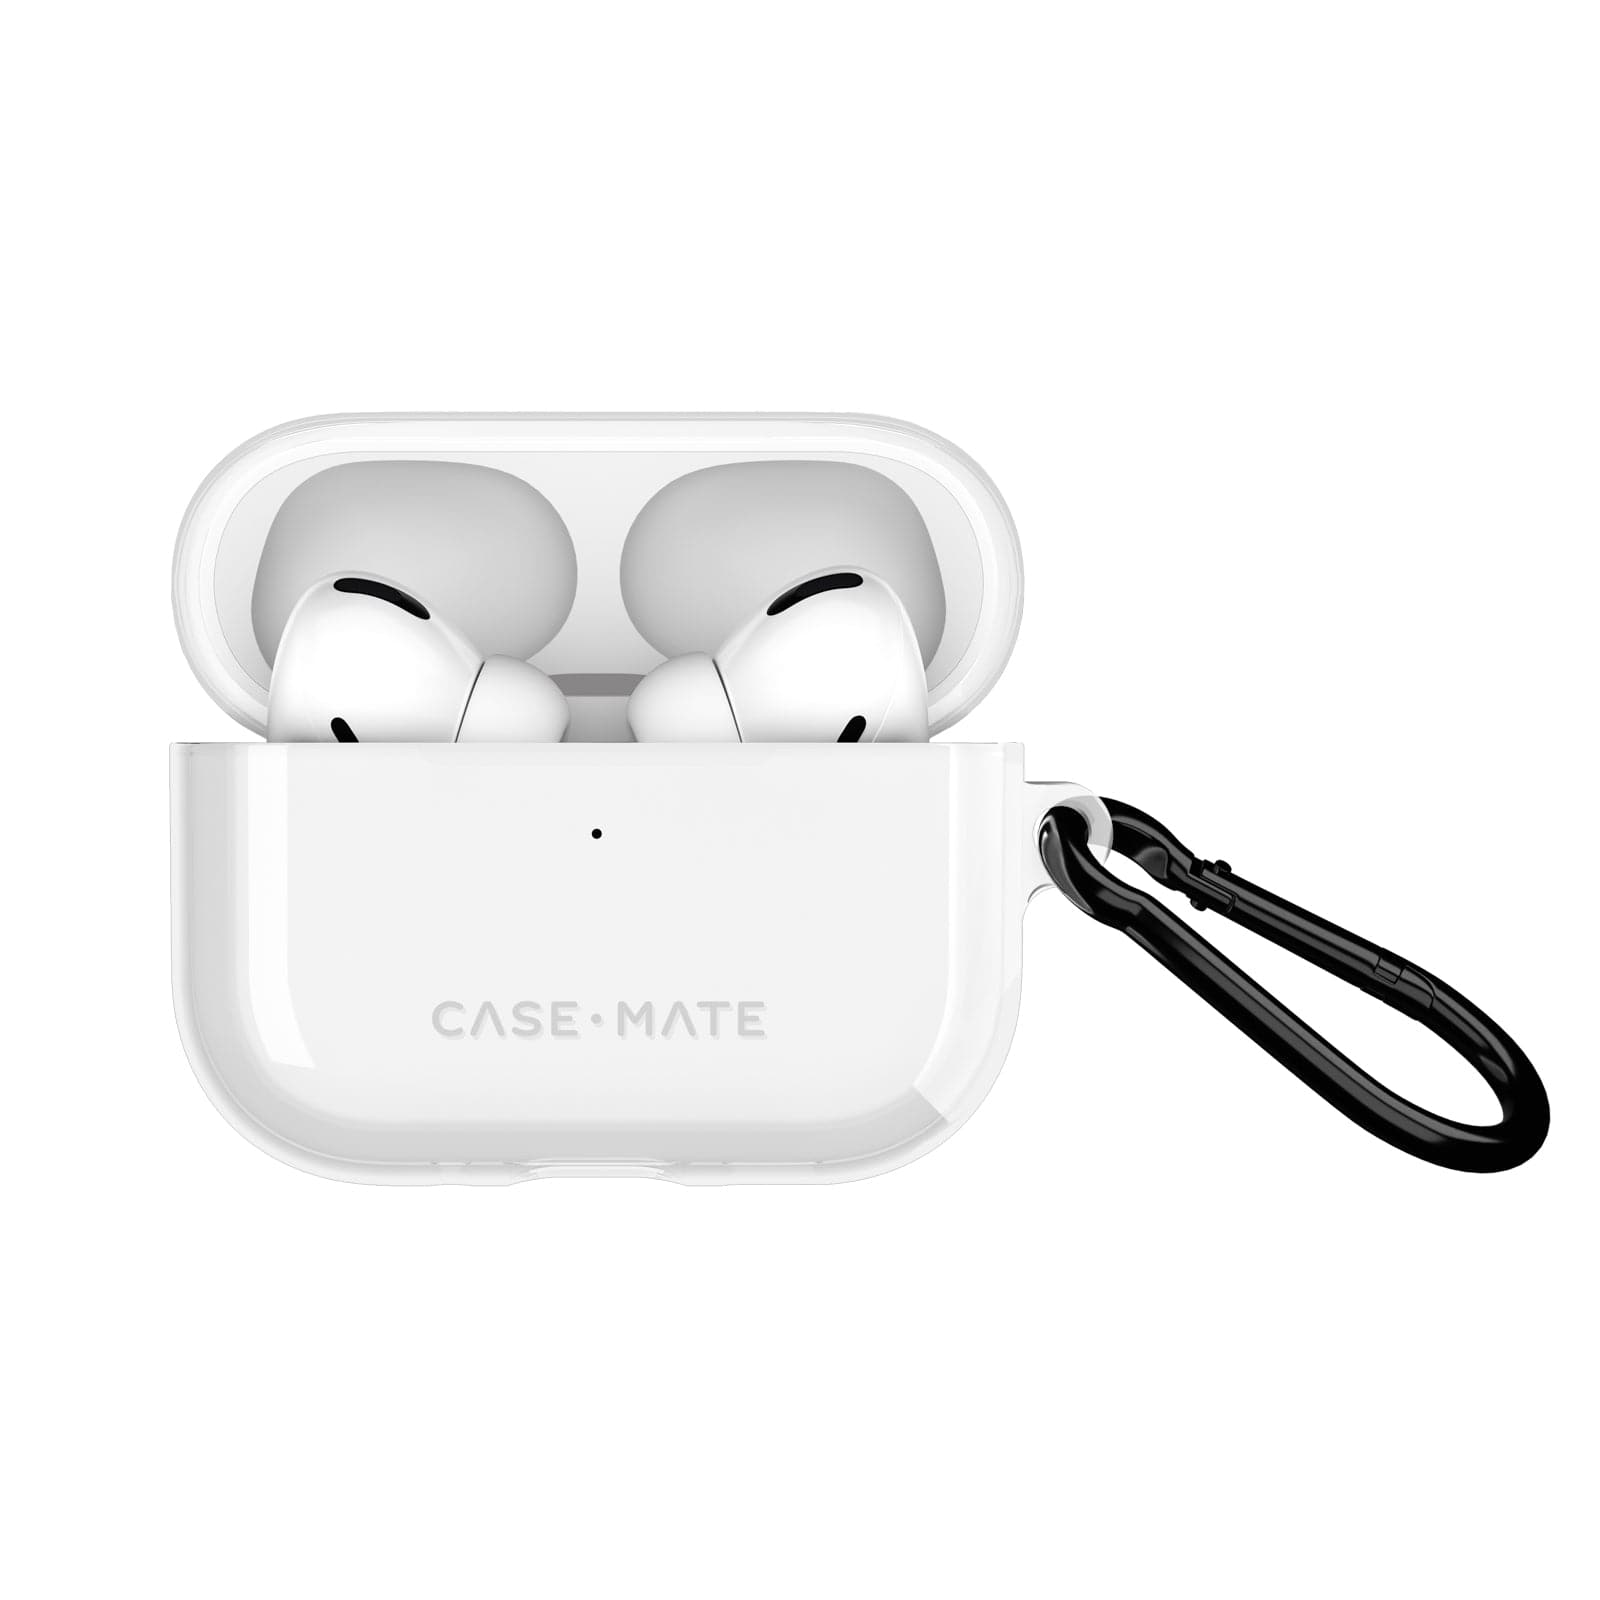
AIRPODS PRO 2 CASES
WHEN YOU NEED A NEW AIRPODS CASE
There are many reasons to replace your AirPods case, along with your AirPods themselves. They can wind up broken or even lost.
As mentioned, it’s imperative to keep the alcohol — or liquids of any type — away from your AirPods cases and AirPods. Hard drops can cause damage to an AirPods case, too. Even if it doesn’t appear dinged up or physically damaged in any way, the internal mechanisms and components can be shaken up and waterlogged, causing connectivity and audio issues.
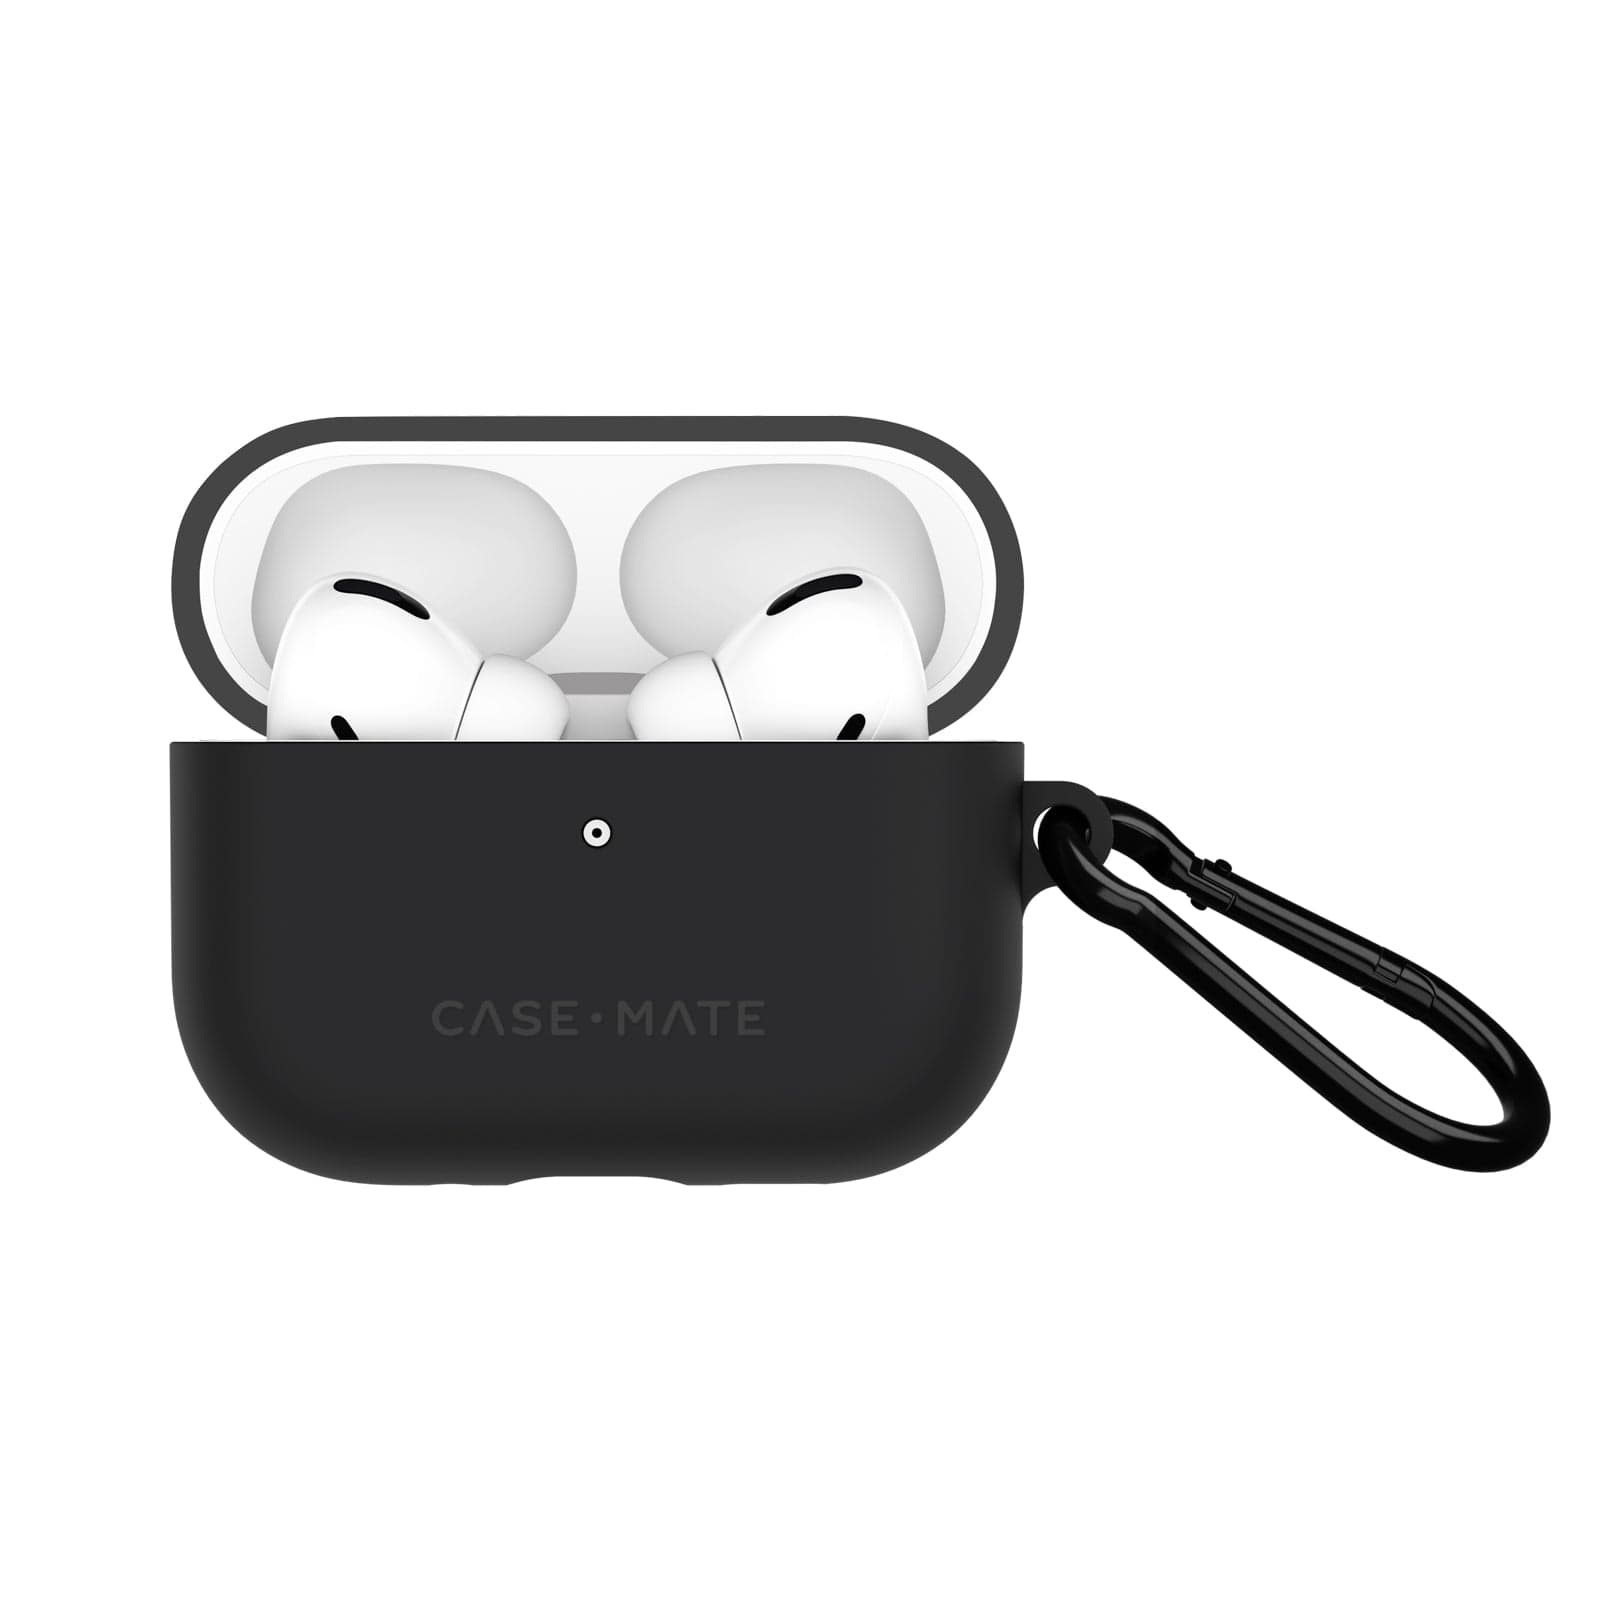
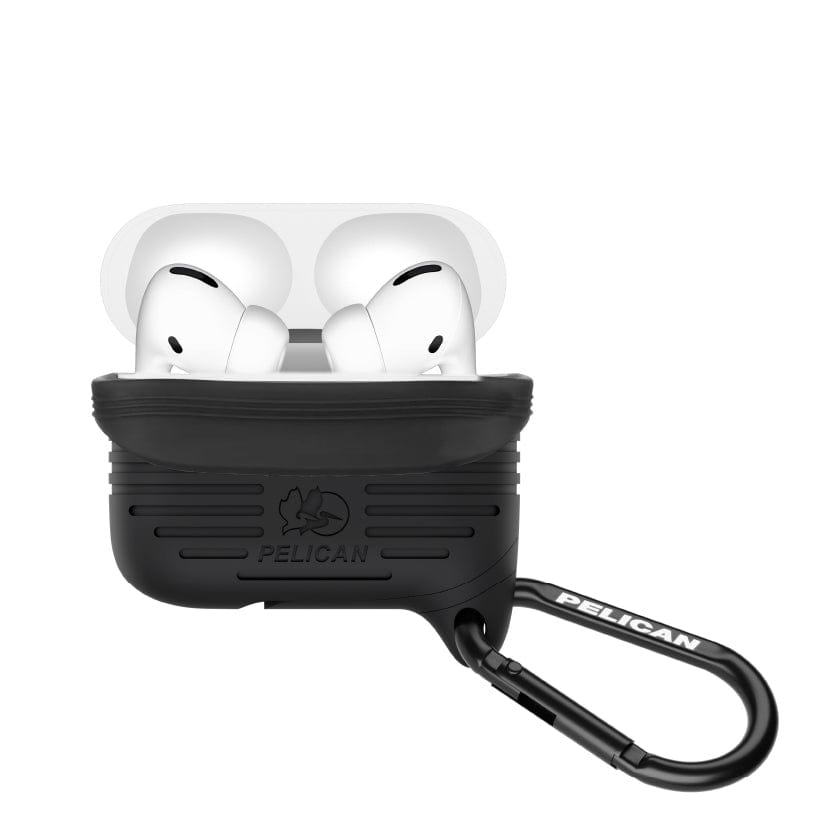
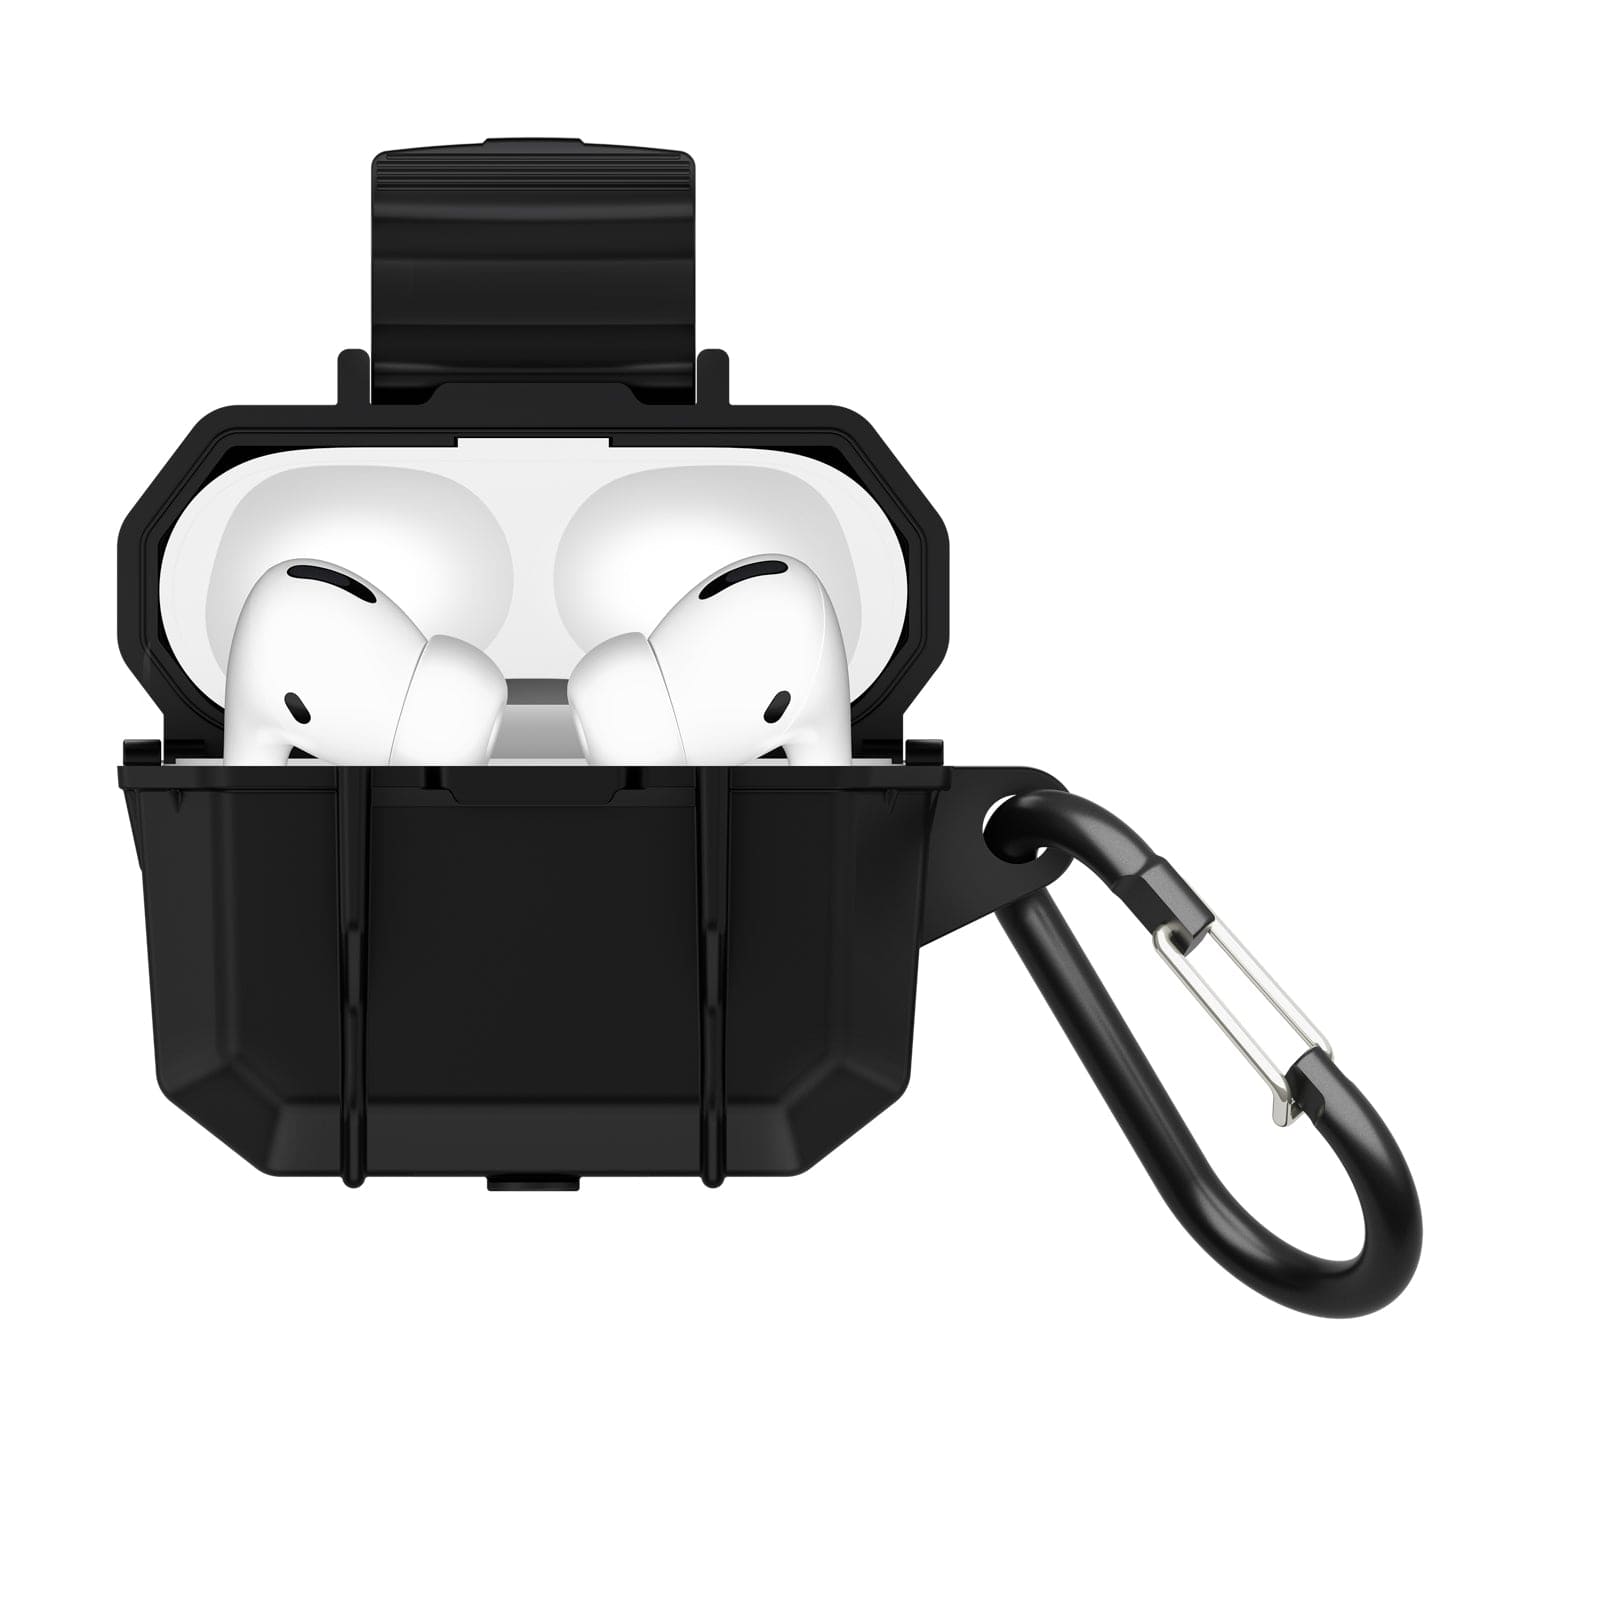
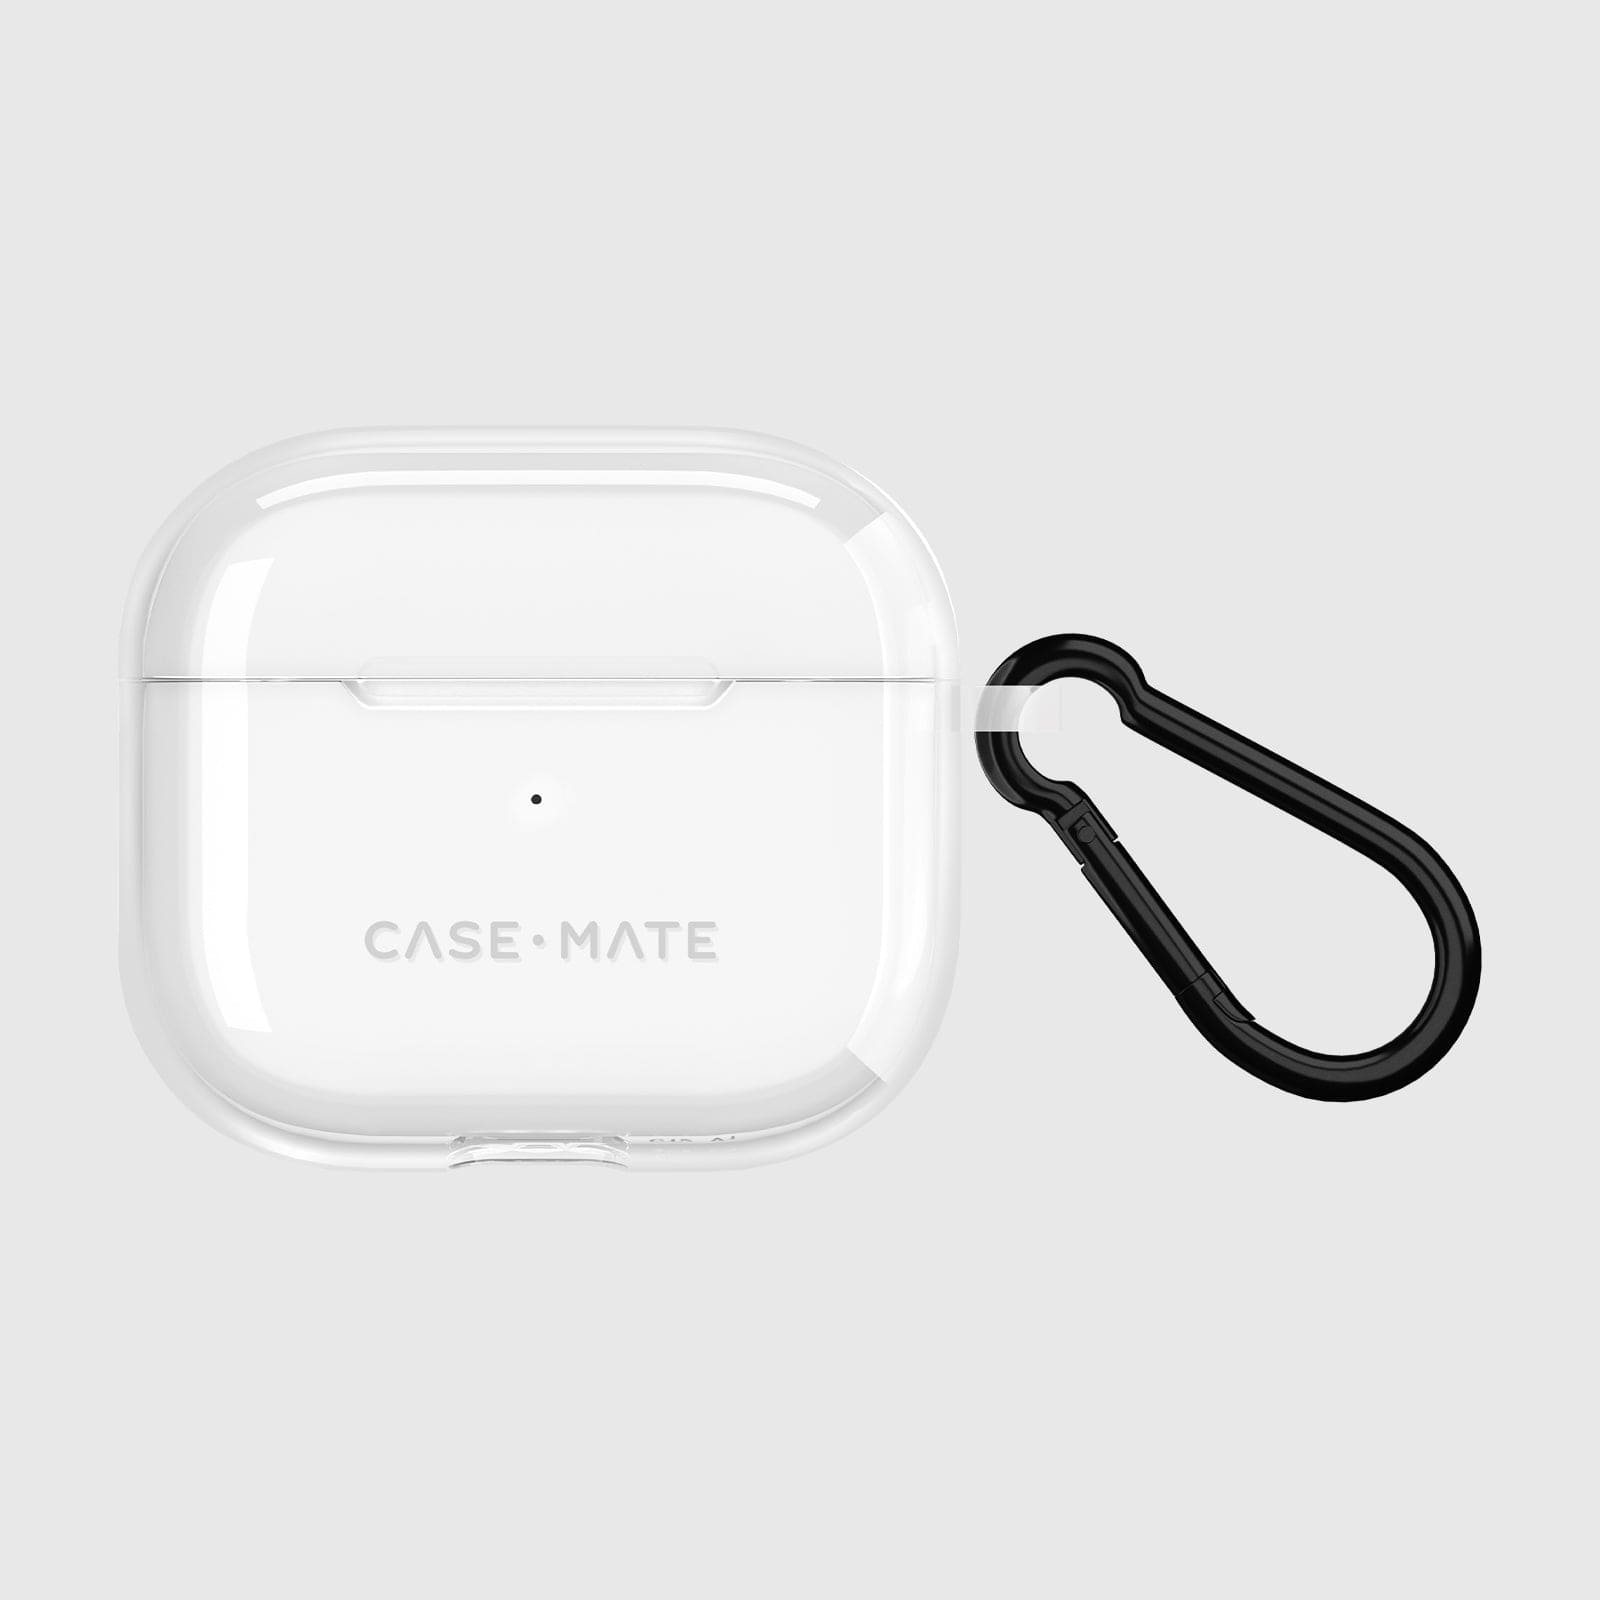
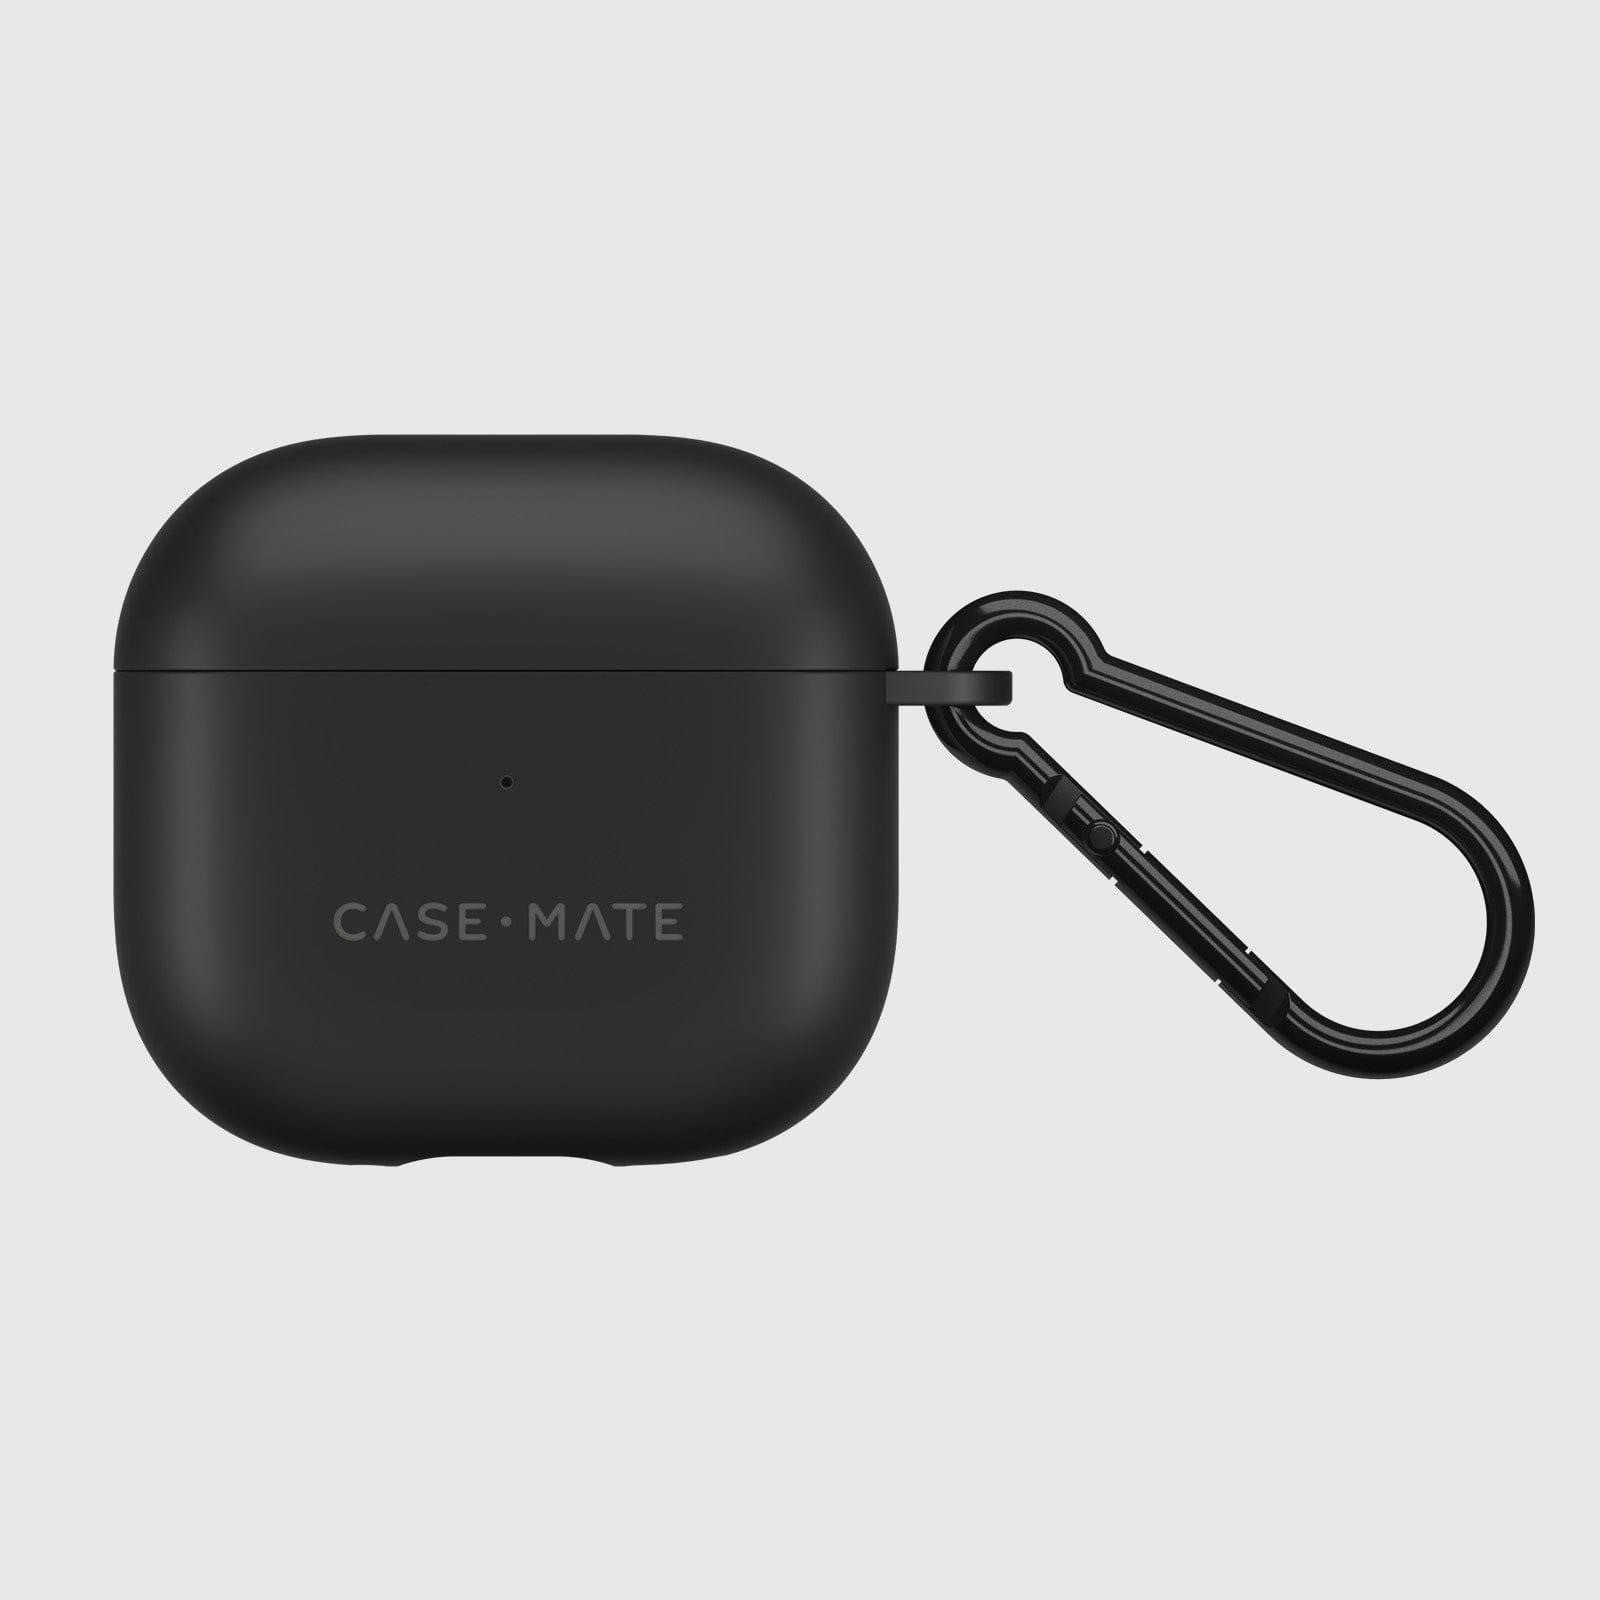
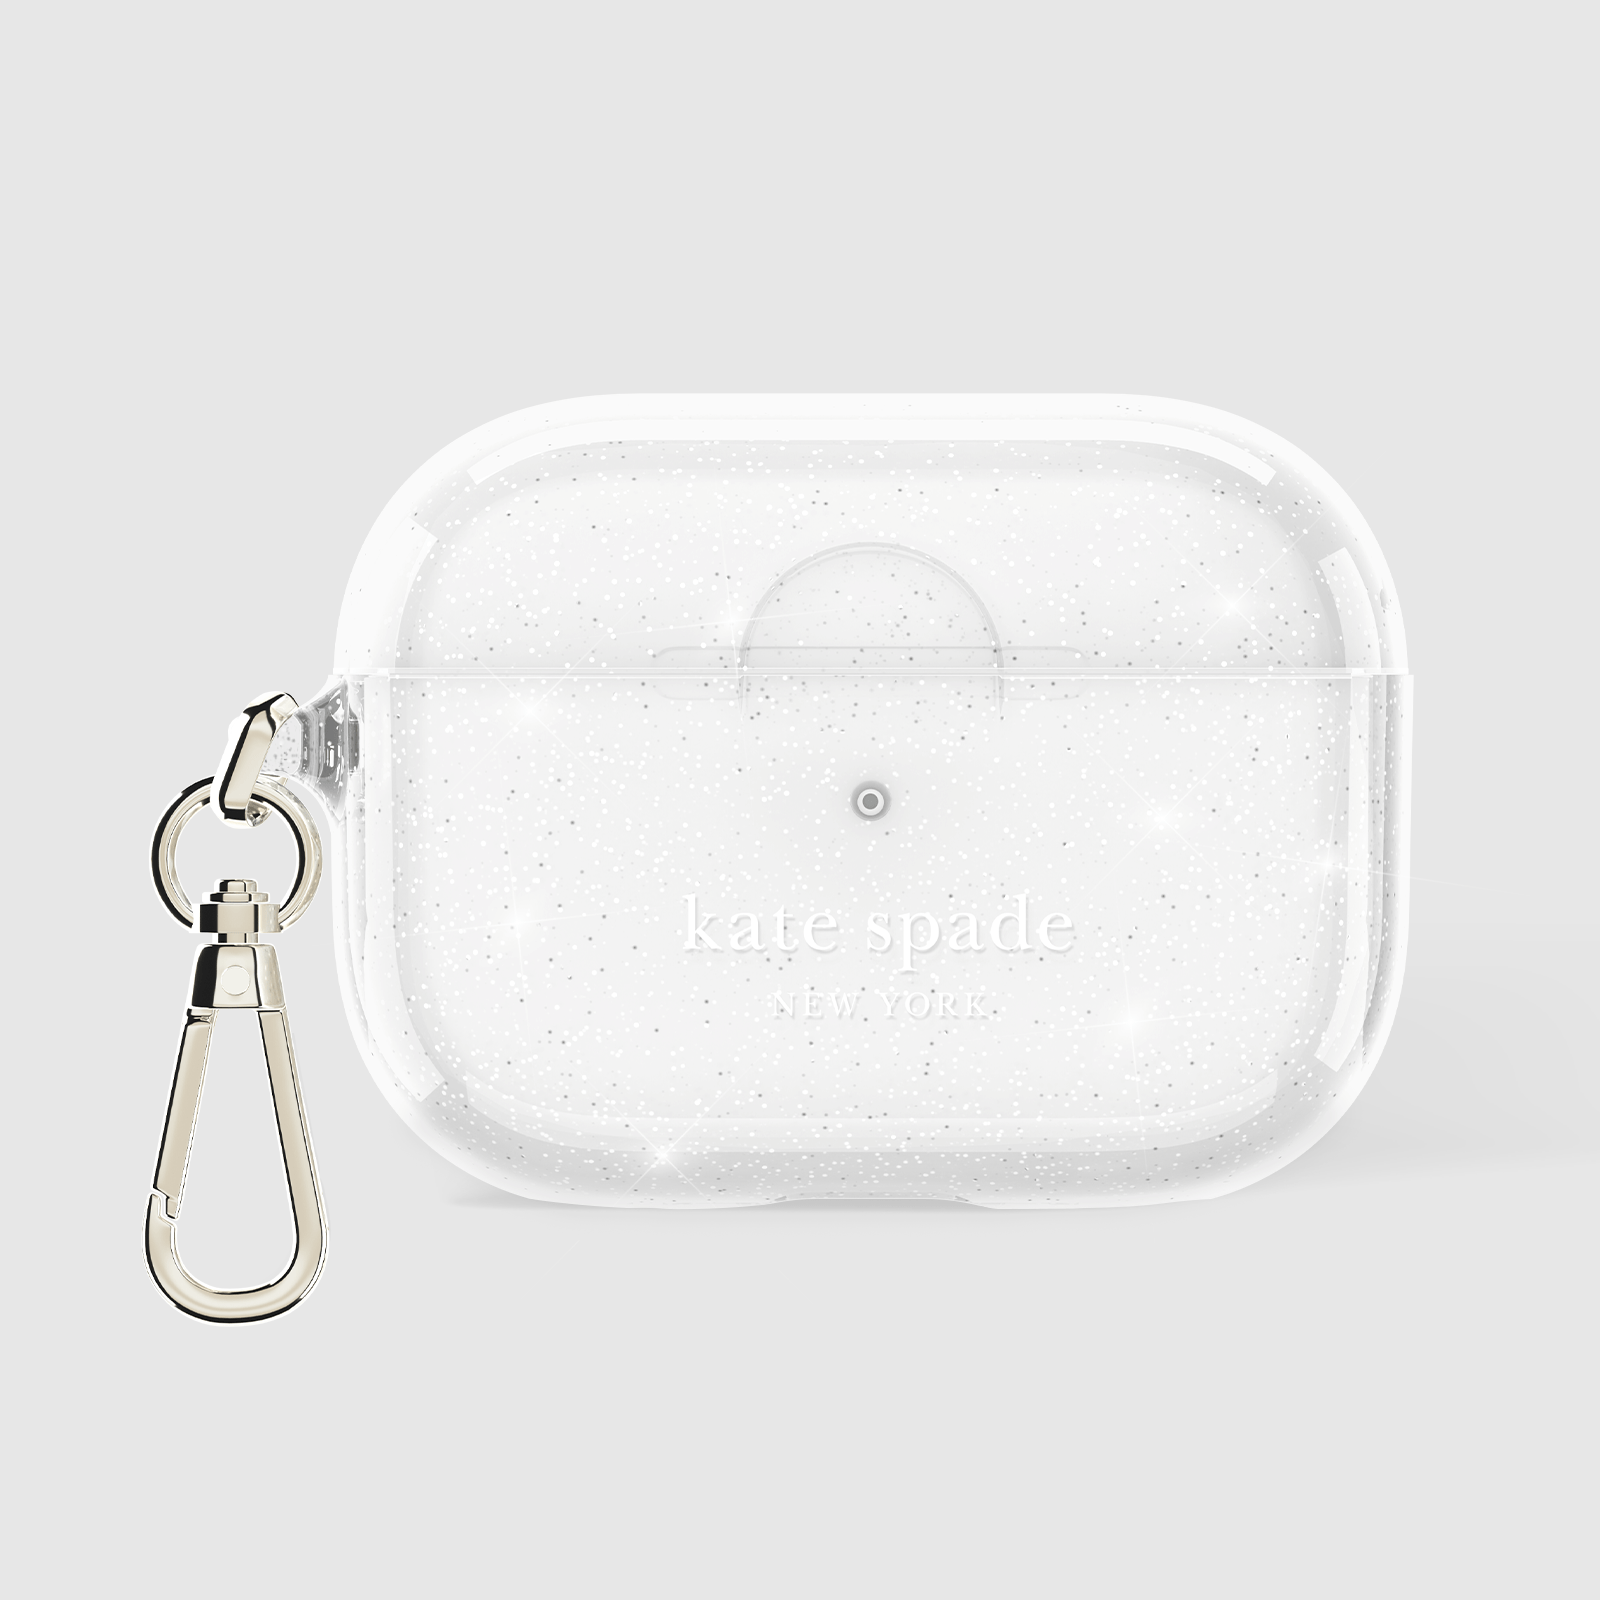
The best way to protect your AirPods is with a tough and durable AirPods case. Choose one of our many AirPods cases, including rugged cases by Pelican, featuring IP68 and IP67 rated waterproof protection, military-grade drop protection and carabiner clips.
Explore all of our stylish and durable new Apple AirPods cases today!


