


Cart
Your cart is empty

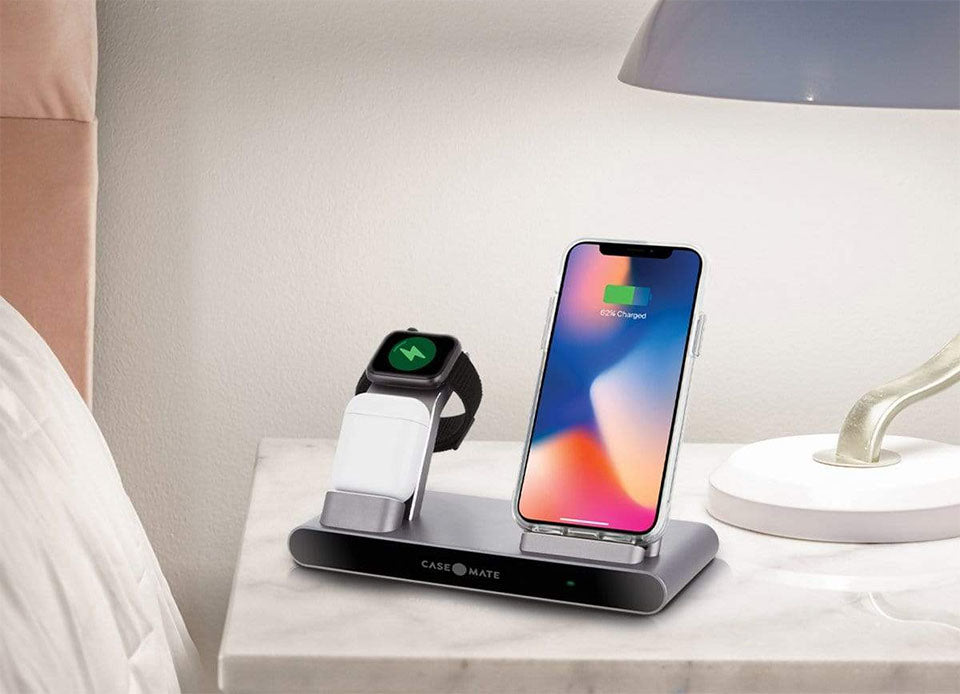
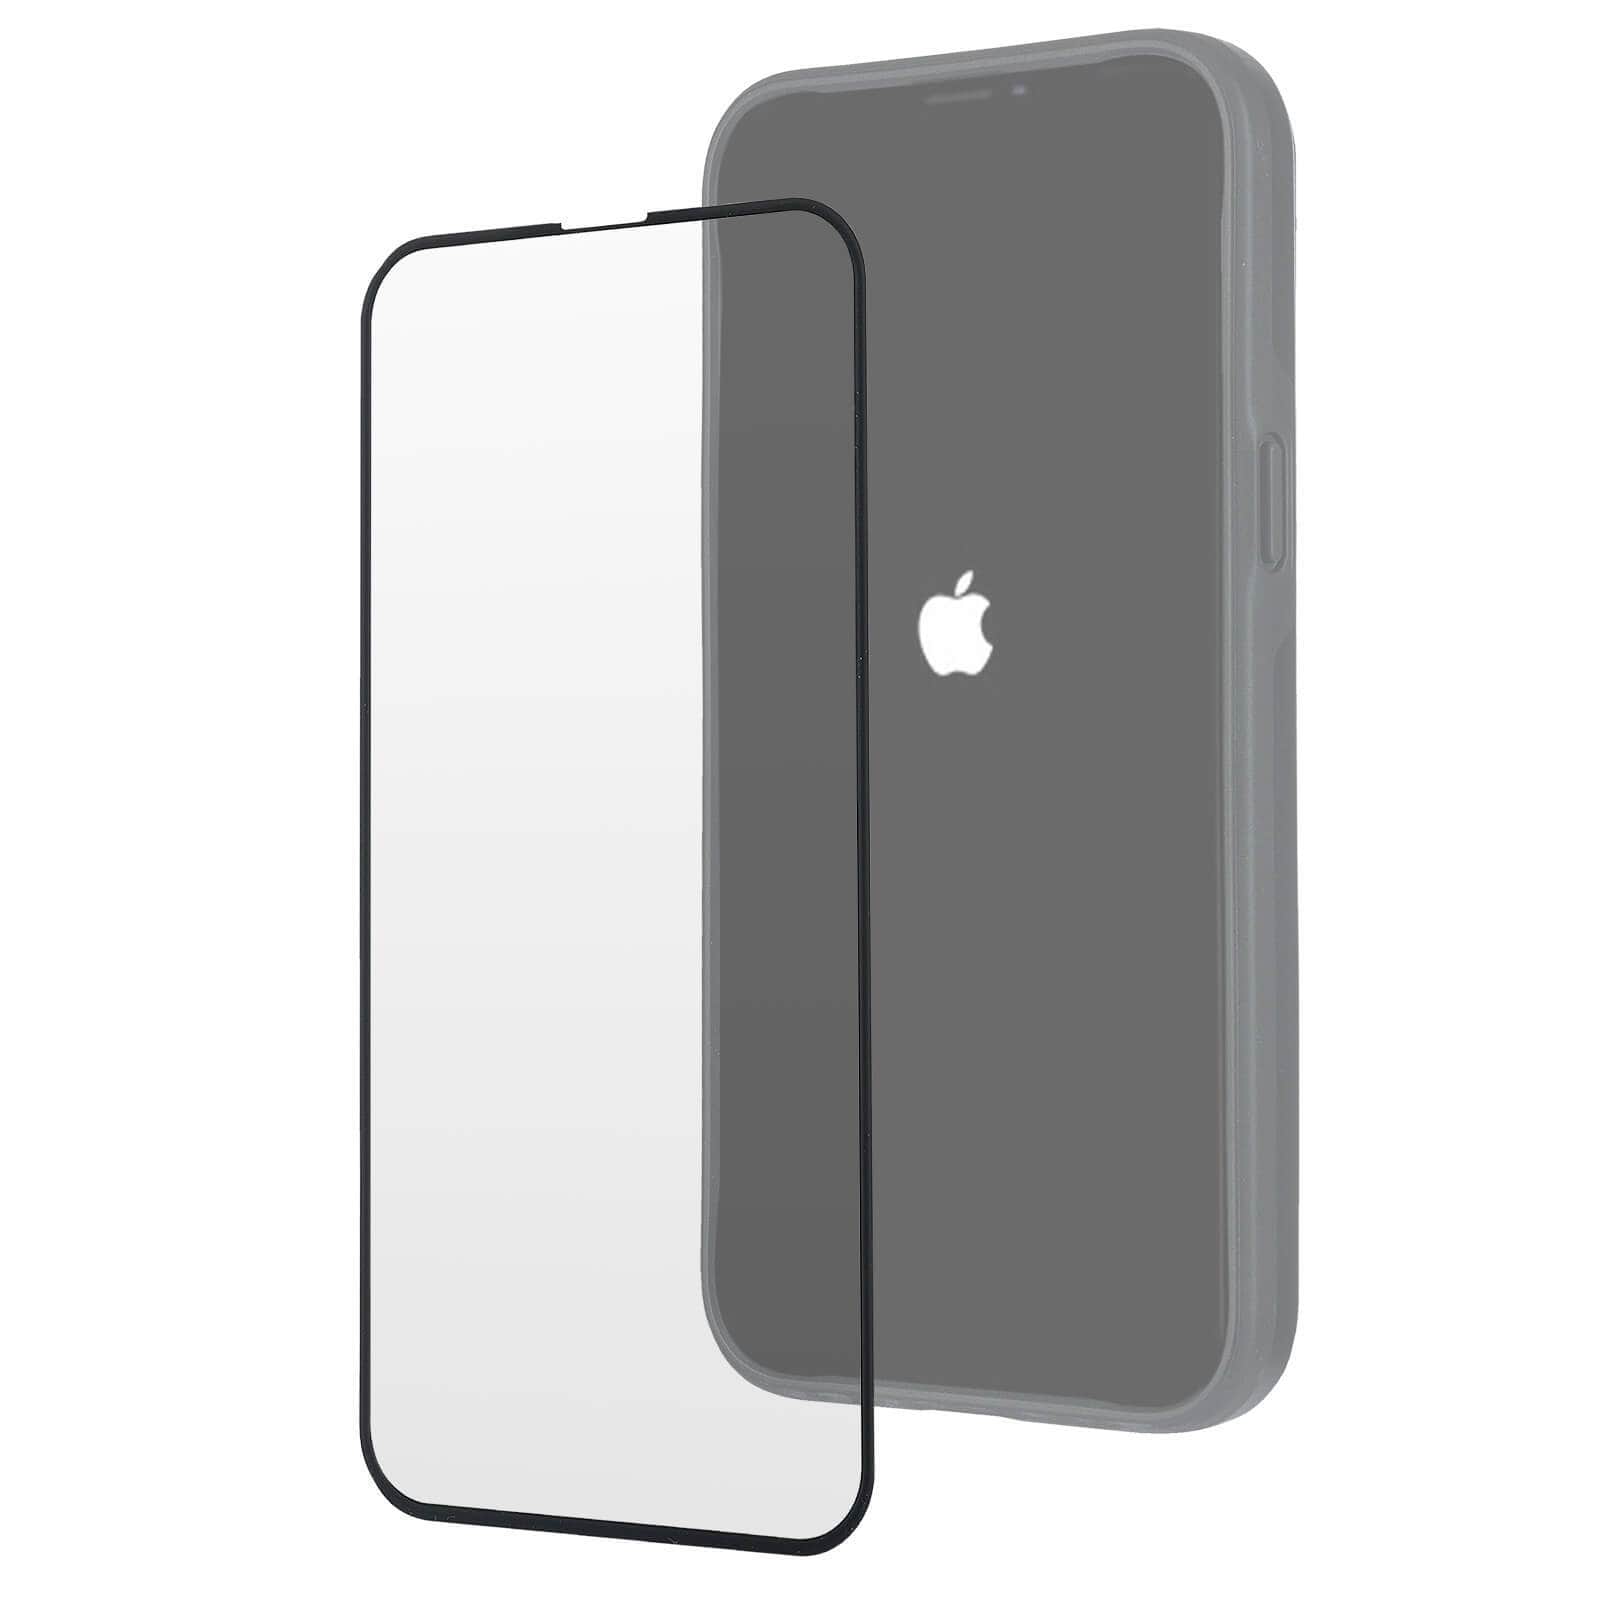
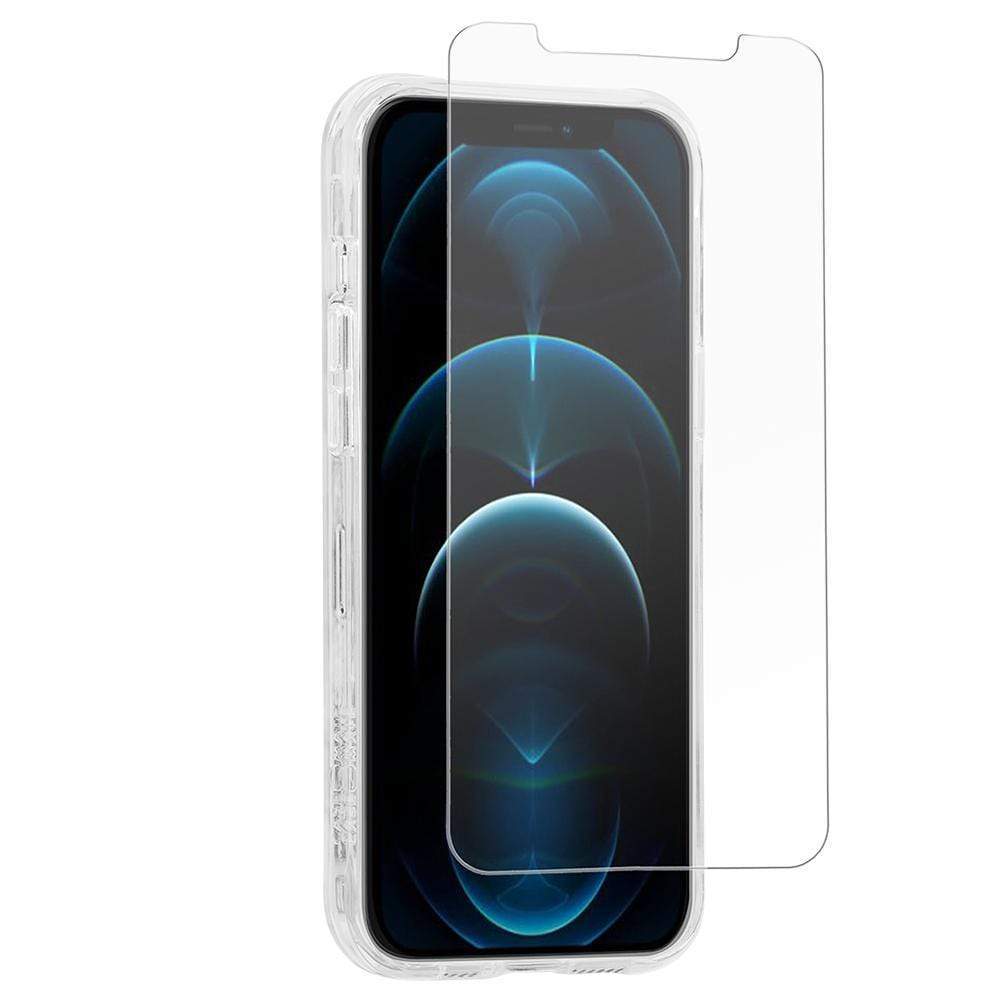
How to Remove a Screen Protector in 4 Easy Steps
While they are just one part of the phone-protecting solution, screen protectors are an indispensable, must-have phone accessory. No matter how durable an Apple or Android phone display claims to be, it needs a screen protector to completely protect it from everyday scratches and shattering. Today, many phone screen protectors are made from tempered glass, a far cry from the standard plastic screen protectors they once were. And while they’re much more durable, sometimes your phone requires a more resilient screen protector or a simple upgrade if your current one is cracked. So for whatever reason you want to remove a screen protector — to replace it with a more resilient one or to sell your phone — here’s how to go about doing it.
HOW TO REMOVE A SCREEN PROTECTOR


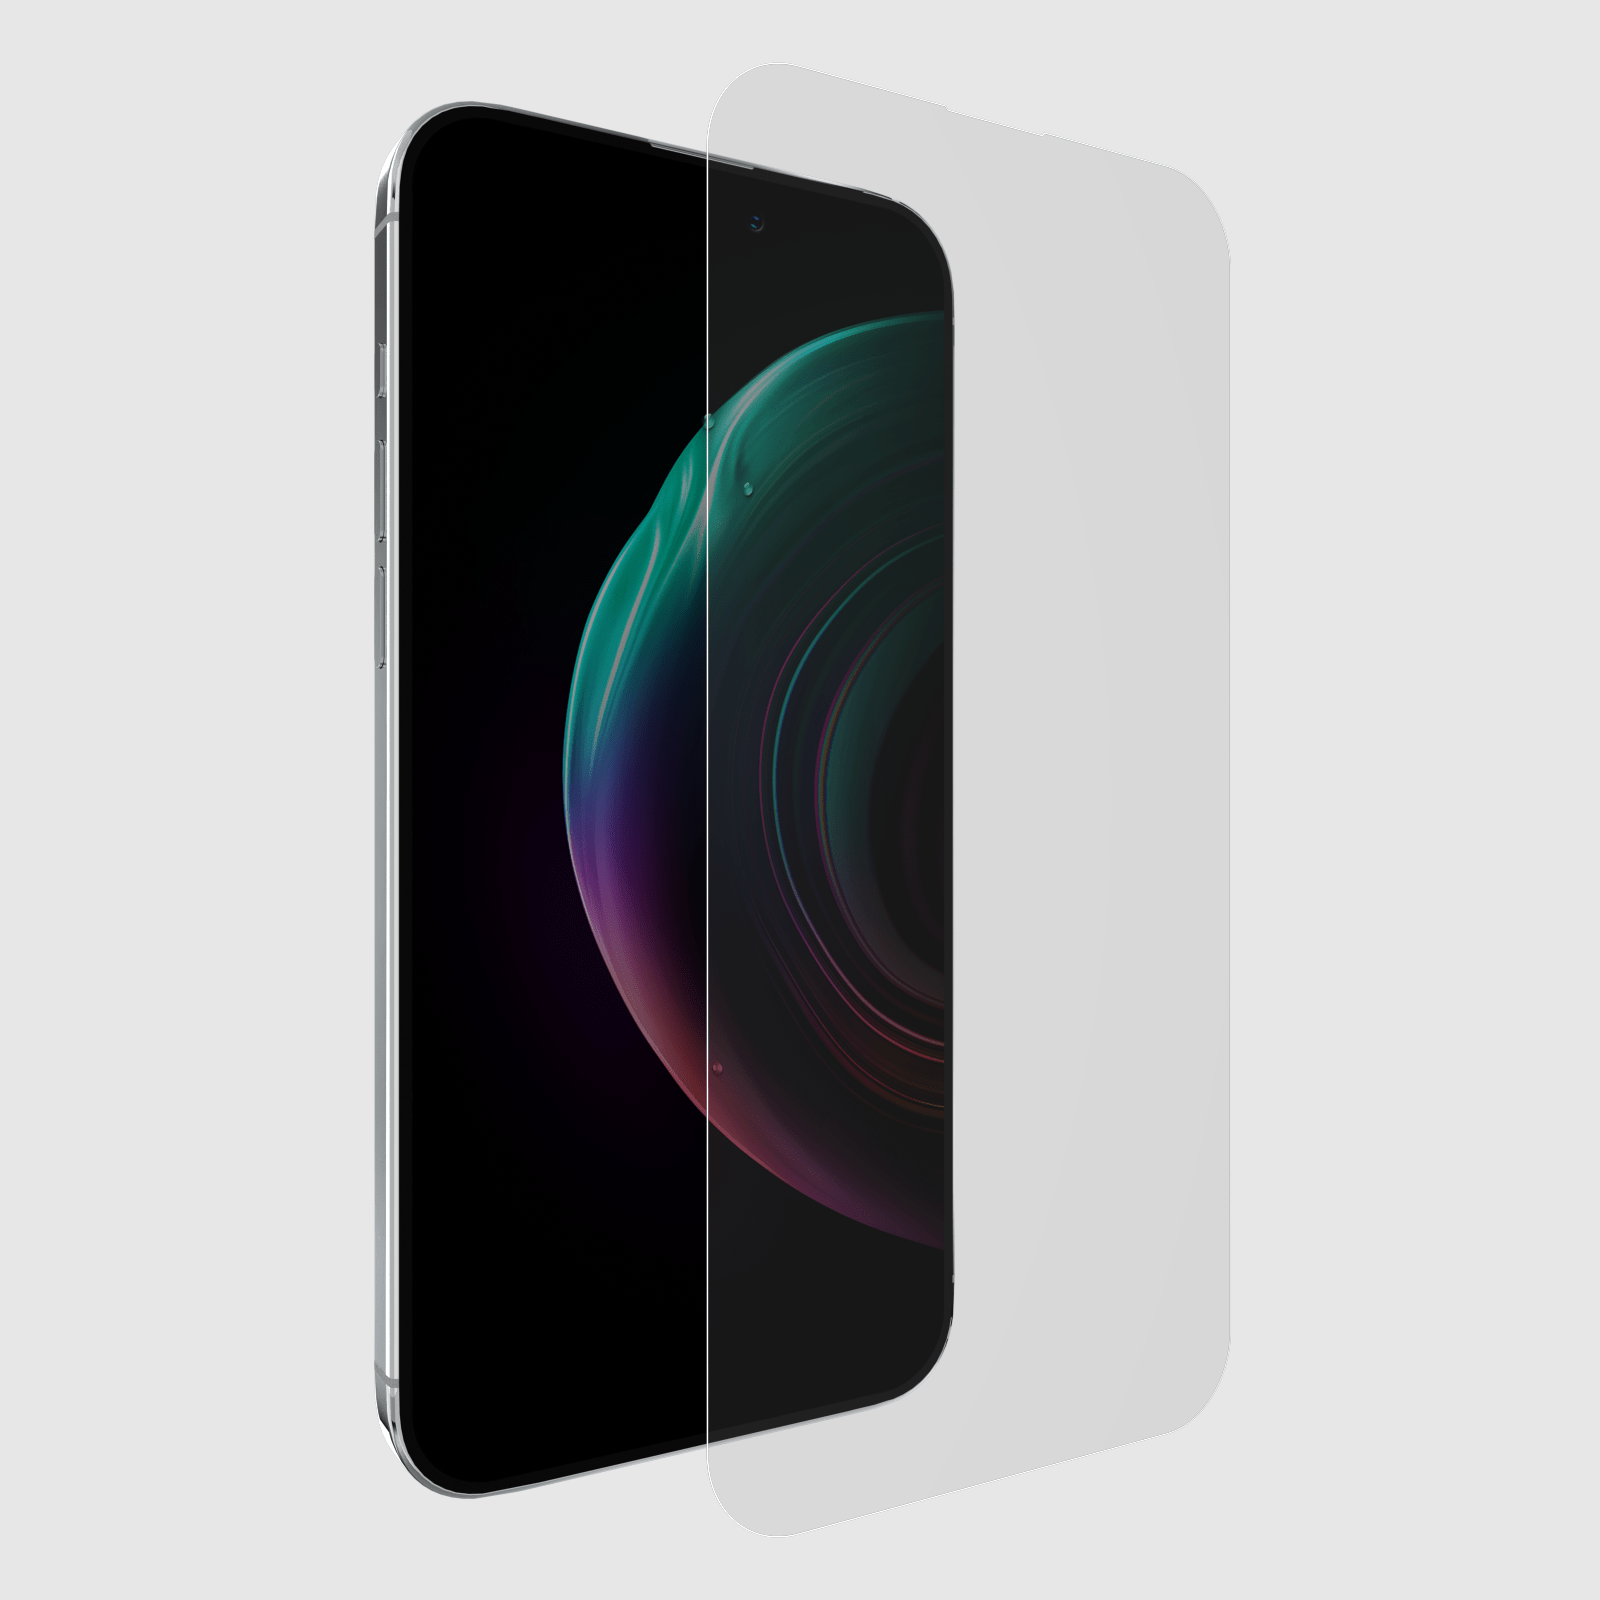
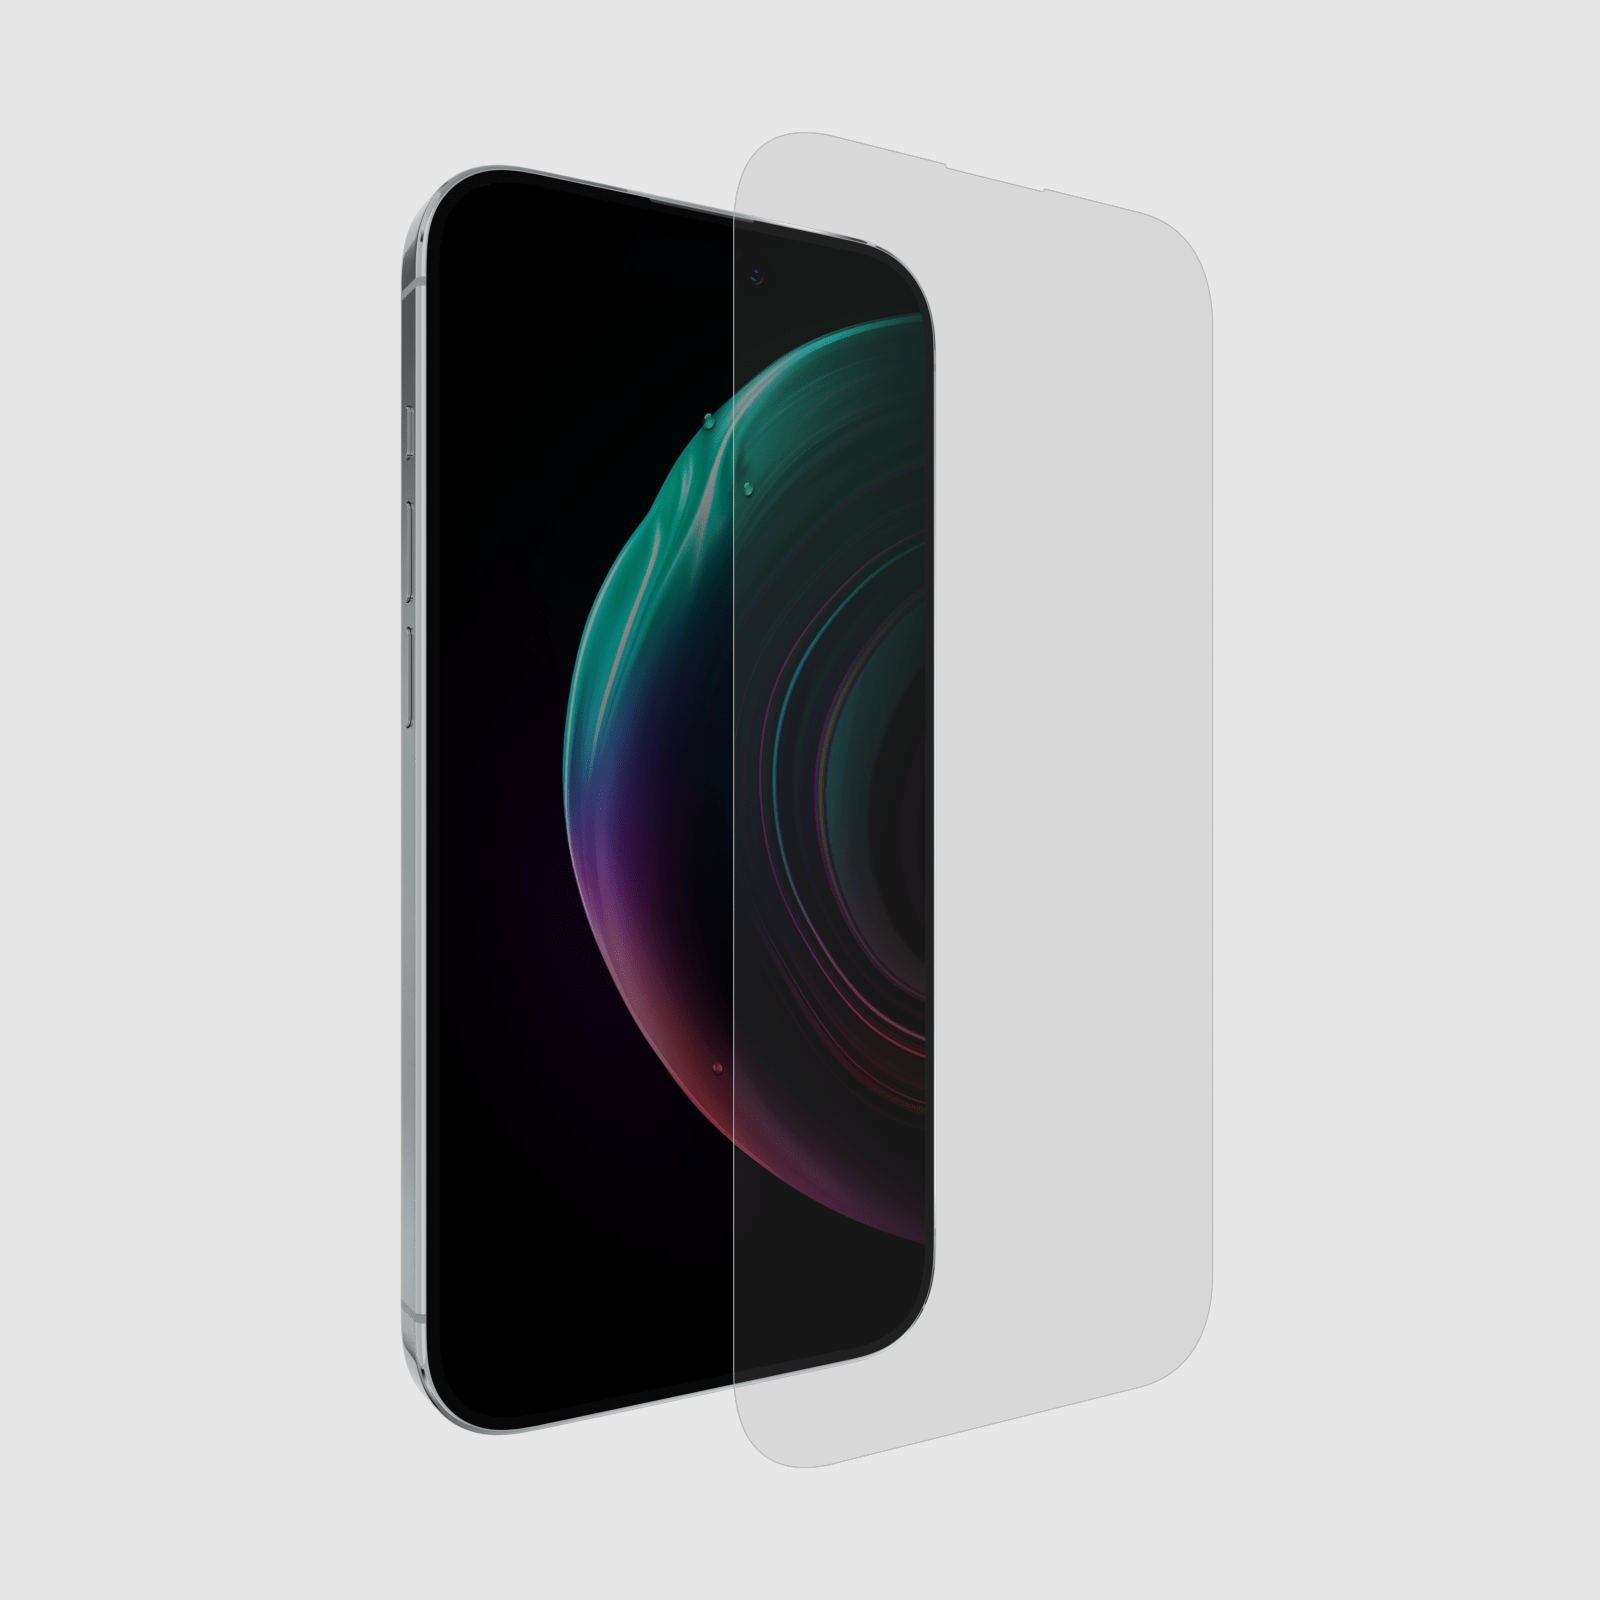
Source: Daniel Jedzura/Shutterstock.com
Here are the required tools and steps you need to take to remove a screen protector. Once you learn how to remove a screen protector and do it, you’ll find it’s relatively easy.
TOOLS FOR THE JOB
Before you begin, gather the tools needed for the job:
- Sticky tape
- A credit card (preferably an old one)
- Hair dryer
- Duct tape
These items will help you remove a screen protector effortlessly and without damaging the screen beneath.
REMOVE THE SCREEN PROTECTOR
Now that you have your tools, create a clean workspace where you will remove the screen protector. Now, on to the step-by-step instructions.
Step One: Soften the Adhesive
Turn the hair dryer on its lowest heat setting and heat the screen protector to loosen the glue properly. Be sure to move the hair dryer back and forth and avoid focusing on one area and creating hot spots that can cause screen damage. After all, you will need to get somewhat close enough to soften the glue beneath. Give it a solid 15 seconds to loosen and soften the adhesive.
Step Two: Pry Up the Corners of the Screen Protector
Now, take the credit card and try sliding it under each corner of the screen protector. For this step, it’s best to use an older credit card or something you don’t mind getting messy with adhesive. Of course, a used-up gift card works well, too. Alternatively, you could use a guitar pick or a toothpick in a pinch.
Step Three: Use the Corner Openings to Remove It Fully
Slide the card or tool of your choosing under each corner cautiously, taking care not to scratch the phone’s screen. Then, at each detached corner, push the card side to side and along the length of the display to detach the remainder of the screen protector.
Extra tip: Wondering where the duct tape tool comes into play? If you can’t get beneath the screen protector easily, duct tape might do the trick. First, tear off a piece of duct tape and roll it around your index finger, sticky side out. Now, press your sticky index finger against each corner just enough to get the credit card beneath.
Step Four: Clean Your Phone’s Screen Display
Once you remove and discard the old screen protector, clean your phone. There’s a good chance your phone’s display still has some sticky residue or gunk. So whether you’re selling the phone or upgrading your screen protector, it will need to be cleaned. Simply wipe it off with lukewarm water and a microfiber cloth.
A Word of Caution: To remove a cracked or shattered glass screen protector, take extra caution not to get cut. Stick the tape along the cracks to secure it as you remove it. You could also wear some rubber gloves just to be extra safe.
SHOP SCREEN PROTECTORS


GETTING A NEW SCREEN PROTECTOR


If you removed the old screen protector for a more resilient replacement, there are a few things to keep in mind as you make your purchase and apply it.
- Choose screen protectors made of tempered glass or even a double-tempered screen protector that’s 4X stronger, absorbing and dispersing the force of impact in a drop.
- Make sure the screen protector offers high clarity and doesn’t make your display cloudy. Look for an anti-fingerprint coating, too, and maximum scratch protection. Case-Mate iPhone 13 and iPhone 12 screen protectors are a prime example of what we’re talking about, offering enhanced touch sensitivity, too.
- Always select a screen protector for your phone’s exact make and model to ensure a perfect fit. You can also choose screen protectors that offer an easy installation tray, making your application super simple!
- Don’t forget to protect your camera lens with a lens protector designed with a metal frame and HD tempered glass to shield your rear camera lens from scratches and damage.