Cart
Your cart is empty
AirPods provide a convenient way to listen to audio from your phone and converse wirelessly and hands-free — as long as they stay in your ears. Anyone who’s owned a pair of AirPods knows well the experience of one or both of them falling out of their ears. Not only does this interrupt listening and speaking, but it can potentially damage them or cause you to lose them. The obvious way to avoid these risks is to learn some pro tips and tricks for how to keep your AirPods from falling out.
WHY DO AIRPODS KEEP FALLING OUT OF MY EARS?
Before getting into how to keep AirPods from falling out, however, it’s important to first understand why AirPods keep falling out of the ears to begin with. There are several possible reasons AirPods can fall out.
Improper Fit
If your AirPods don't fit in your ears correctly, you can be sure they won't stay in well. If you have AirPods Pro, you may be able to use a different-sized ear tip; if you have regular AirPods, which are designed to be "one-size-fits-all" (or just "all"), you'll probably need AirPod covers or hooks to make them fit better.
Incorrectly Wearing
AirPods are made to work a certain way. If you don't wear them the way they're made to be worn, they may not stay in as you expect them to.
Physical Impact
If you get hit, stop short, or experience excessive impact (such as from running or jumping,) you can jar your AirPods loose, and they can fall out. Except for making them fit better, there's little you can do to prevent this cause of your AirPods falling out. What you can do, however, is prevent yourself from losing them by using an AirPod strap.
Cleanliness
AirPods seat best in the ear when they are clean and free of dirt, earwax, and oils.
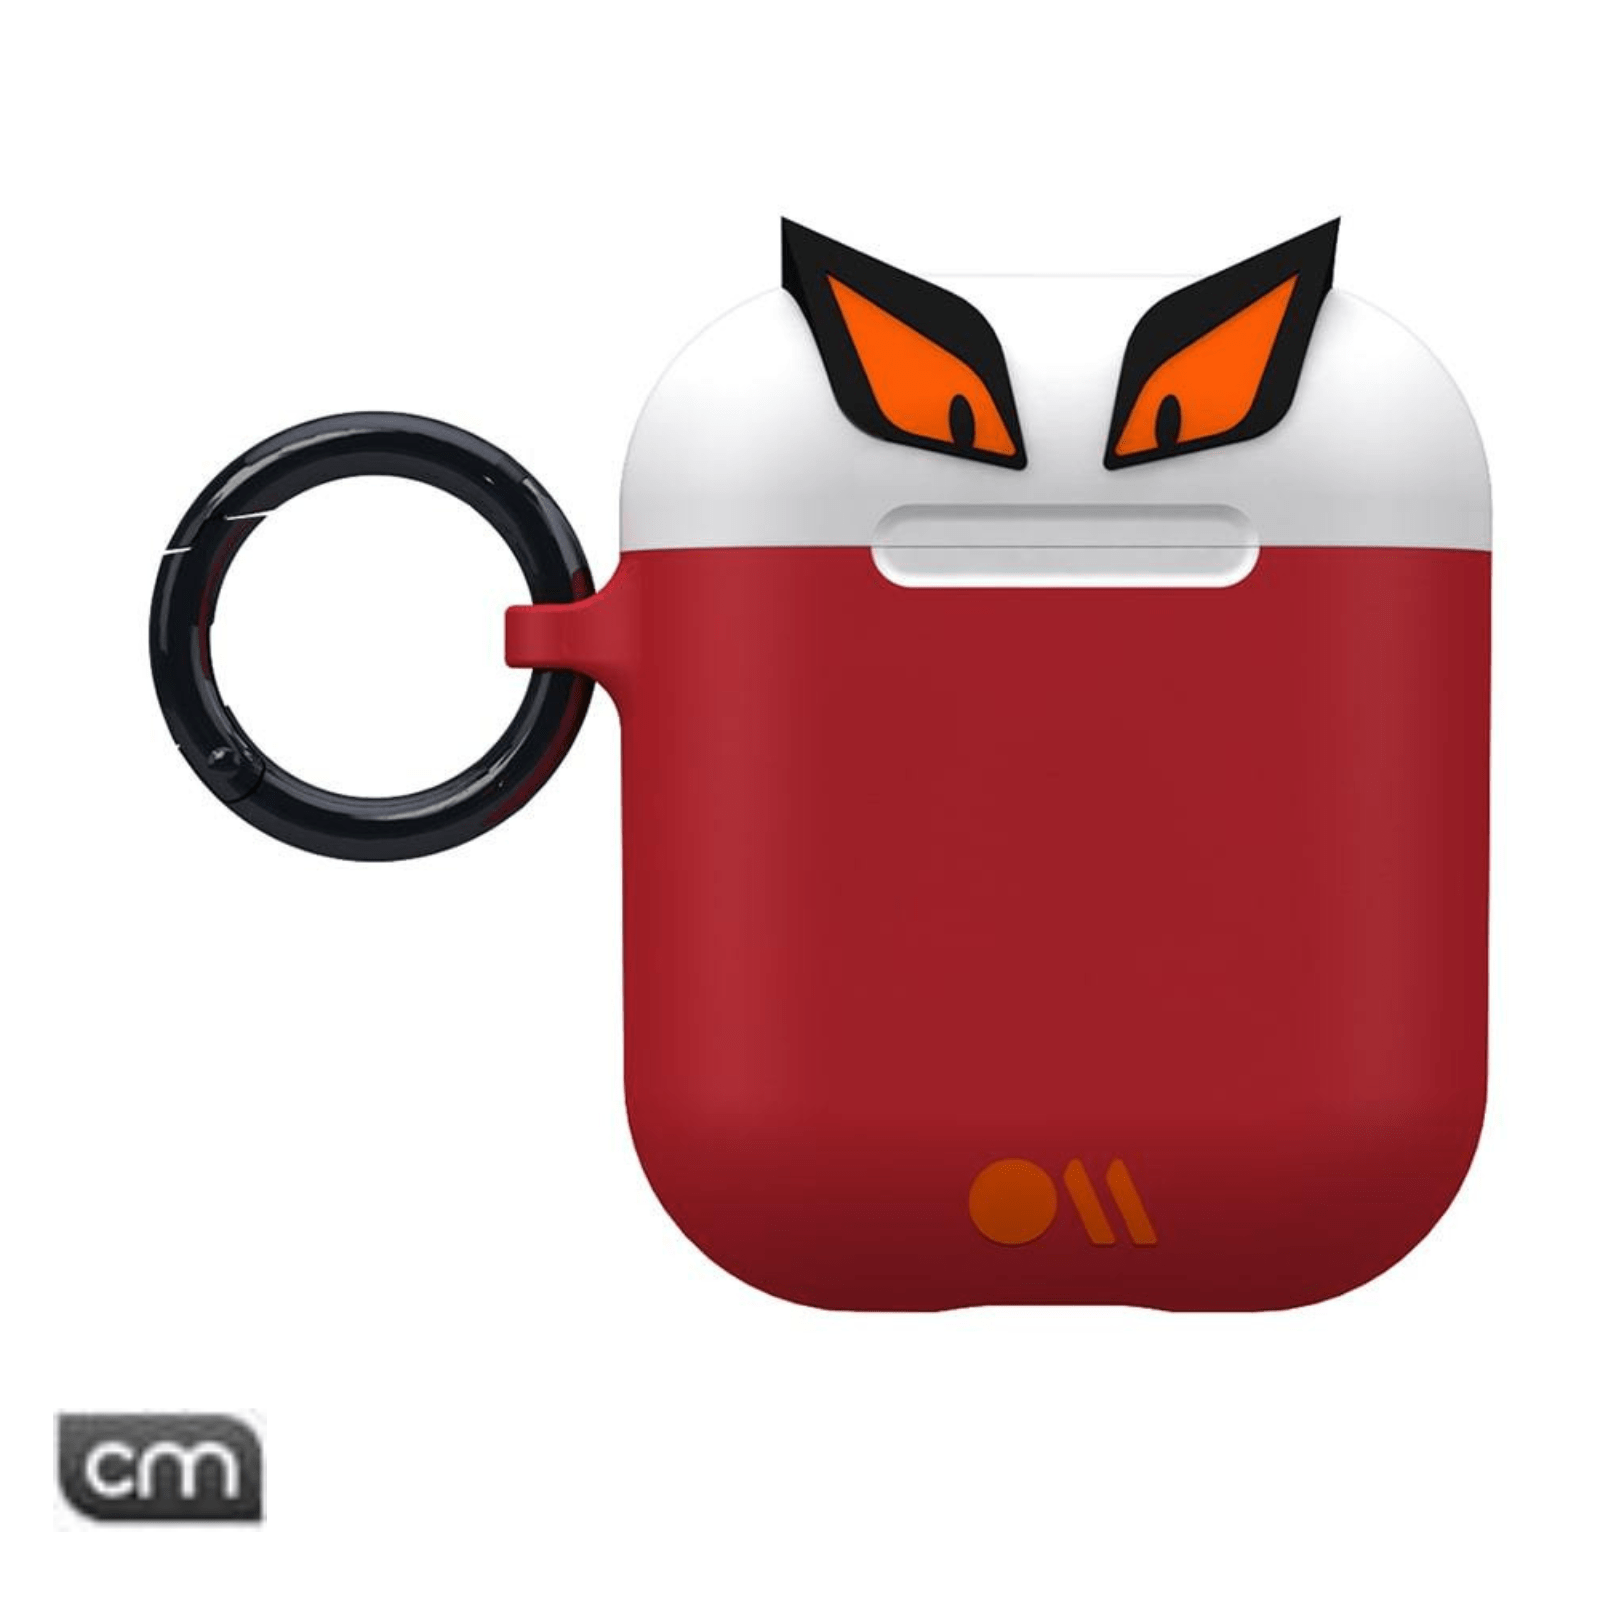
KEEP AIRPODS CLEAN WITH AIRPODS CASES
HOW TO KEEP YOUR AIRPODS FROM FALLING OUT
Here are several tricks for avoiding those and other obstacles to keeping your AirPods in your ears where they belong.
1. Make Sure You’re Wearing Them Correctly
While people stick their AirPods in their ears all sorts of ways, there actually is a right way to do it. When you don’t wear your AirPods correctly, they can easily become dislodged.
One reason why people so often wear their AirPods incorrectly is that the ways to wear them properly are different for AirPods and AirPods Pro. AirPods, including the AirPod 1, AirPod 2, and AirPod 3 (or AirPods Gen 1, Gen 2 and Gen 3,) are considered earbuds. They each are the same approximate size as the wired earphones Apple produces, making them sit relatively shallowly in the ears.
By contrast, AirPods Pro have silicone tips that make them sit much deeper in the ears. That makes them more like in-ear monitors (IEMs) than earbuds. As such, inserting AirPods Pro correctly requires greater attention than properly inserting the regular AirPods Gen 1, 2, or 3.
Once you learn how to wear your AirPods or AirPods Pro correctly following the instructions below, look in a mirror to see how they fit or, better yet, take a picture. This will help you remember how they look when they’re inserted correctly and make it easier for you to reproduce in the future.
How To Wear AirPods Correctly
1. Wipe the Tips - The tips of AirPods, where the speakers are located, can attract dirt, oil, and other residue that can make the AirPods slip easily out of the ears. Use a damp cloth to wipe off your AirPods and get them perfectly clean. This will give them a better grip on your ears. Avoid using a cloth that’s too wet, however, as it can cause water damage to your AirPods.
2. Press Them In Gently - Don’t shove your AirPods into your ear canals as far as they will go. They’re not designed to fit this way and won’t form a secure grip. Shoving your AirPods in too deeply can also be uncomfortable and lead to ear canal injuries and infections. Instead, just press them in gently with the stem aligned parallel with your face or vertically with your head.
3. Rotate and Wedge Them - Once you’ve gently pressed your AirPods into your ears, rotate them until they reach the position in which they fit tightly and securely. You’ll notice the AirPods feel locked into your ears when the stem and your jawline are aligned nearly parallel with one another. Note that some people prefer the seal when they twist the AirPods back about 30 degrees from the jawline.
How to Keep AirPods Pro From Falling Out
1. Make Sure They Have the Right Sized Tip: All the steps that follow are virtually pointless if you’re using the wrong-sized ear tips on your AirPods. Therefore, before you even stick them into your ears, check the AirPods’ ear tip sizes so you can be sure you’ll have the best fit. To do this, simply flip back the silicone tip to find the S, M, or L etched into the side. Brand new AirPods come with medium-sized tips attached but include small and large ear tips in the package. Experiment with placing the AirPods into your ears with each of the different tips attached until you find the one that seats most comfortably.
2. Align the Ear Tip: To get the best possible fit, check that, when you stick the ear tip onto an AirPod, the sizing letter on the tip is aligned with the black vent on the AirPod. When you’ve turned them into the proper position, you’ll hear a click.
3. Press, Rotate, and Wedge: Follow steps 2 and 3 of wearing regular AirPods correctly, pressing them in and rotating them until you feel them properly wedge into the ear.
The Ear Tip Fit Test
Apple has a useful feature installed with the AirPod software that helps you improve your seal with your AirPods. To perform the Ear Tip Fit Test:
1. Insert your AirPods into your ears.
2. Connect them to your iPhone.
3. Press Settings > Bluetooth.
4. Press the information icon alongside the image of the AirPods.
5. Select "Ear Tip Fit Test."
6. Press Continue.
7. Hit the Play button.
Note that if your device doesn’t have the Ear Tip Fit Test option available, you probably have a lower iOS than version 13.2. This means you’ll need to upgrade your iPhone’s OS in order to perform this test.
To attach an AirPod ear tip, align it with the AirPod's ovular connector. Then, push the tip at its base onto the connector with your fingers until you hear it click and lock into place. To remove an AirPod ear tip, pull with your fingers firmly at the base of the tip where it attaches to the AirPod.
2. Replace the Silicone Ear Tips With Memory Foam Ear Tips
This tip (no pun intended) applies specifically to how to keep AirPod Pro from falling out, since regular AirPods don’t have ear tips. The silicone ear tips Apple produced for the AirPod Pro provided some upgrade from the plastic tips of the regular AirPod, but perhaps not enough. That is, silicone is better than plastic, but it isn’t perfect, and, when silicone fails you, maybe memory foam is what you need.
Unlike silicone, memory foam molds itself to the ear’s shape. This creates a more seamless seal with the ear.
To replace your AirPods Pro’s ear tips with memory foam:
1. Remove the silicone ear tips.
2. Select the same size of memory foam ear tips.
3. Squeeze the memory foam tips and press them in until they lock into place.
Once you replace your silicone ear tips with memory foam ones, keep in mind that inserting your AirPods Pro into your ears is slightly different. Before you insert them, you now have to squeeze them first to compress the memory foam. Then, usually in about four seconds, they’ll expand in your ear canal to seal it up.
3. Wear Them Sideways or Upside Down
For some people, wearing their AirPods upside down seems to do the trick to keep them in. Before the days of wireless earbuds, runners used to use this trick to keep their wired earbuds from falling out. Since the shape of earbuds has remained relatively constant in the evolution of wired to wireless earbuds, the concept remains valid and should still work well.
4. Use Waterproof Tape
Find some sticky, durable waterproof tape and use scissors to cut rectangular strips out or a hole punch to punch circular pieces out. Stick two of those pieces of tape onto each AirPod: one at the top and one at the bottom, near the place where they stick into your ear.
You can now insert the AirPods into your ears and move around a bit to see if they remain in place. The tape’s stickiness and raised surface should both help keep them from falling out.
5. Clean Your AirPods Properly
Not only is keeping your AirPods clean essential to keeping them from falling out, but it’s also essential for the health of your ears. Over time, oils, dirt, and earwax can build up in the grill of the AirPods, preventing them from seating fully and exposing your ears to wax buildup and germs. Wiping them before use certainly doesn’t hurt, but it also doesn’t replace the need to clean your AirPods regularly.
To do this, you’ll need some toothpicks and mounting putty (which you can get at any hardware store.) Warm up the putty lightly and press it against the speaker of your AirPod. Then, yank it off. Most of the residue caught in the speaker’s mesh will come off with it. With the toothpicks, you can then gently remove any pieces that didn’t pull off with them.
After that, gently rub the AirPod with a soft-bristled toothbrush dipped in 70% isopropyl alcohol to remove any remaining dirt.
When you’re finished, your AirPods should look — and fit — like new. Now, knowing how to clean an AirPod case ensures your AirPods stay clean when you put them away.
6. Employ Third-Party Accessories
Many third-party companies have designed cases and covers that can help you keep your AirPods and AirPods Pro in your ears. These are often made of silicone and designed to address some of the issues most common with keeping AirPods from falling out.
AirPod Covers
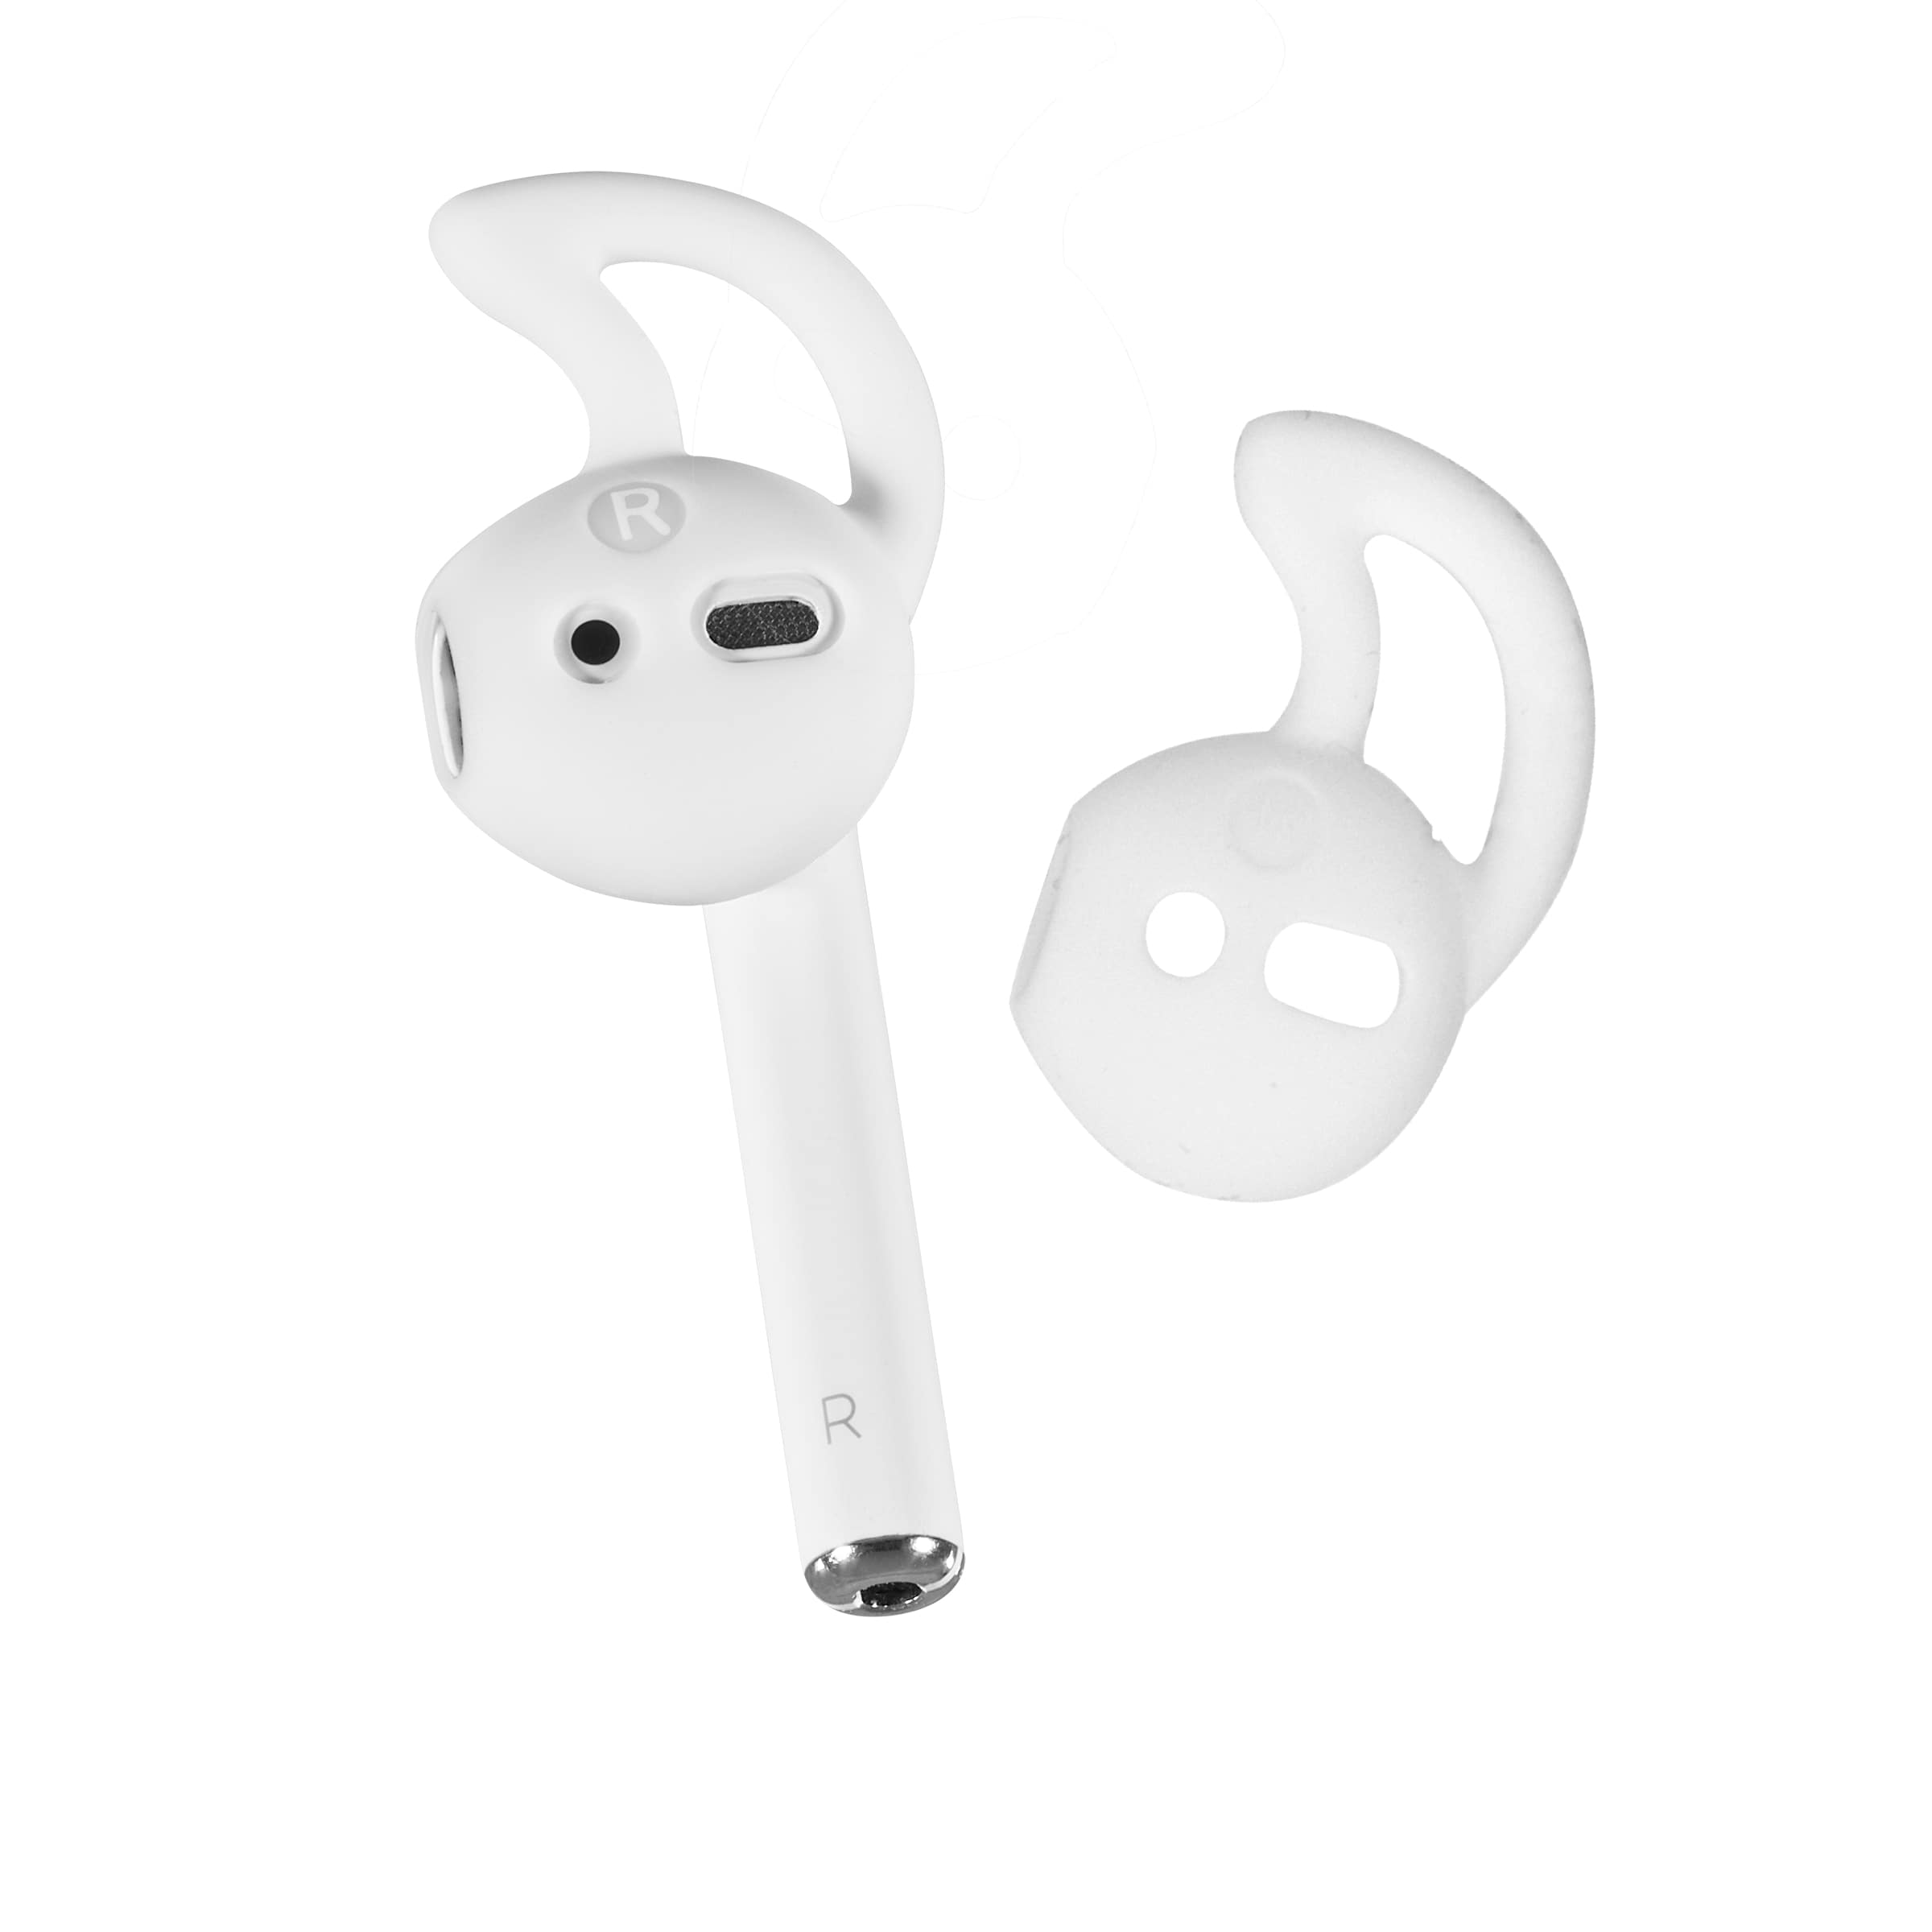
Silicone AirPod covers give the earbuds extra grip. They slip easily over the heads of AirPods to provide a cushion around them that hugs the inner ear more snugly.
AirPod Hooks and Grips
Some AirPod covers also have soft, silicone hooks that fit snugly against the inner fold of each ear, further helping to keep the AirPods in your ears. There are also AirPod Grips with larger plastic hooks made to wrap around the outside of your ear.
EXTRA PROTECTION: AIRPOD STRAPS AND CASES
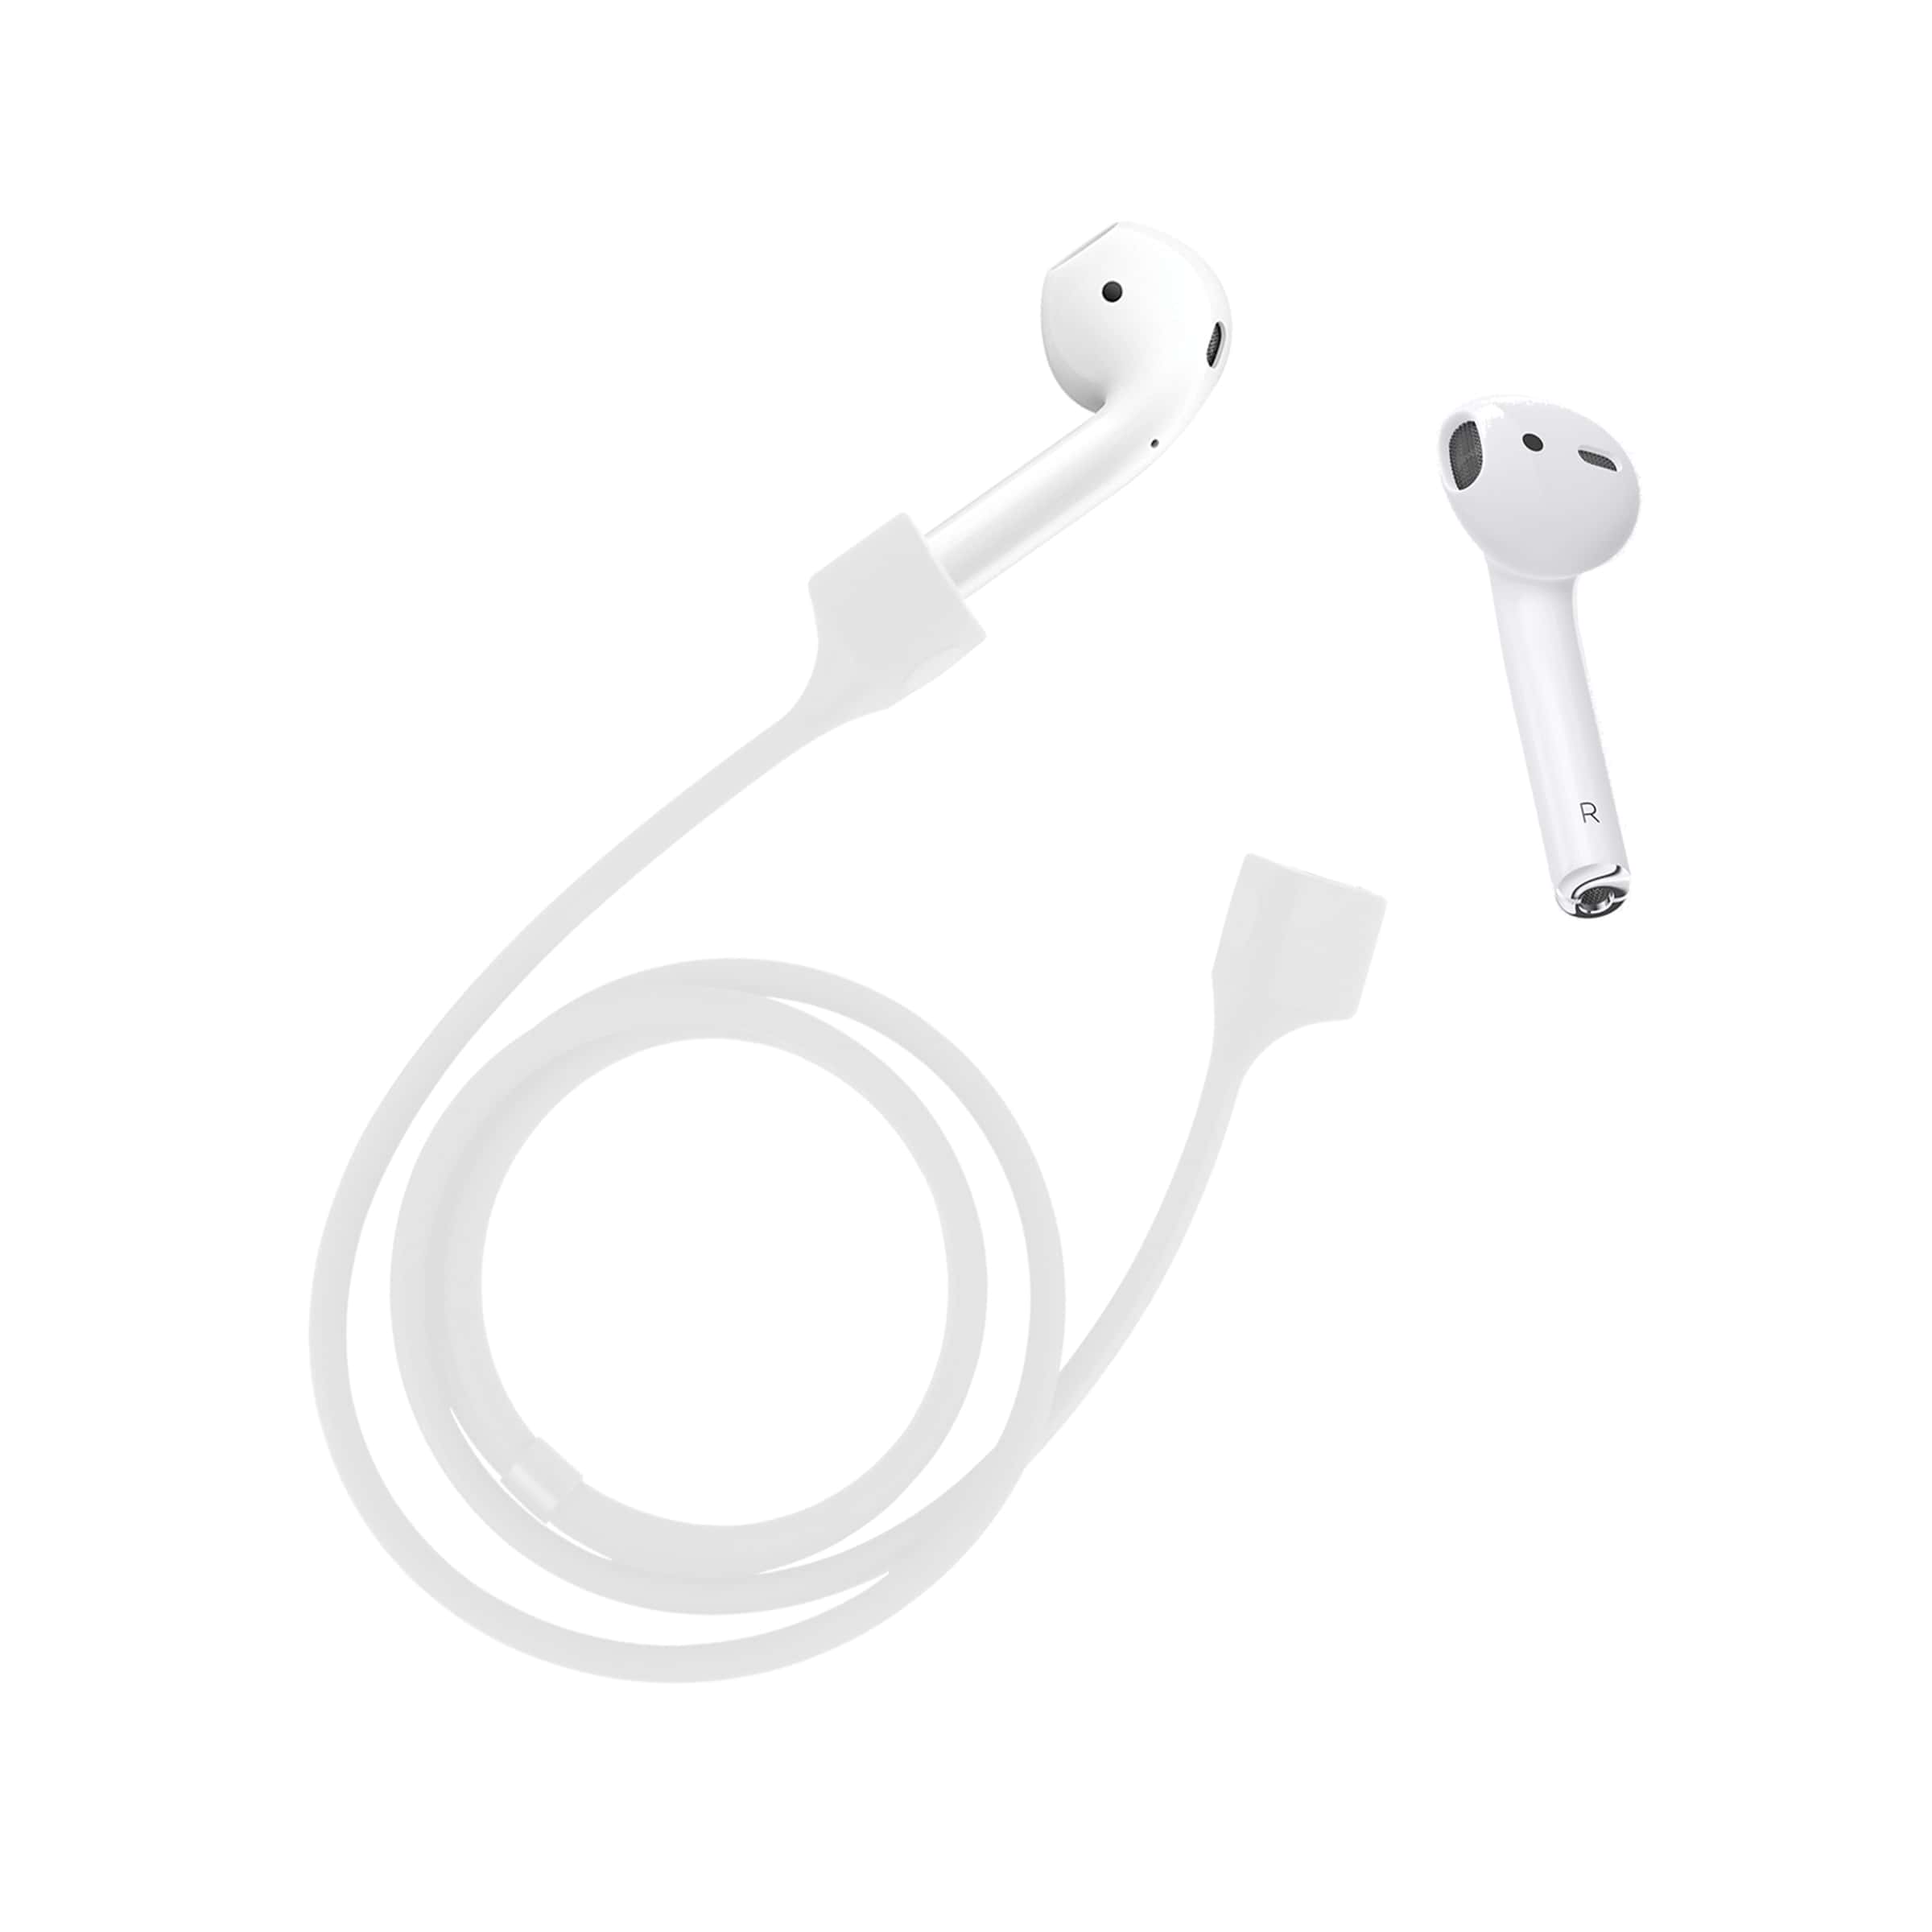
AirPod straps attach to their narrow "handles" where the microphones are attached and wrap around your neck to provide extra support. They may not help keep your AirPods in your ears, but they’ll keep your AirPods from dropping onto the floor and getting damaged or lost if they do fall out.
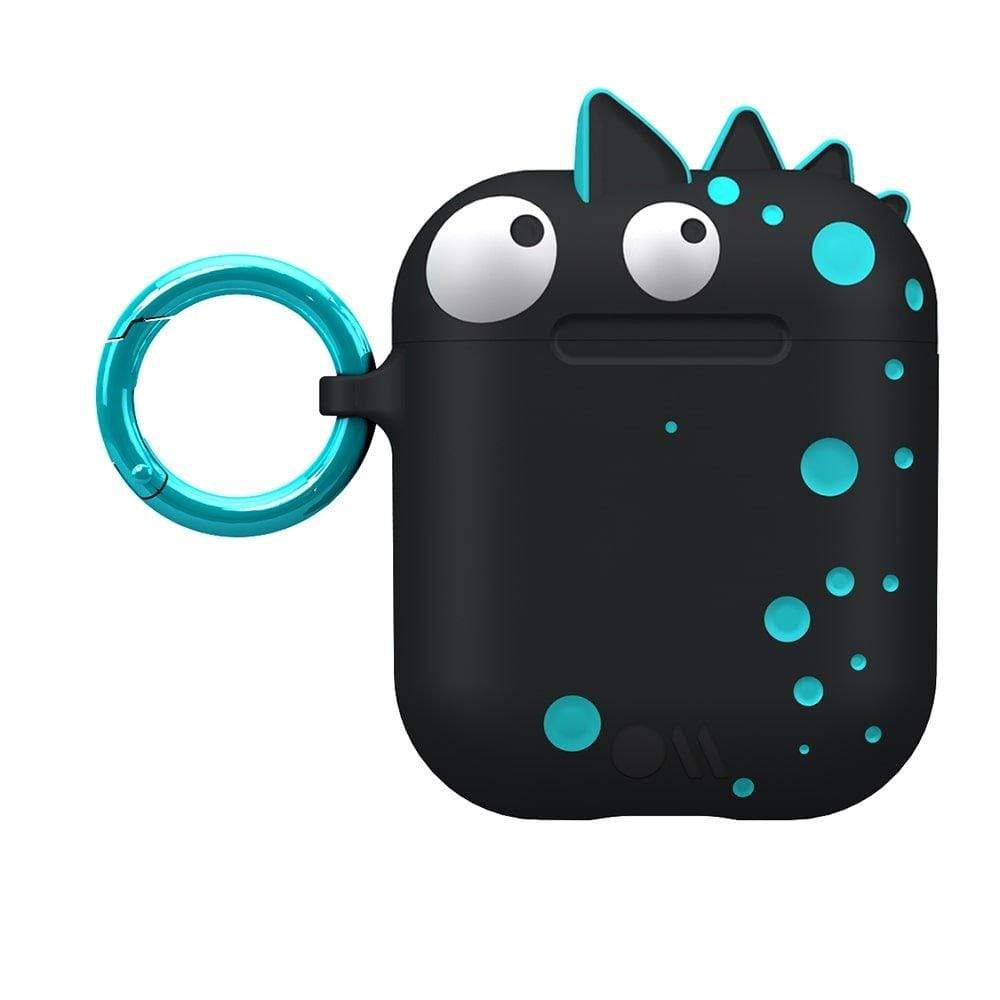
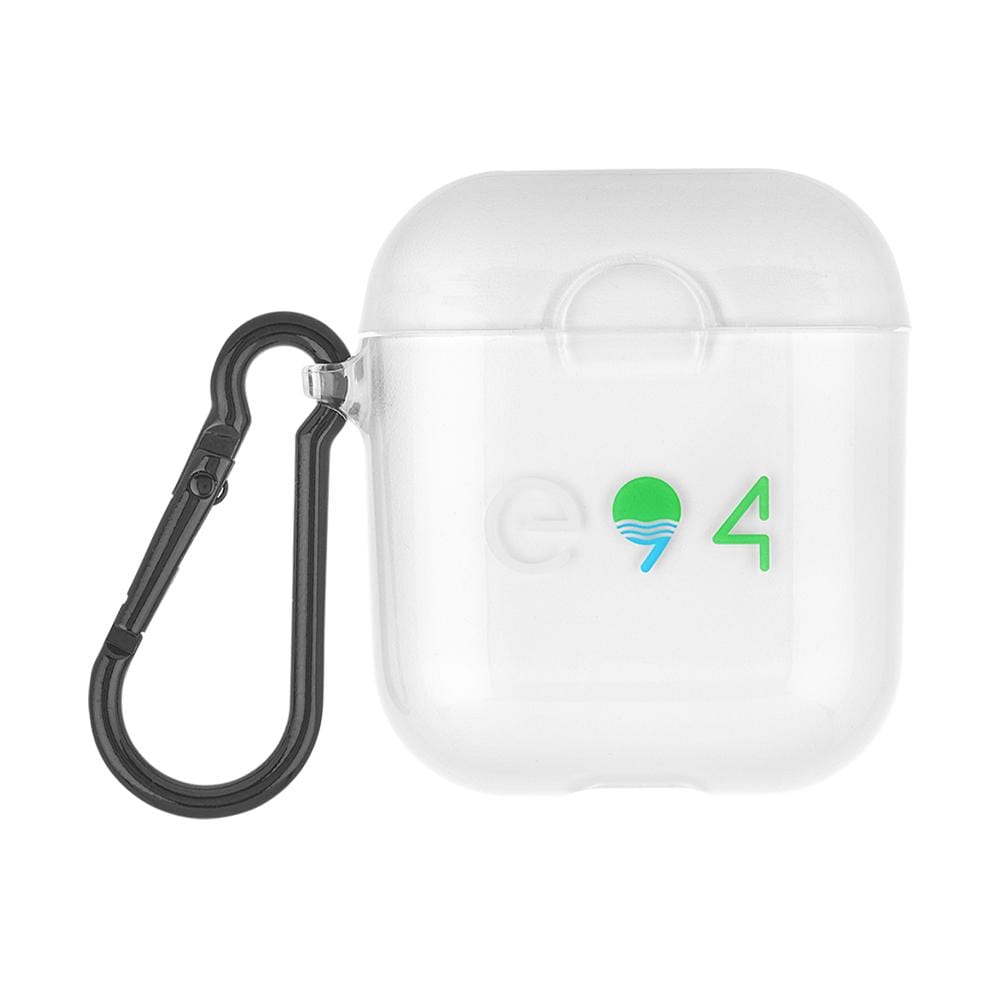
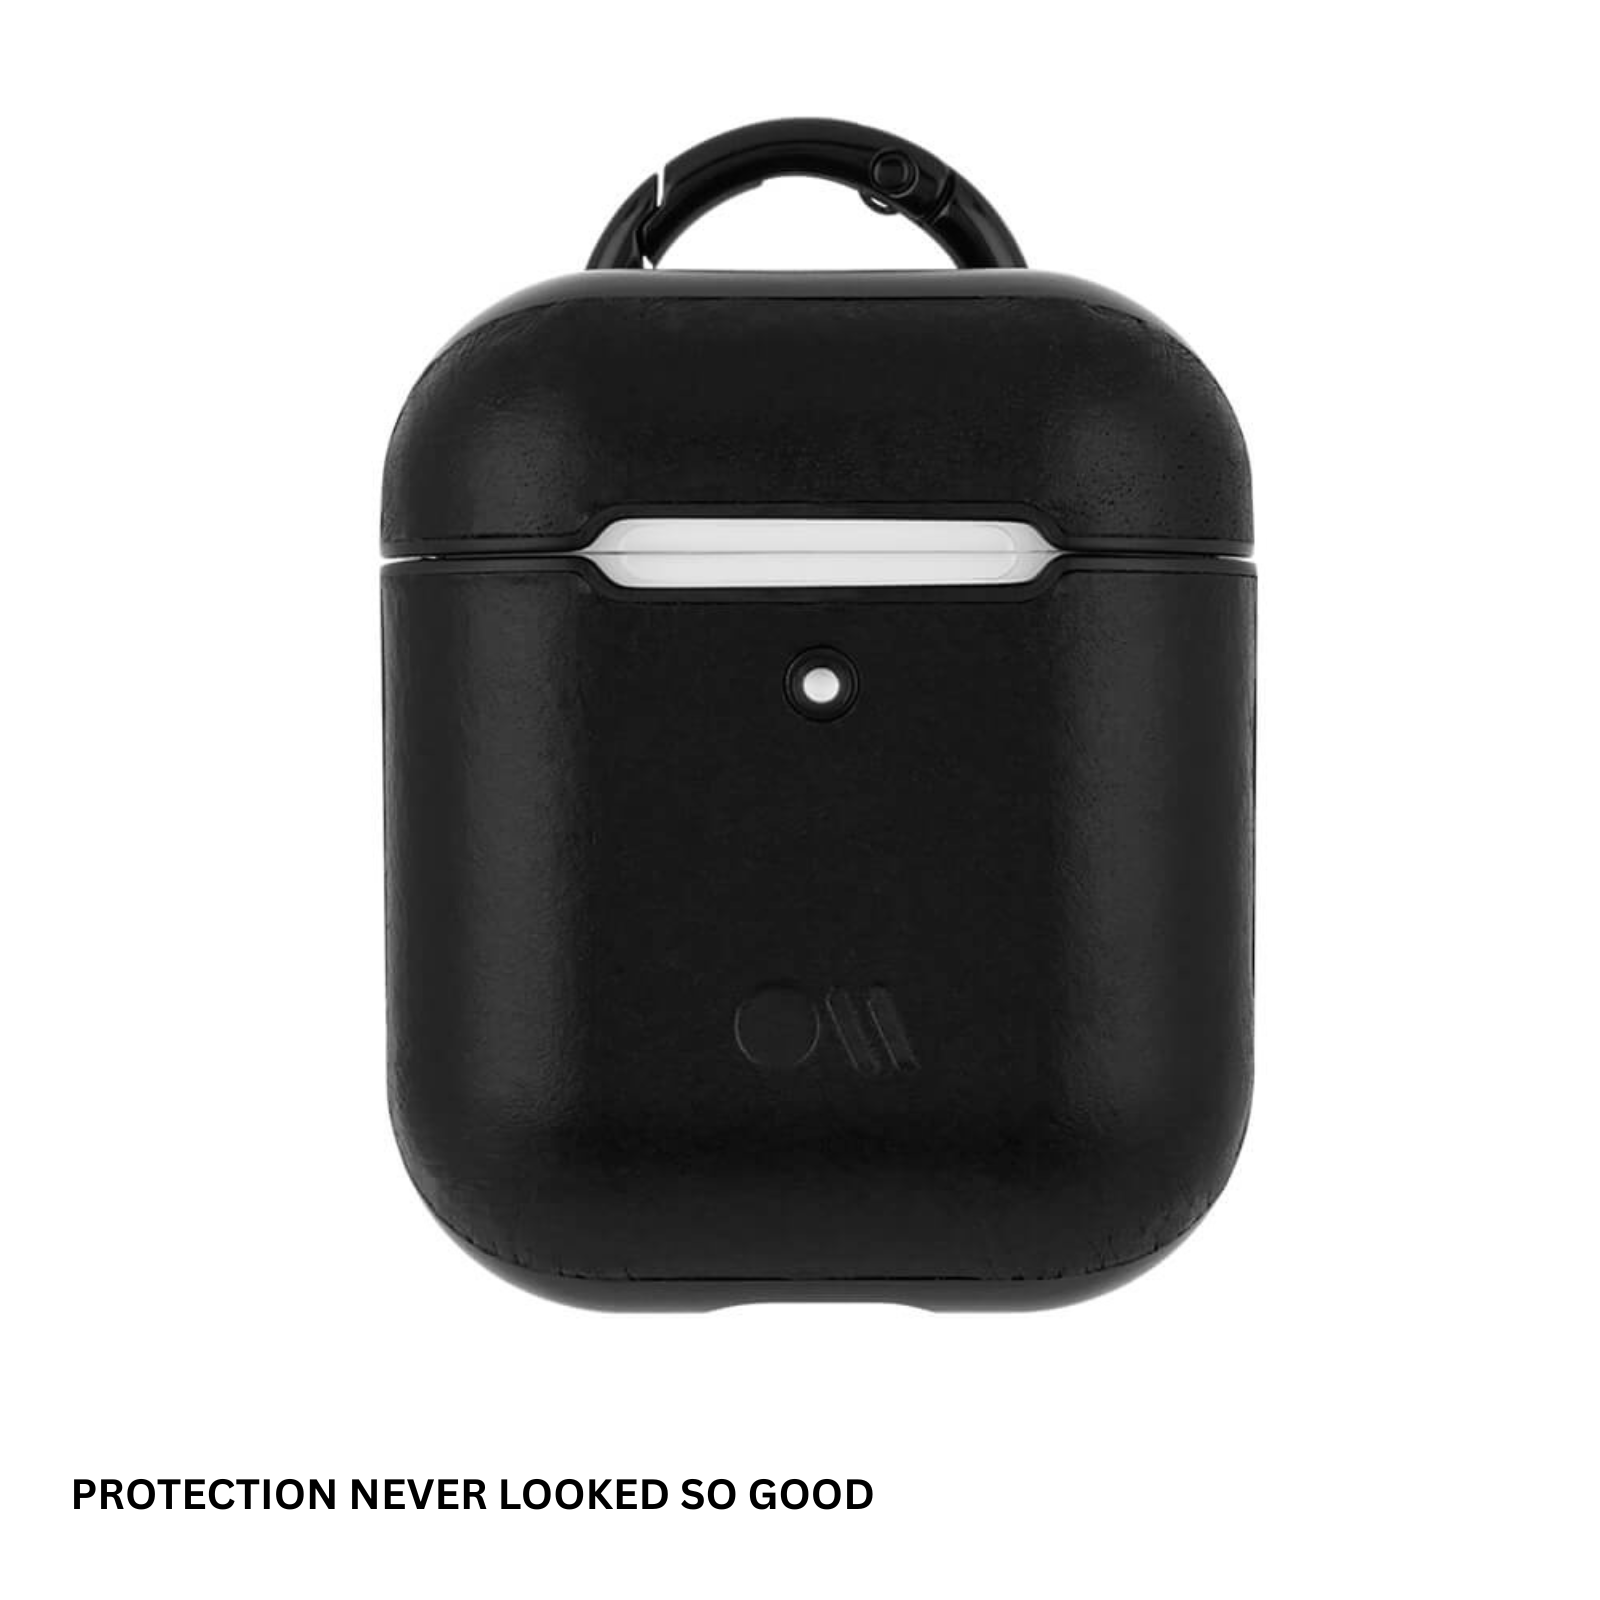
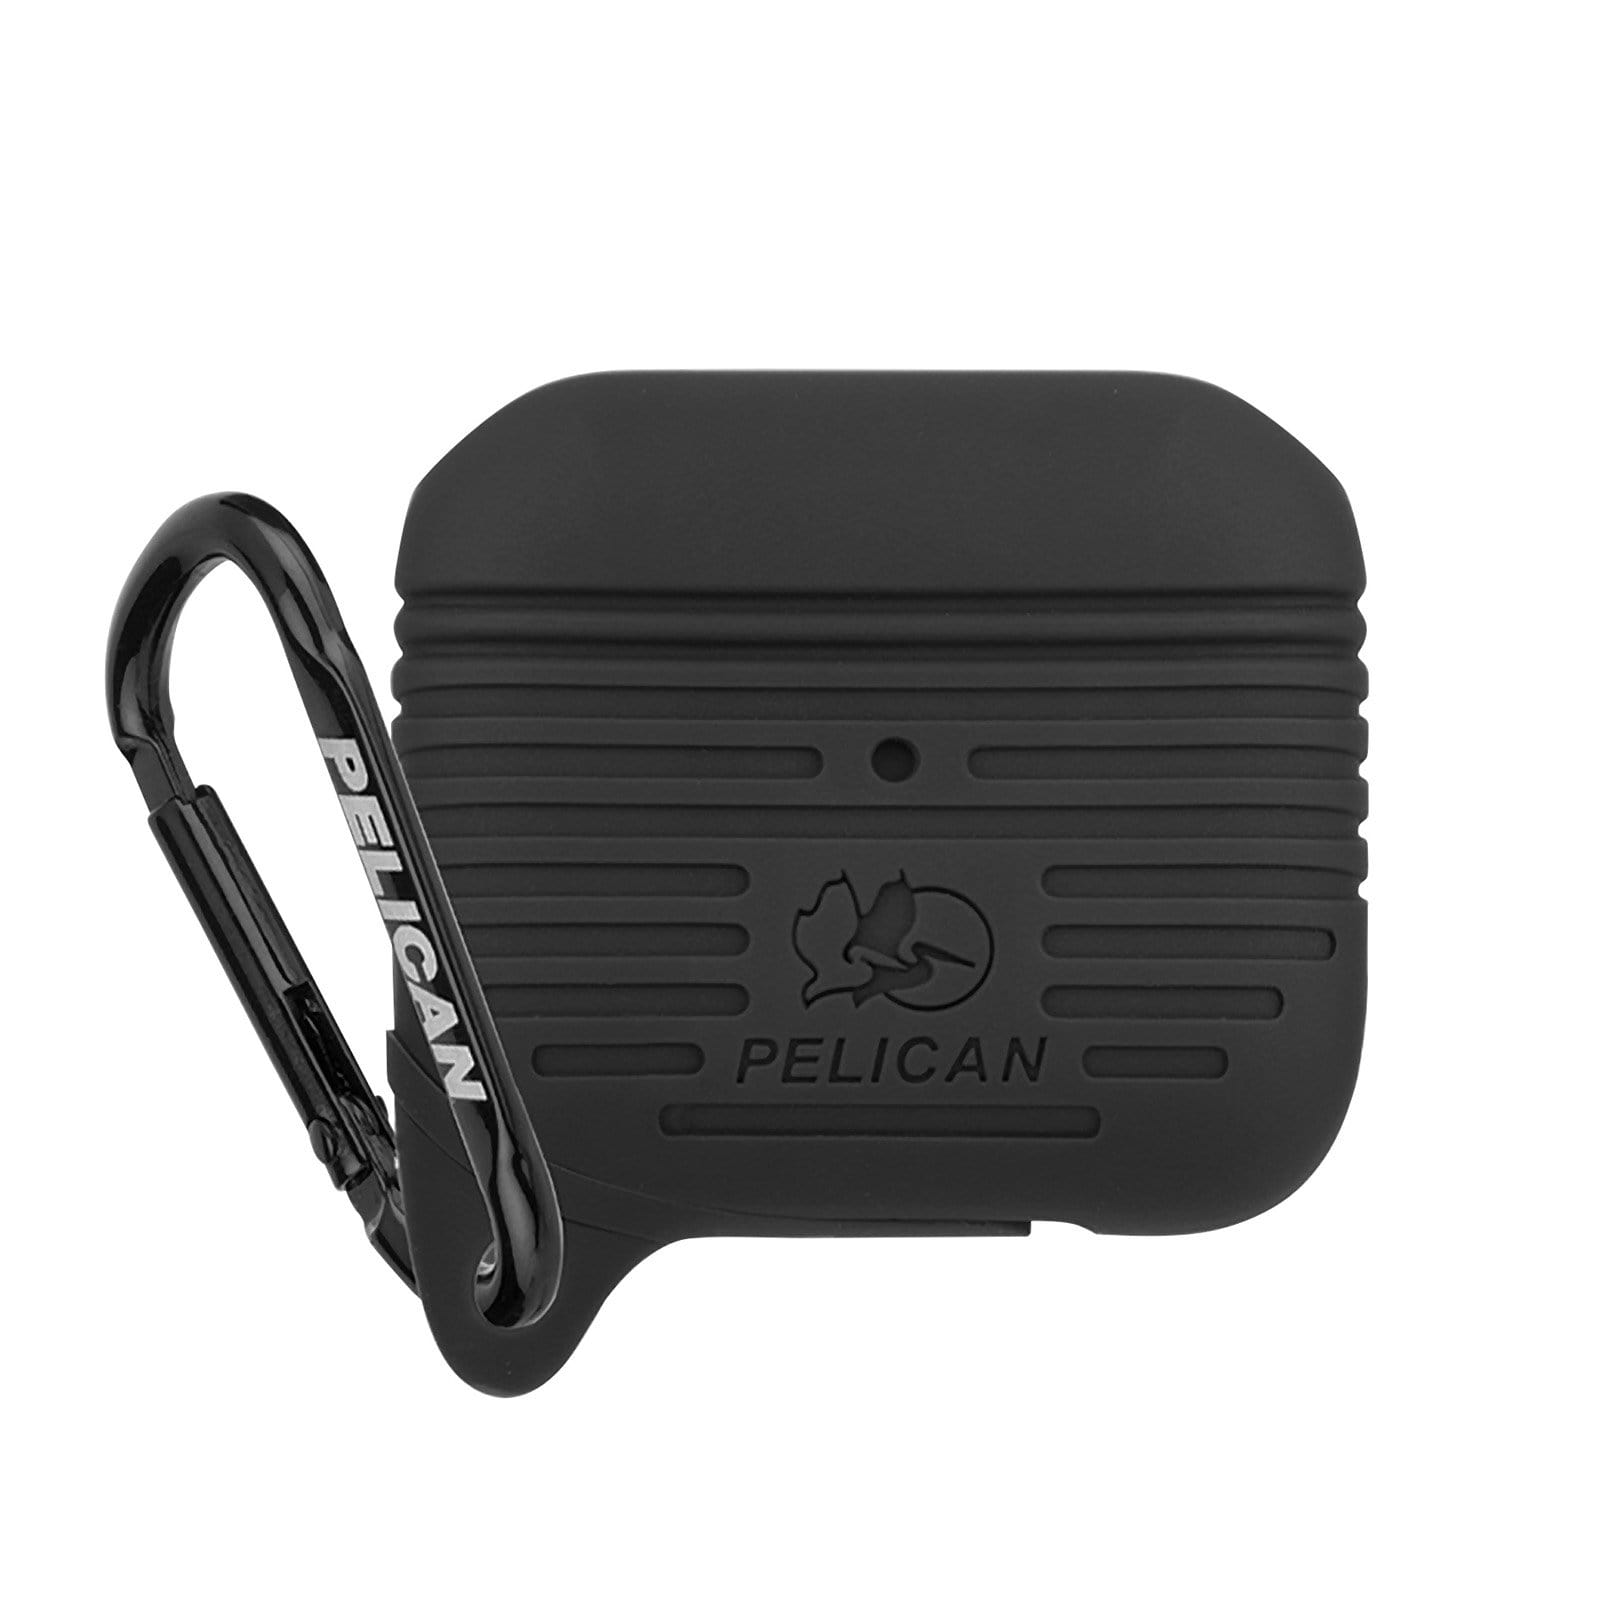
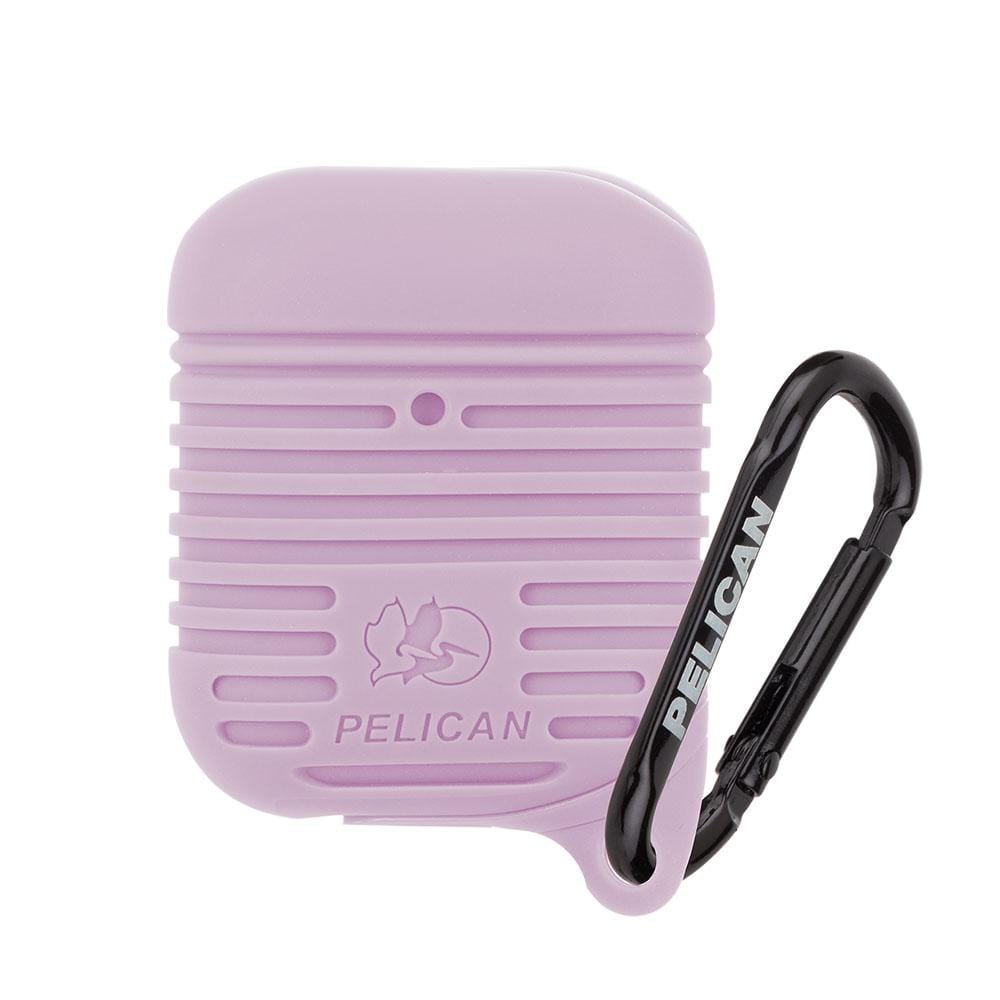
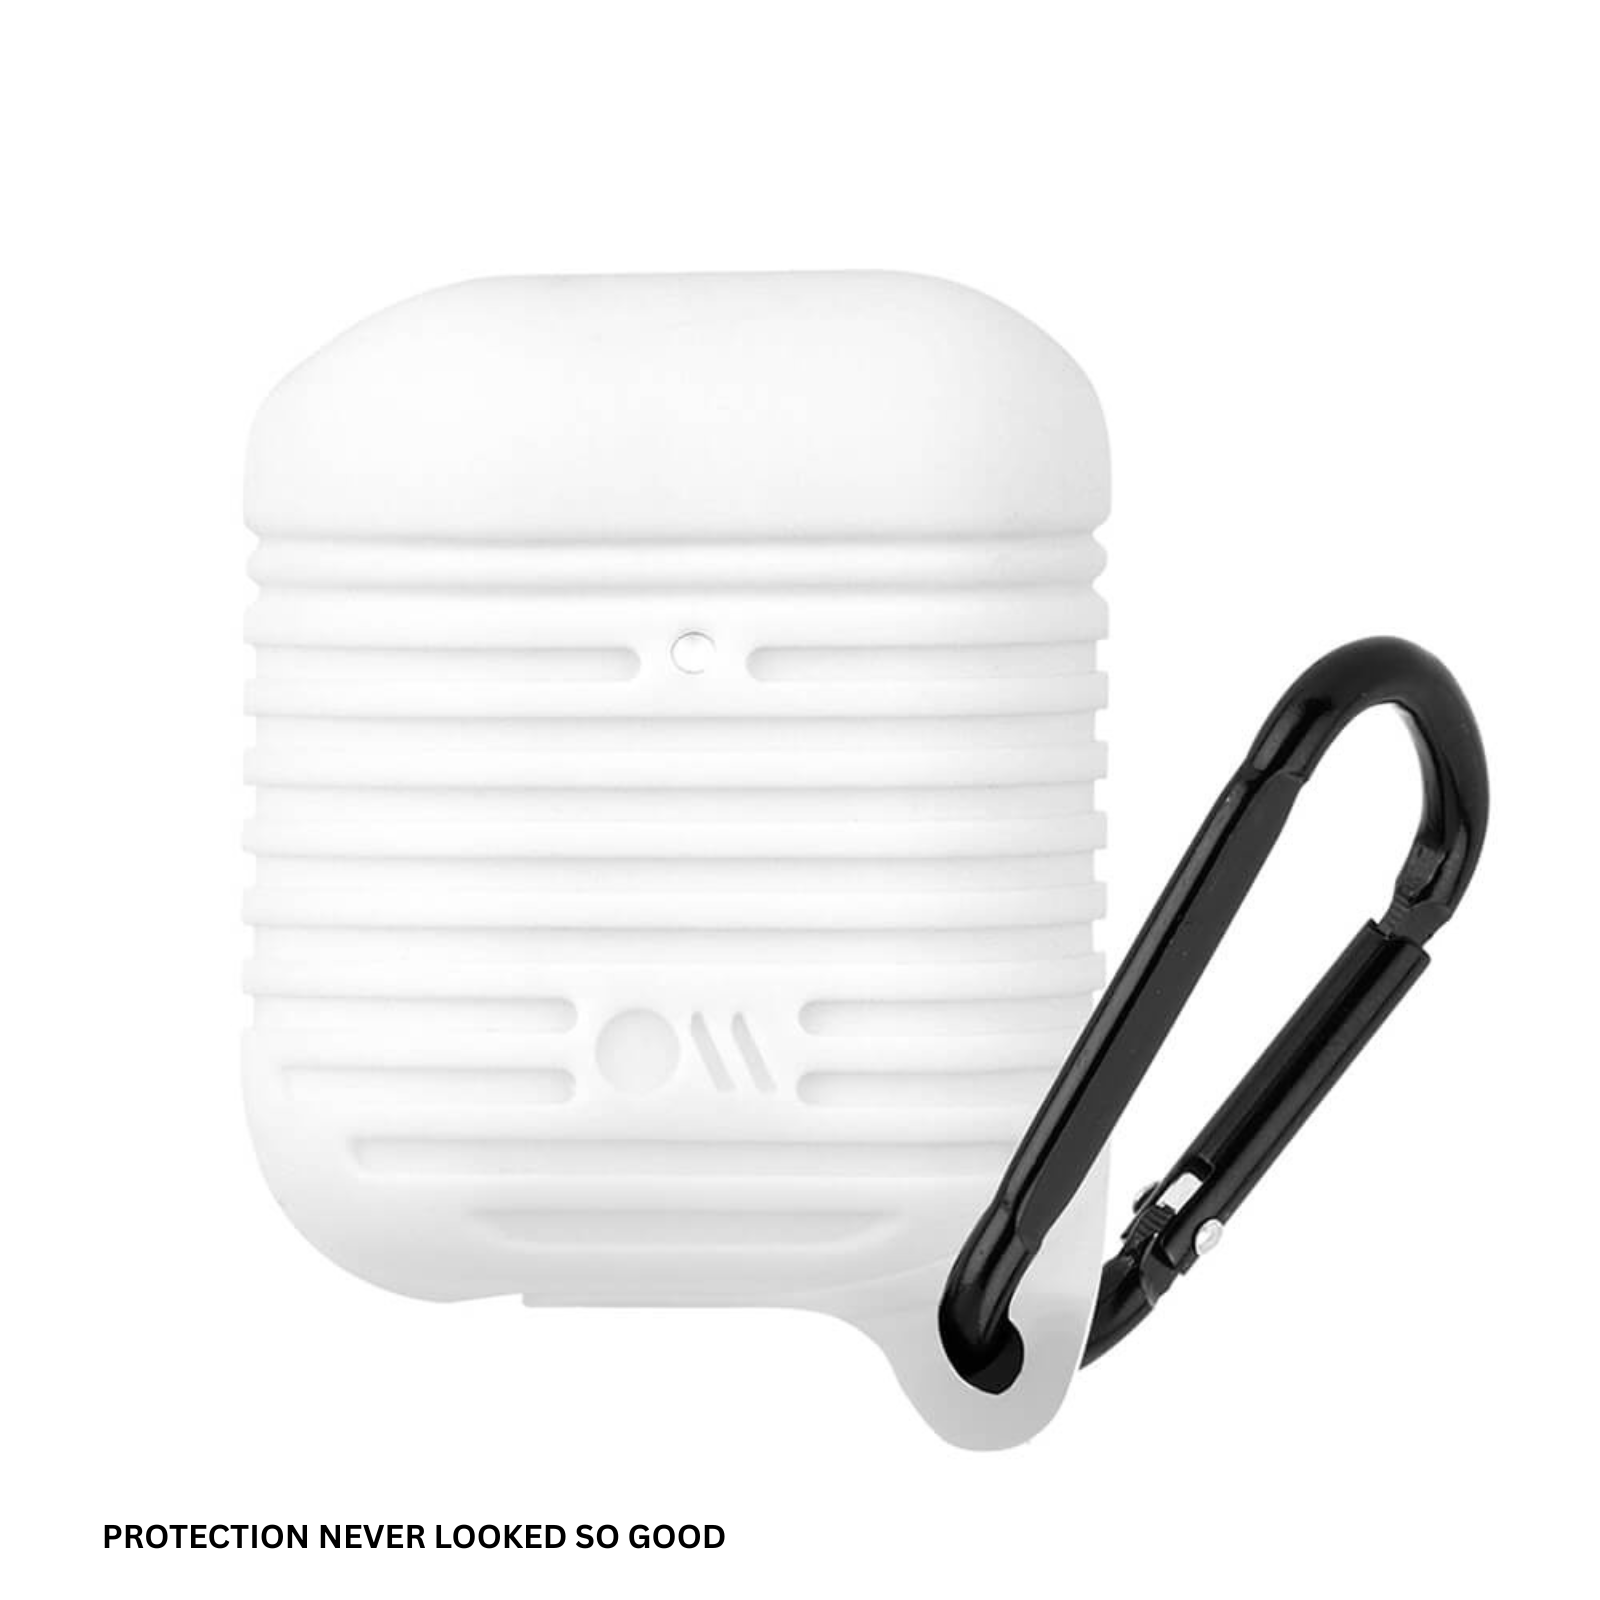
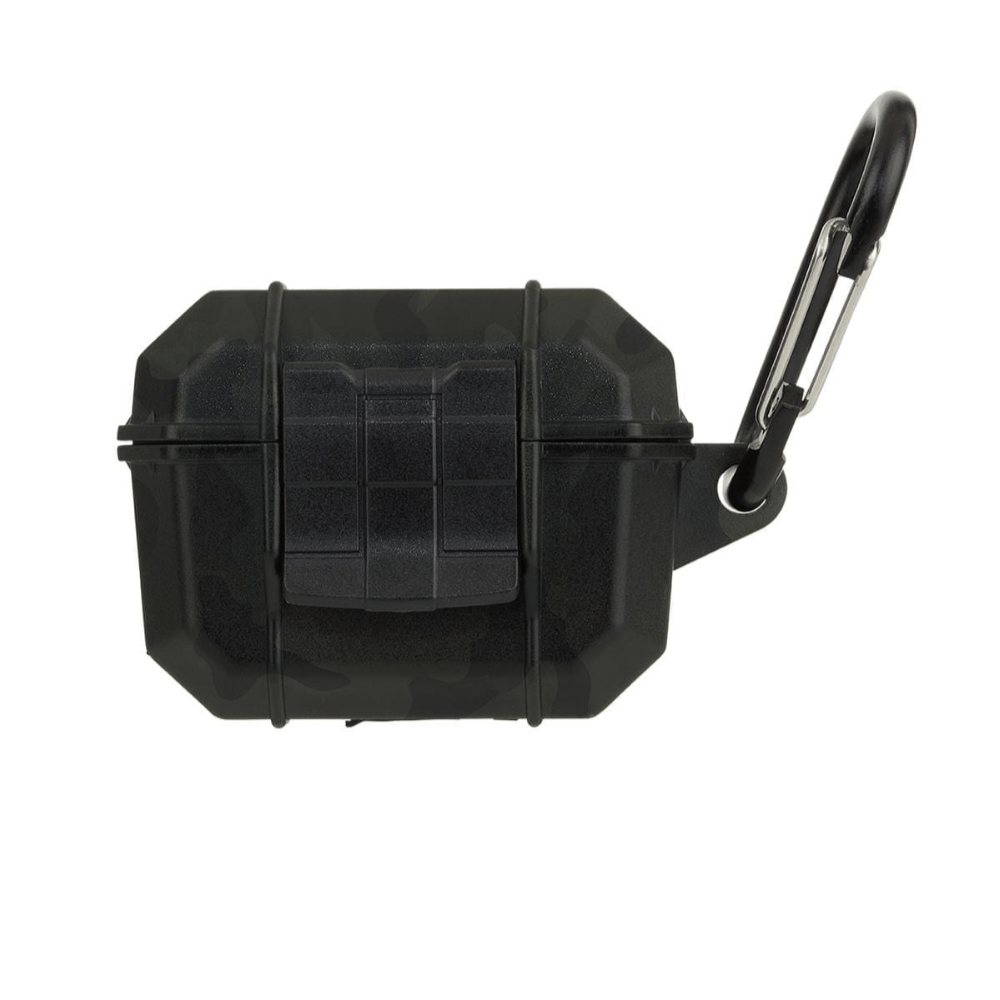
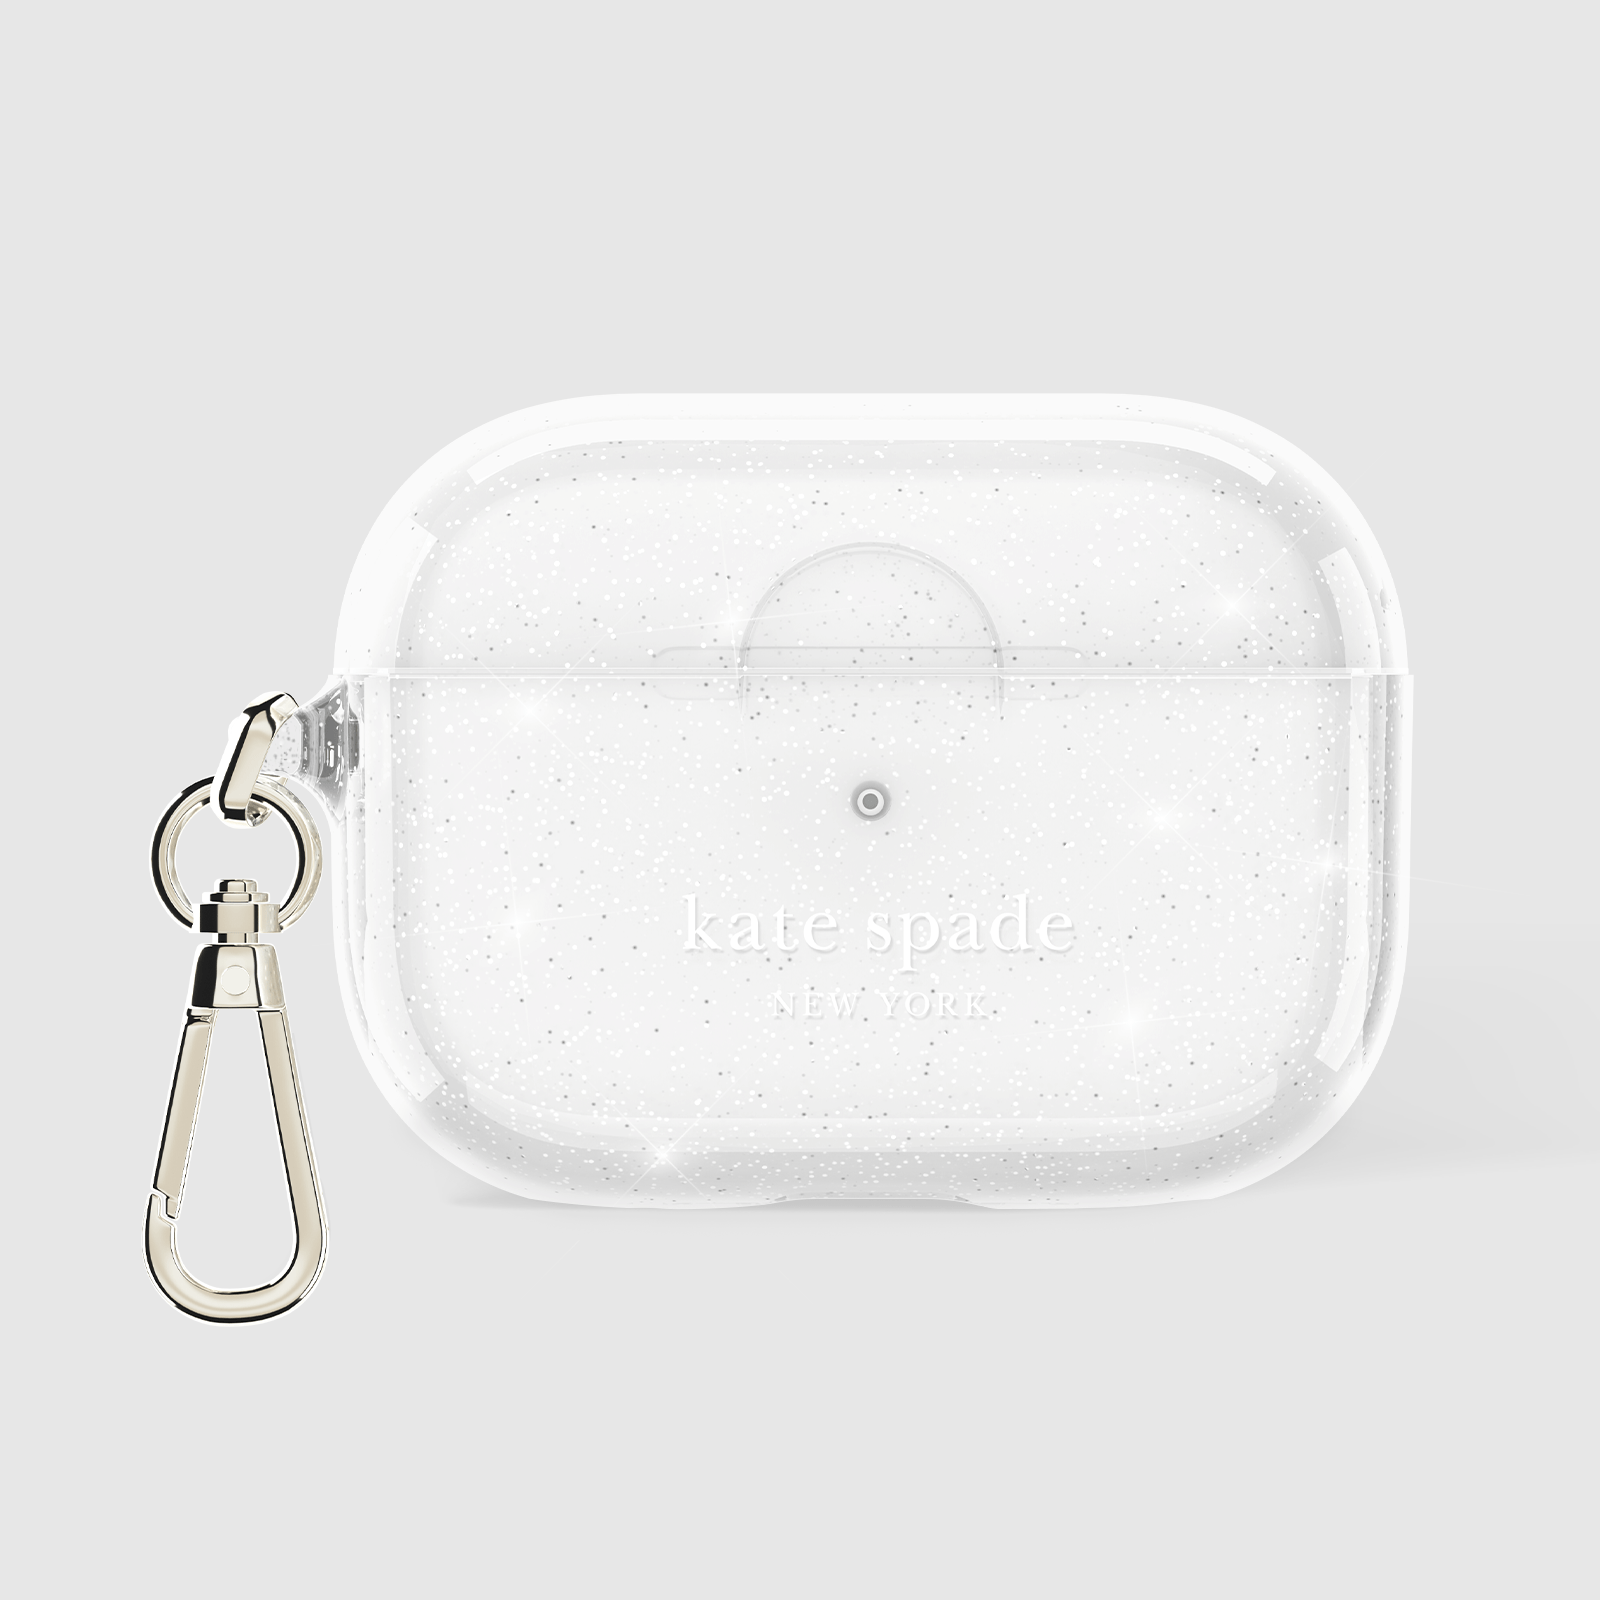
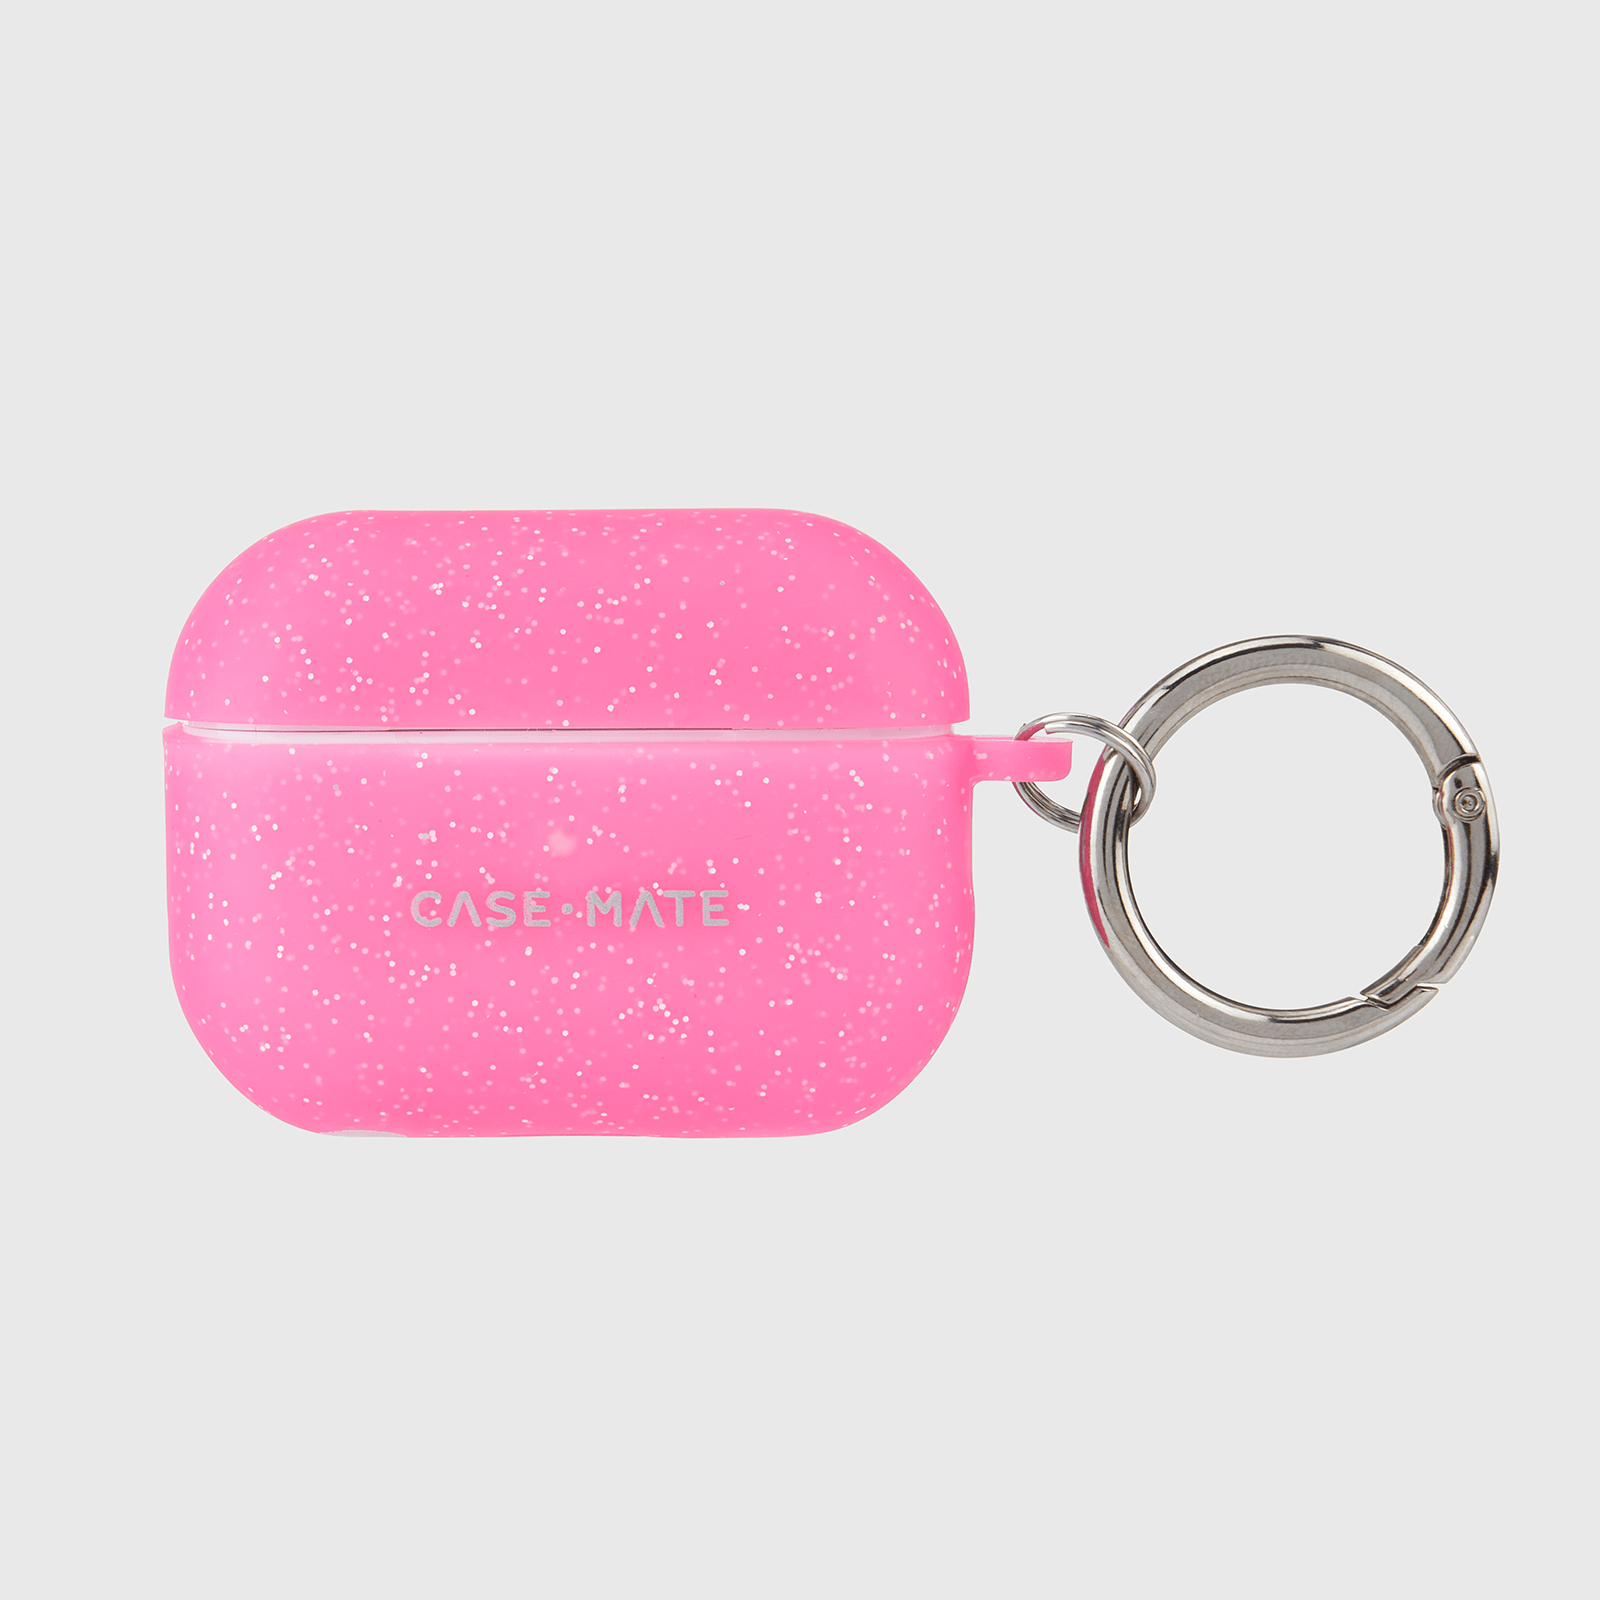
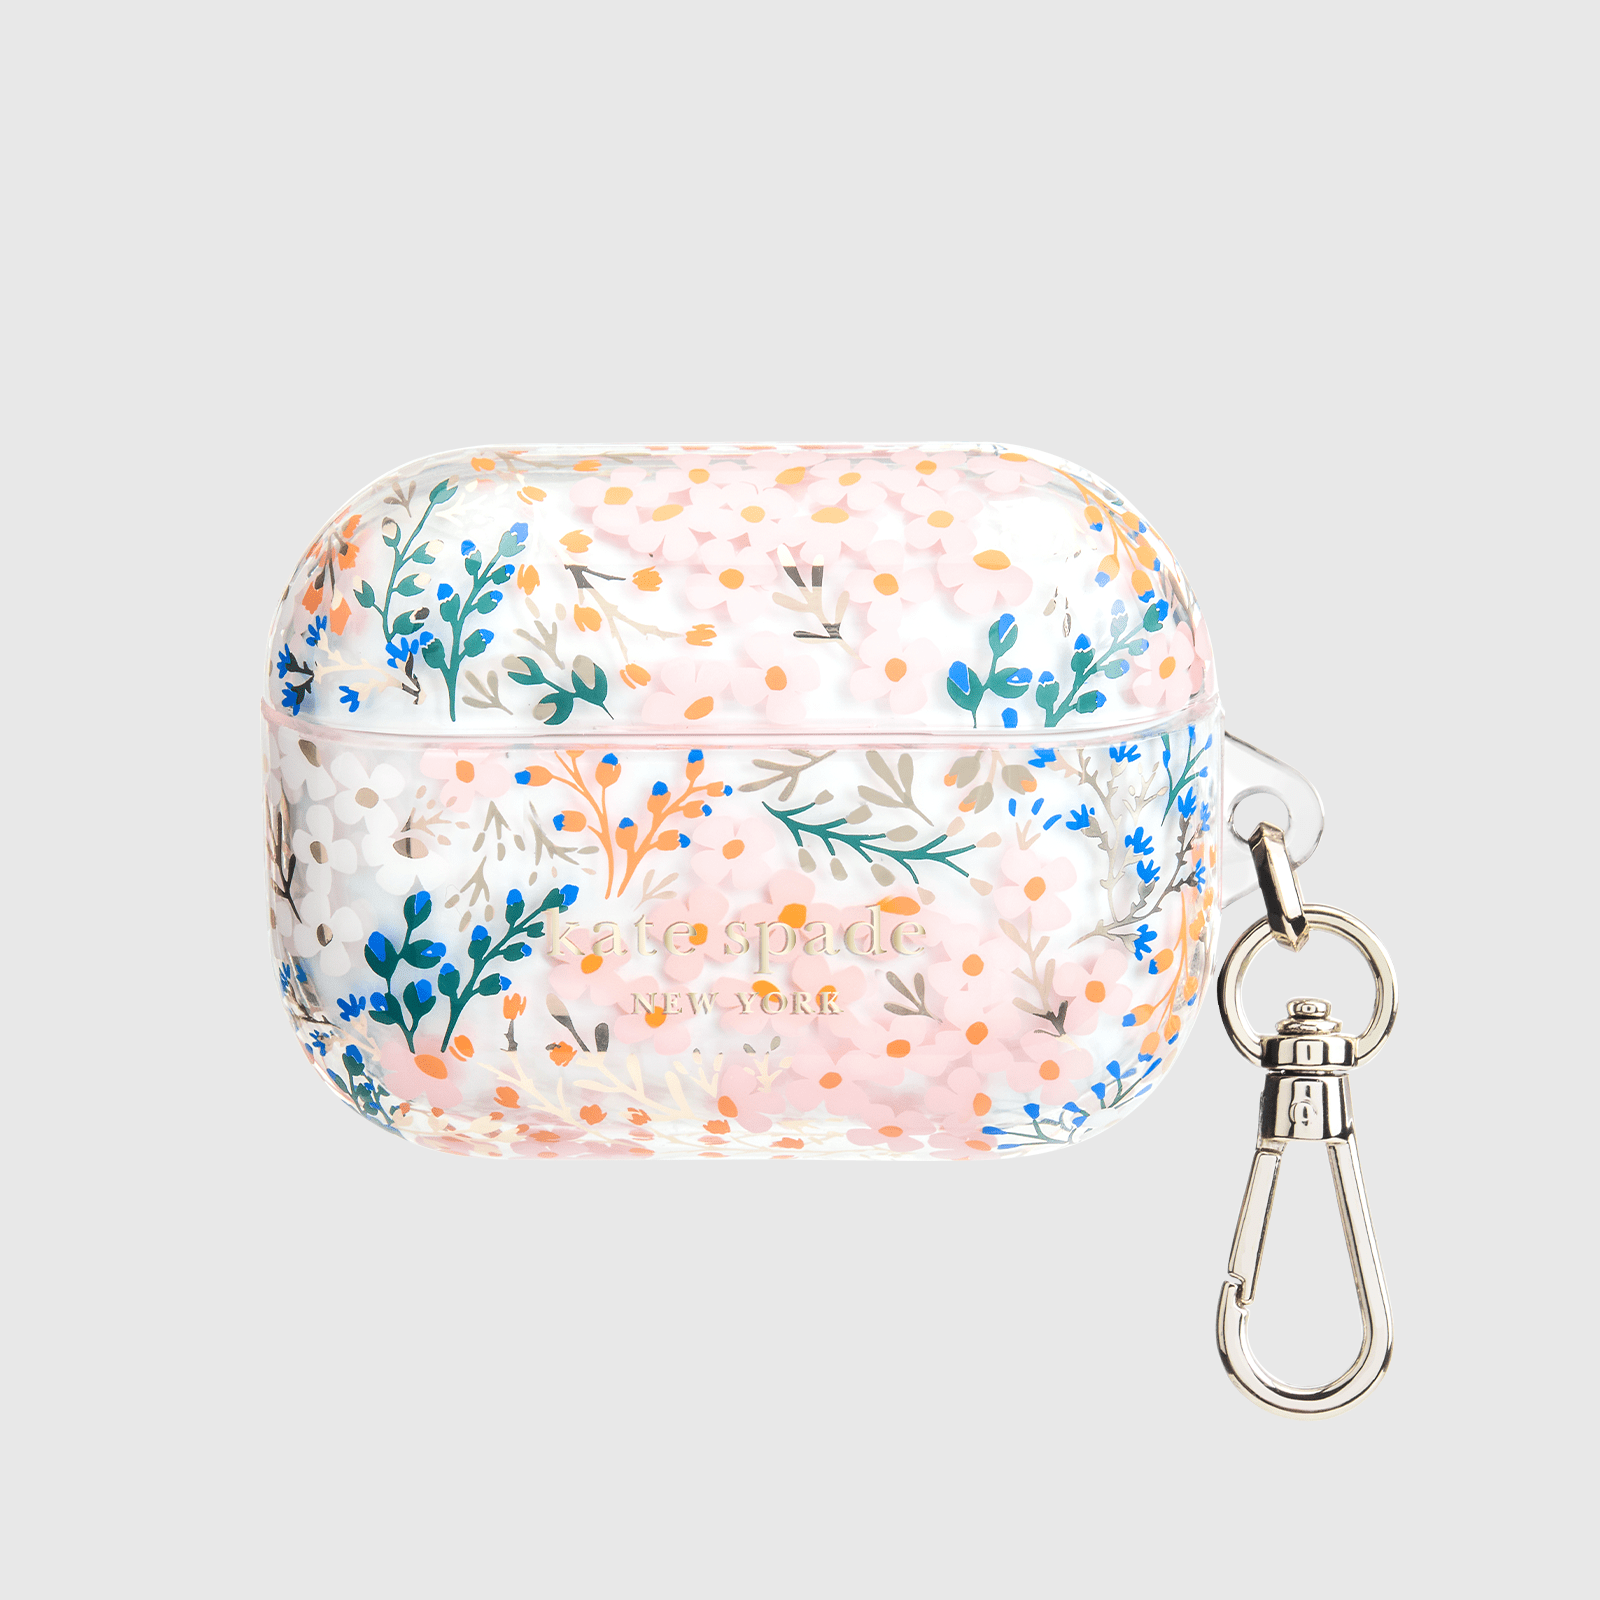
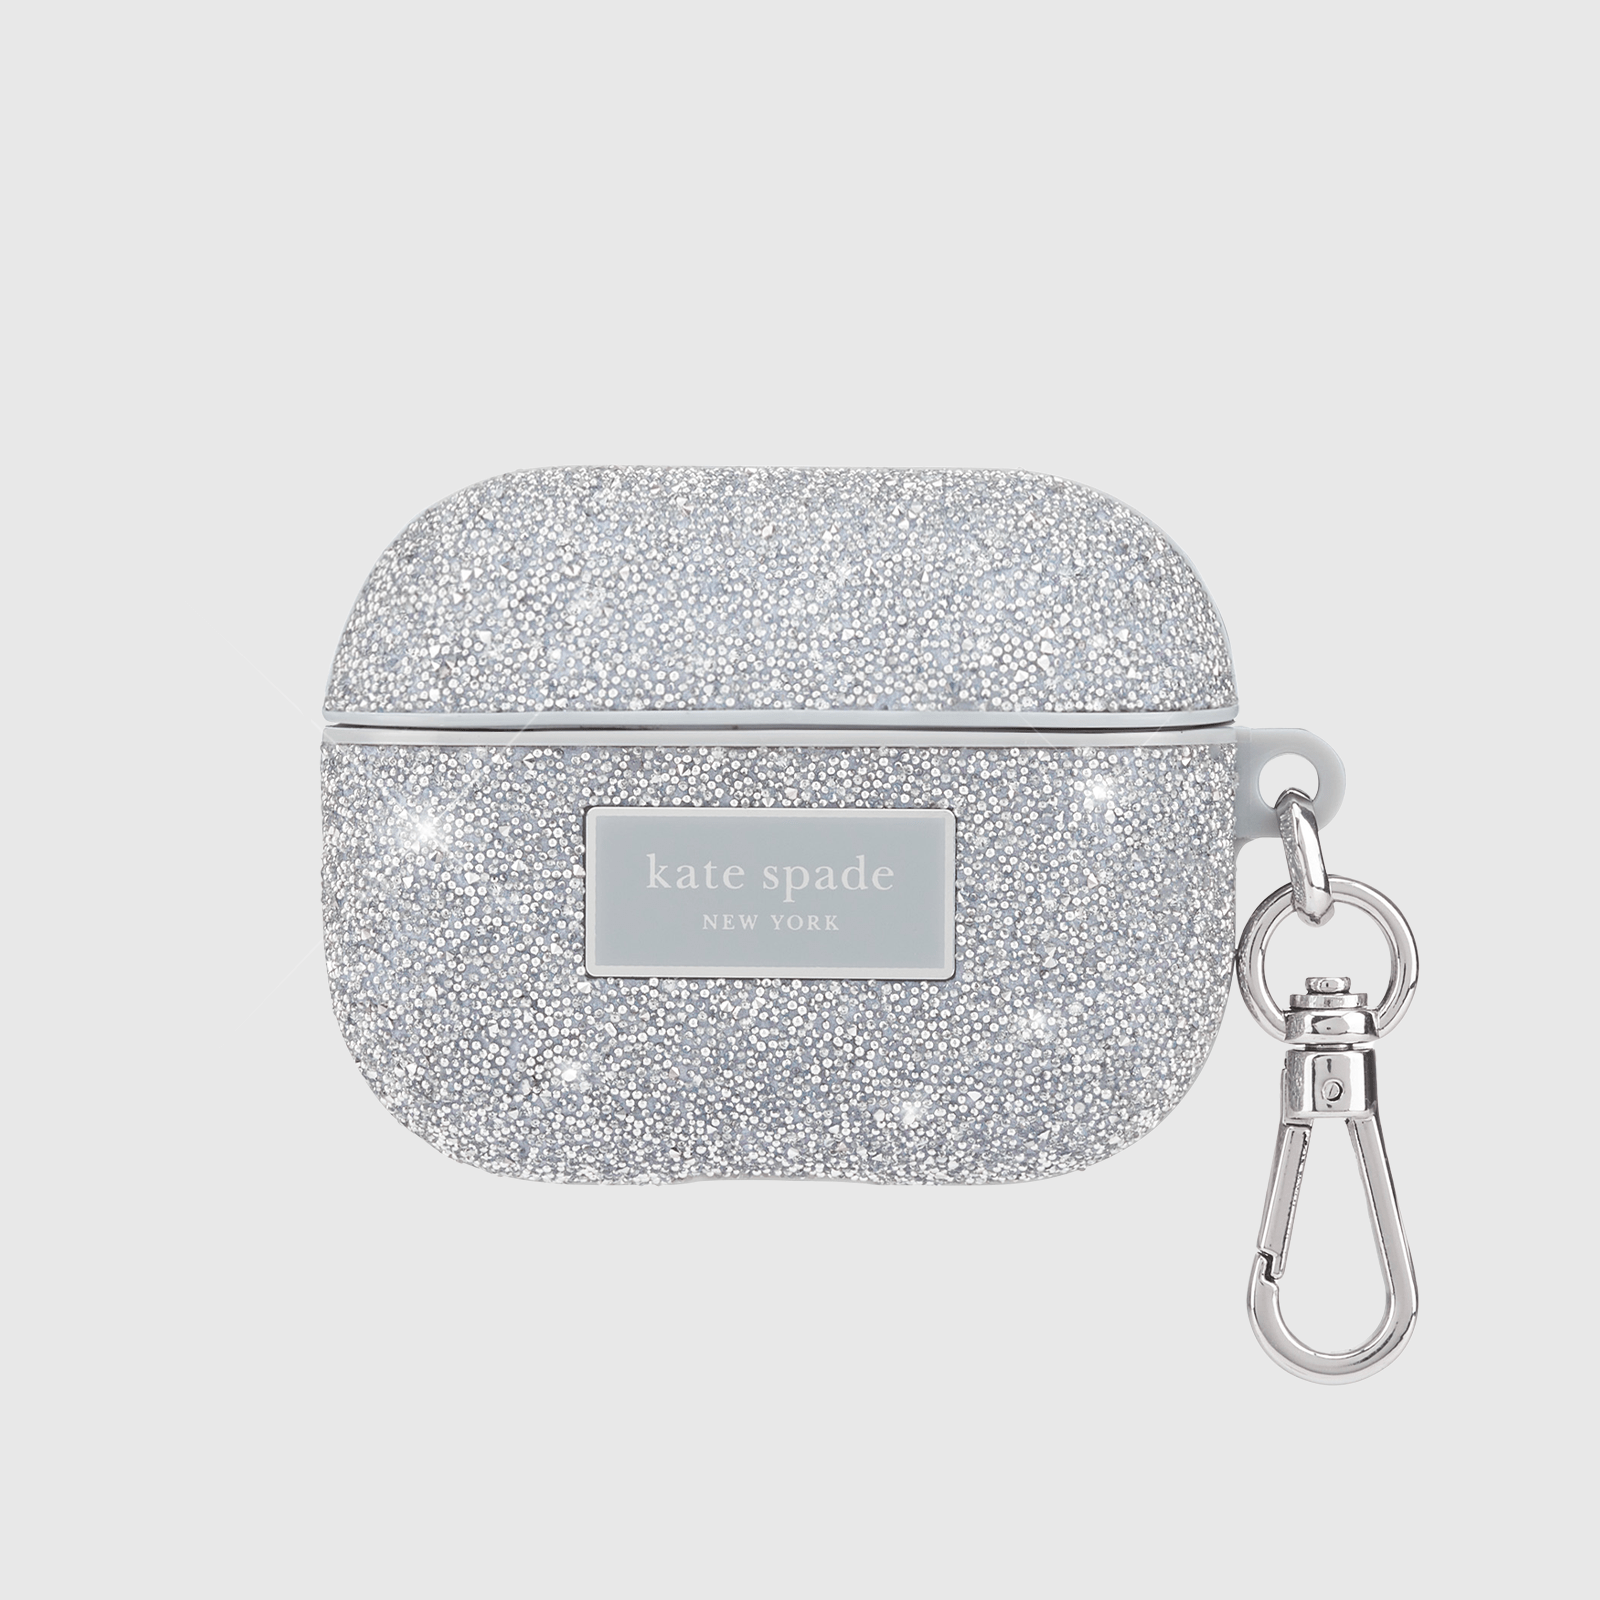
In addition, using AirPod cases or, in the case of AirPods Pro, AirPod Pro cases can help you keep your AirPods protected when they’re not in your ears.
AIRPOD PRO CASES
KEEP YOUR AIRPODS IN YOUR EARS
Among the most important tips and tricks for getting the most out of your AirPods and keeping them lasting for years to come are those for how to keep your AirPods from falling out of your ears.
Image Credits
Vulp/Shutterstock.com


