Cart
Your cart is empty
So you just bought a new Apple Watch and want to accessorize it to your liking. Aside from customizing your watch face design, choosing a stylish band is the next best way to show off your new device and make it yours.
Case-Mate offers a wide range of iPhone cases and AirPods cases, but we also carry several types of Apple Watch bands to get the overall coordinating look you’re going for. Find something you absolutely love? Order it today and elevate your Apple Watch. But one question might be on your mind: How do you swap out your band? In this quick guide, we break down how to change an Apple Watch band, step by step. Don't worry – it’s really easy!
HOW TO REMOVE YOUR APPLE WATCH BAND
Whether you got a stylish Case-Mate Apple Watch band or a replacement for your original band, you will need to remove your existing band from the device to swap it out. Here is how to remove an Apple Watch band.
Step One: Prepare Your Surface and Turn Off the Device
The first step you should take is to prepare your workspace. While your Apple Watch face is made of either a crystal Retina display or Ion-X Glass (Apple Watch Sport), changing your band requires it to be face down, so it’s imperative to perform the following steps on a soft surface to prevent scratches and more. Ideally, use a microfiber cloth that won’t leave lint on the Apple Watch. Also, turn off your Apple Watch so that you are not consistently tapping the face or any buttons as you swap out the band.
Step Two: Locate and Press the Quick Release Button
Next, you will press the quick-release button on the back of your Apple Device. It’s a small, flush button that may seem invisible, so look closely. Your fingertip or fingernail should suffice, but you can also use a hard object if it helps.
Step Three: Slide Out the Band
As you hold down the band release button, slide out the band strap to remove it entirely. It should be rather effortless to slide the band out, so if it seems stuck, ensure you are holding down the release button and give it another try. Repeat this step for each side of the band.
HOW TO ADD A NEW APPLE WATCH BAND
Source: Halfpoint/Shutterstock.com
Now that the old bands are off, it’s time to add your new Apple Watch band. However, keep in mind that you must use a watch strap that is designed for the Apple Watch – not just any watch band!
Step One: Slide Until It Clicks
Slide the new bands in place with the band’s small text facing you. Then, line up the new band with the Apple Watch’s strap slot. Luckily, you don’t have to hold the release button as you slide your new Apple Watch bands onto the sides. However, you should hear a click and feel the band secure into place. Also, it should slip on easily and never be forced.
Step Two: Make Sure the Band Is Secure
The last thing you want to do is strap on your Apple Watch when the bands are not entirely secure. So double-check that each band is tightly in place, giving each a small tug and wiggle to make certain the Apple Watch band connection is secure and will not fall from your wrist.
Step Three: Adjust the Band to Fit Your Wrist
Last, but not least, adjust your new Apple Watch bands to fit your wrist. Ultimately, how you adjust your new band comes down to the brand and model. However, you want to make sure it is good and snug and never so loose to where it can accidentally slide off.
APPLE WATCH BANDS
CASE-MATE APPLE WATCH BANDS
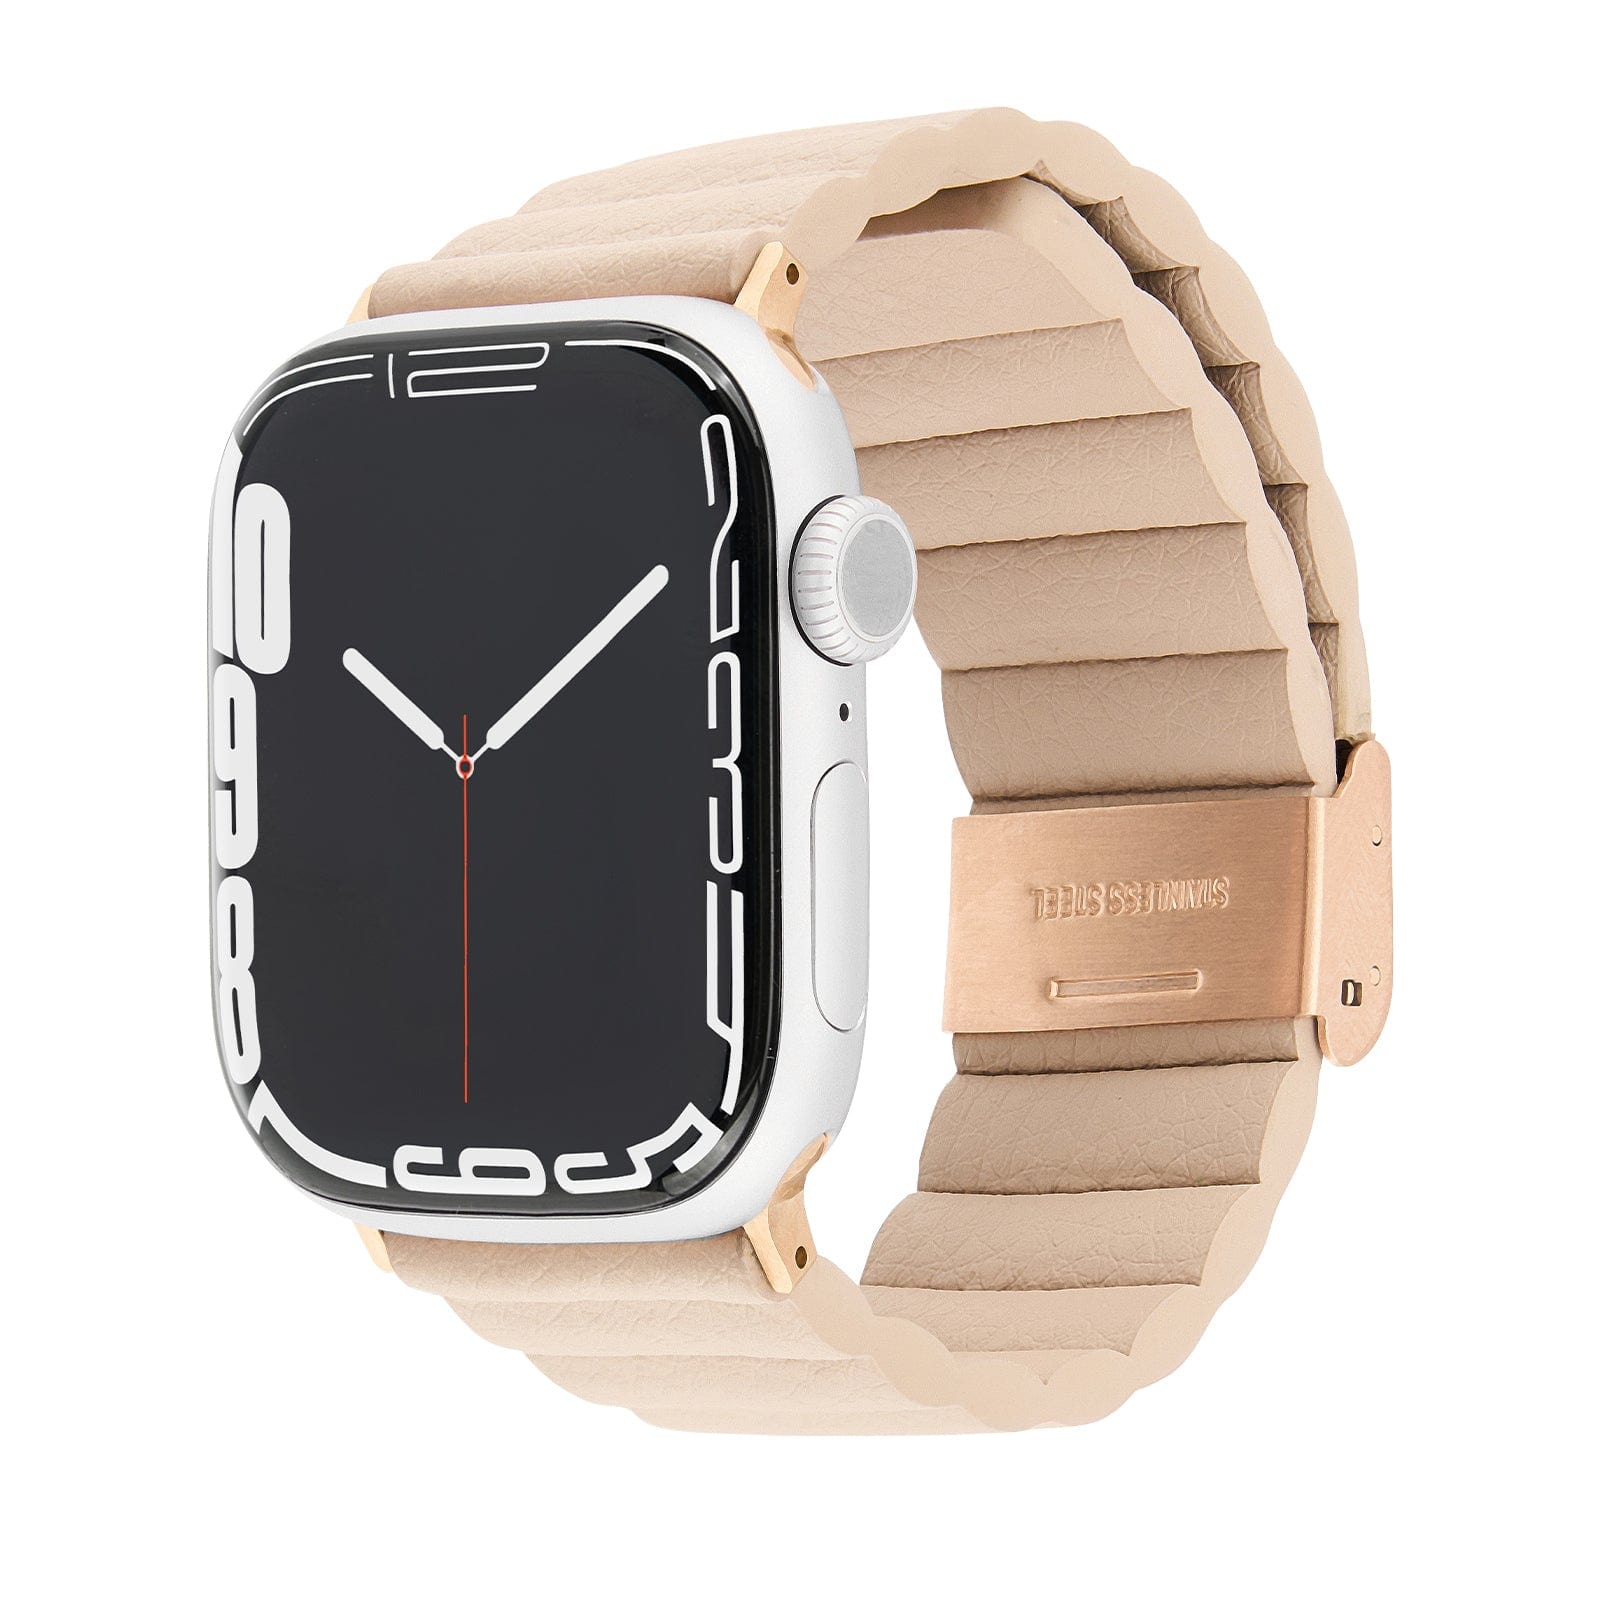
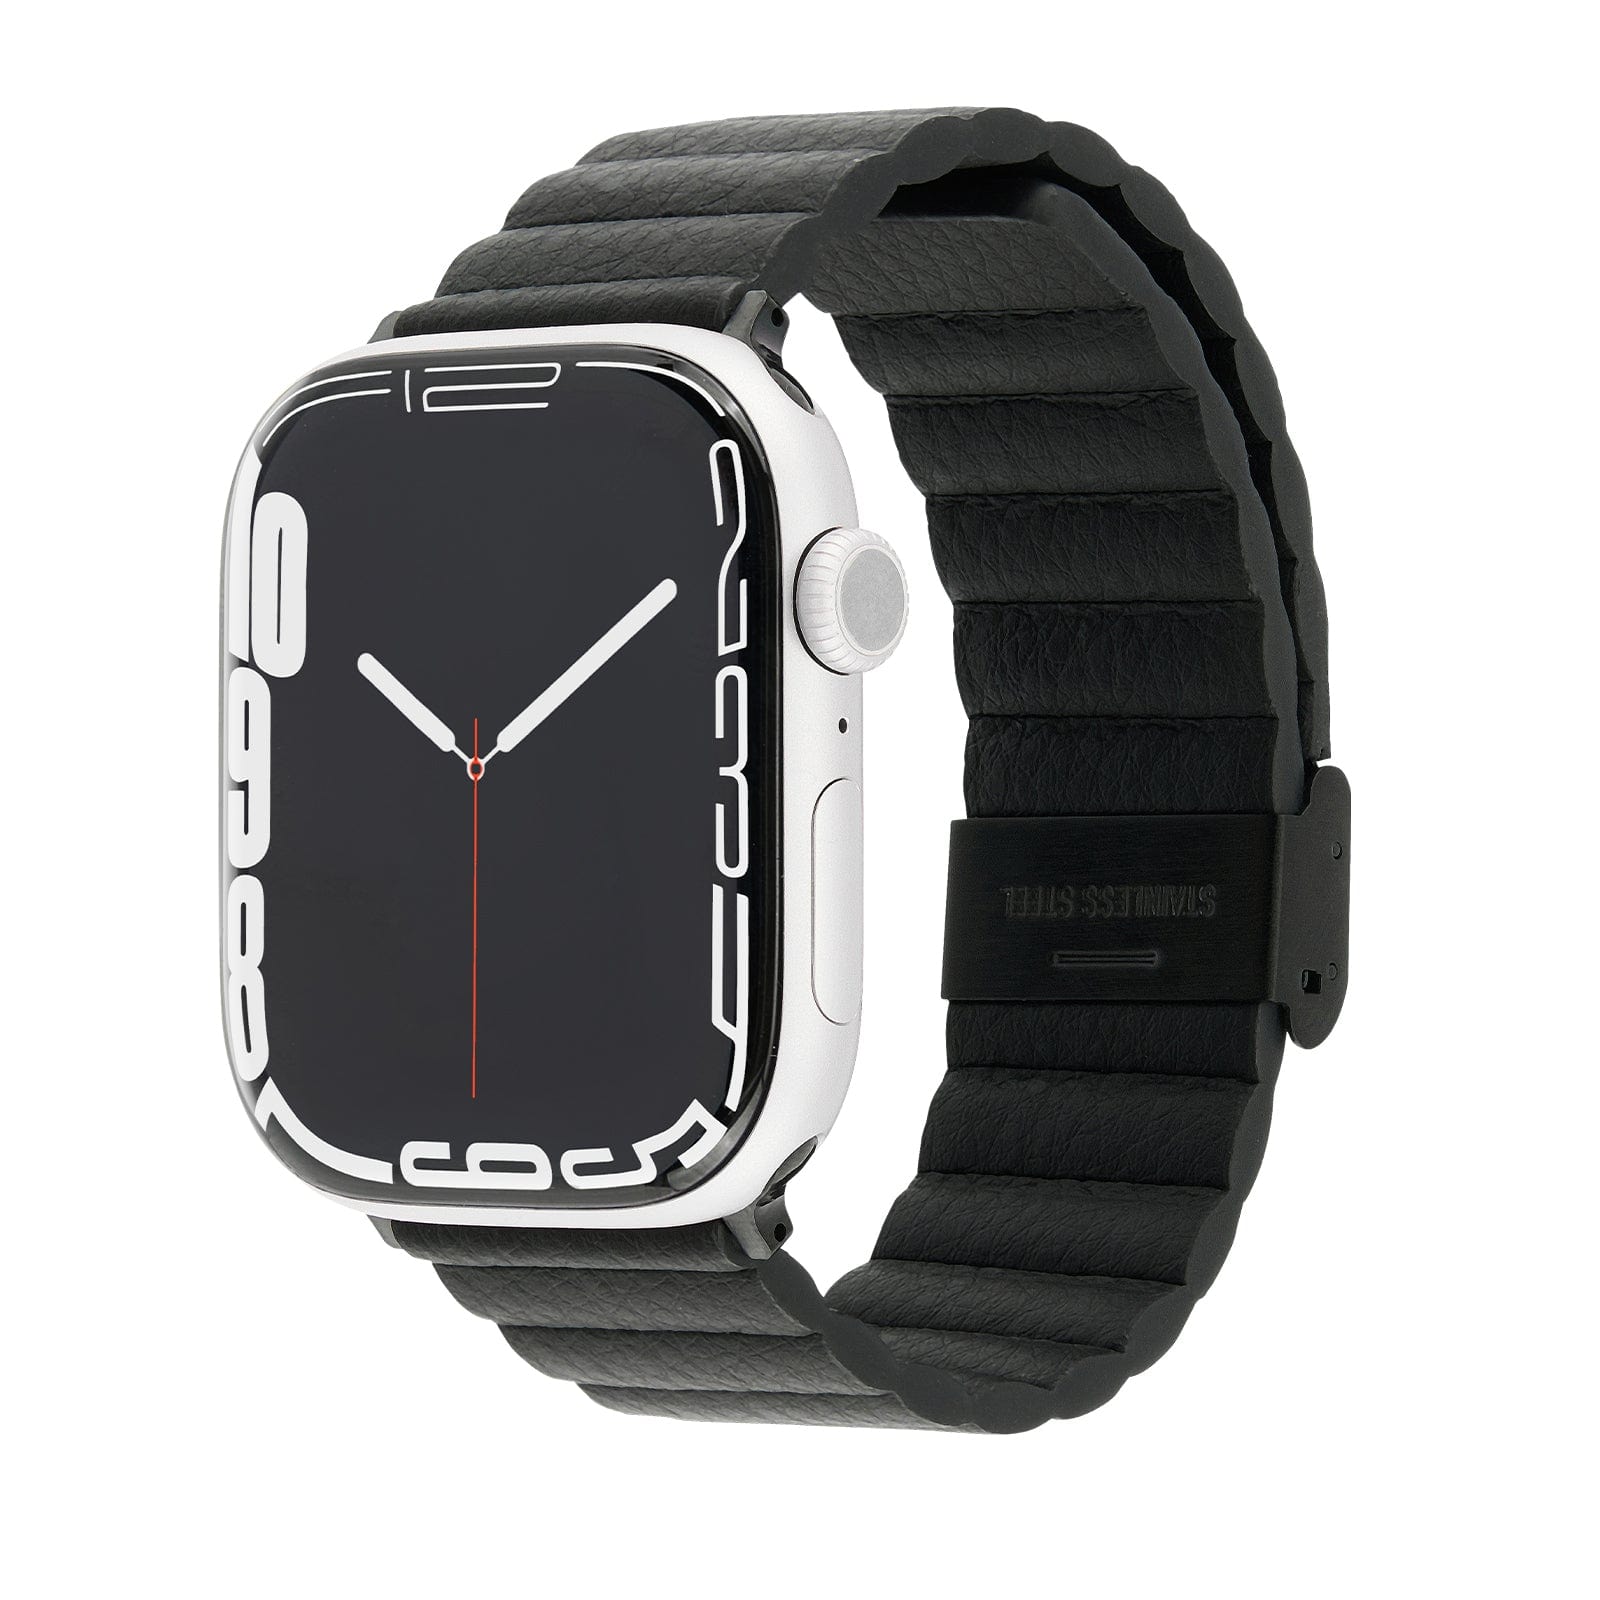
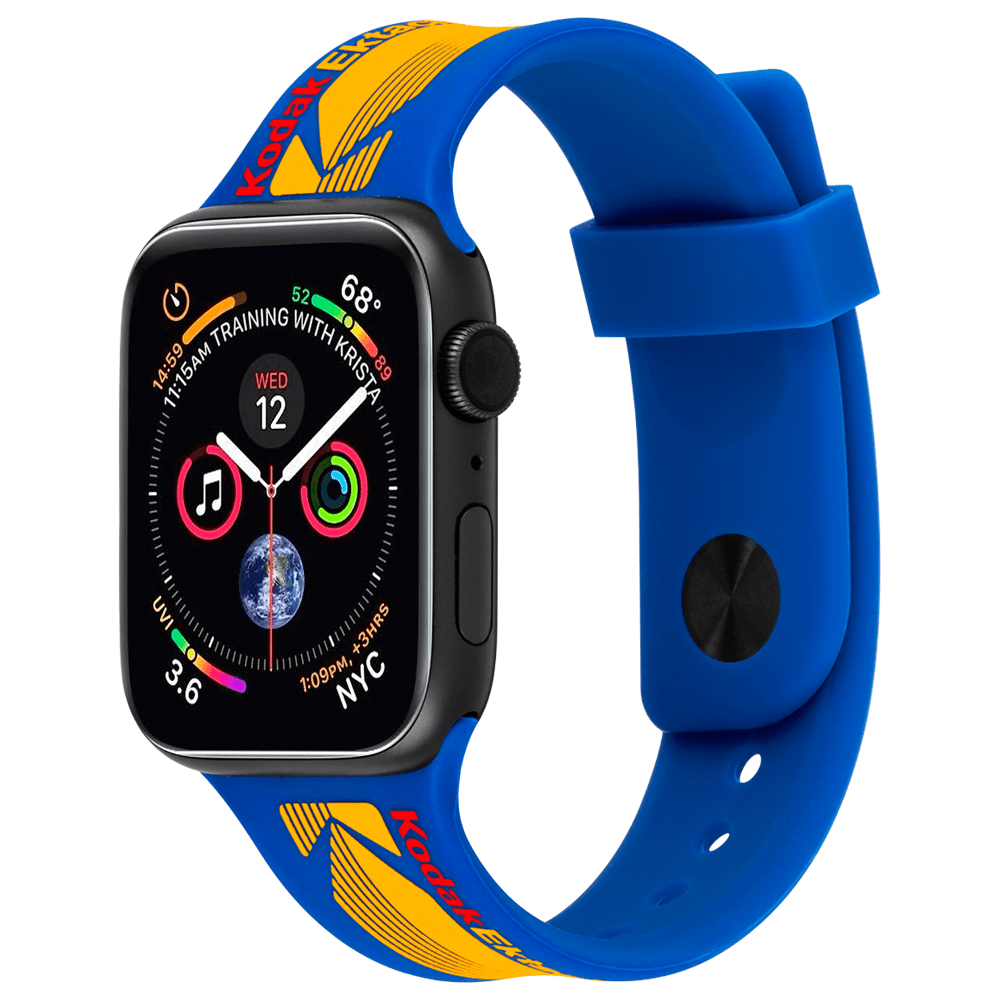
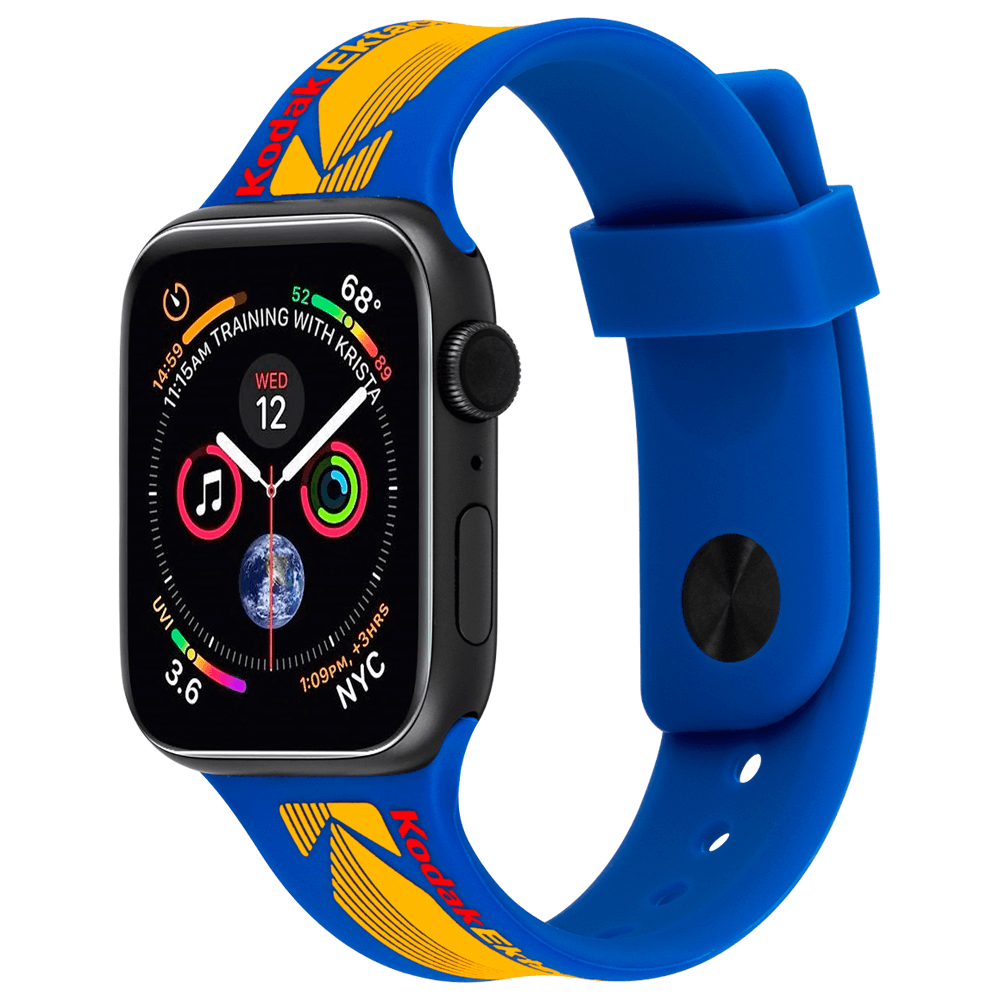
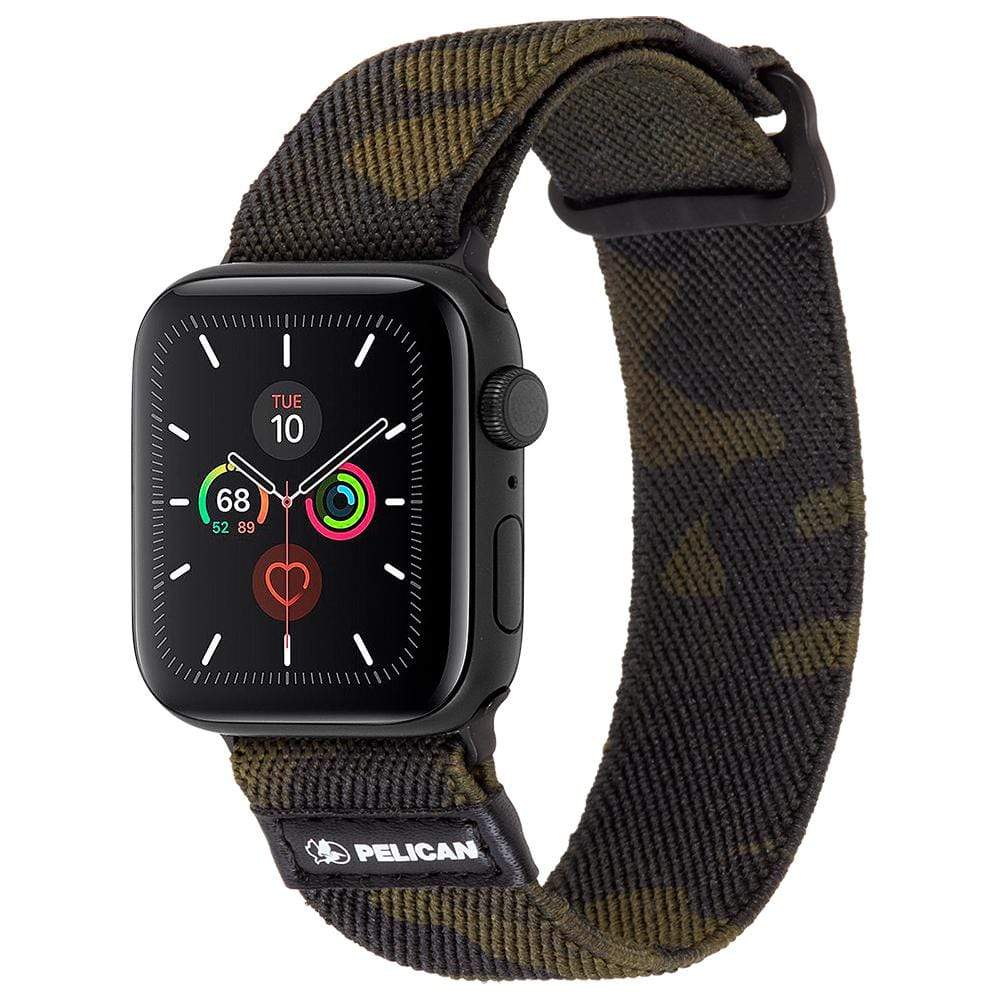
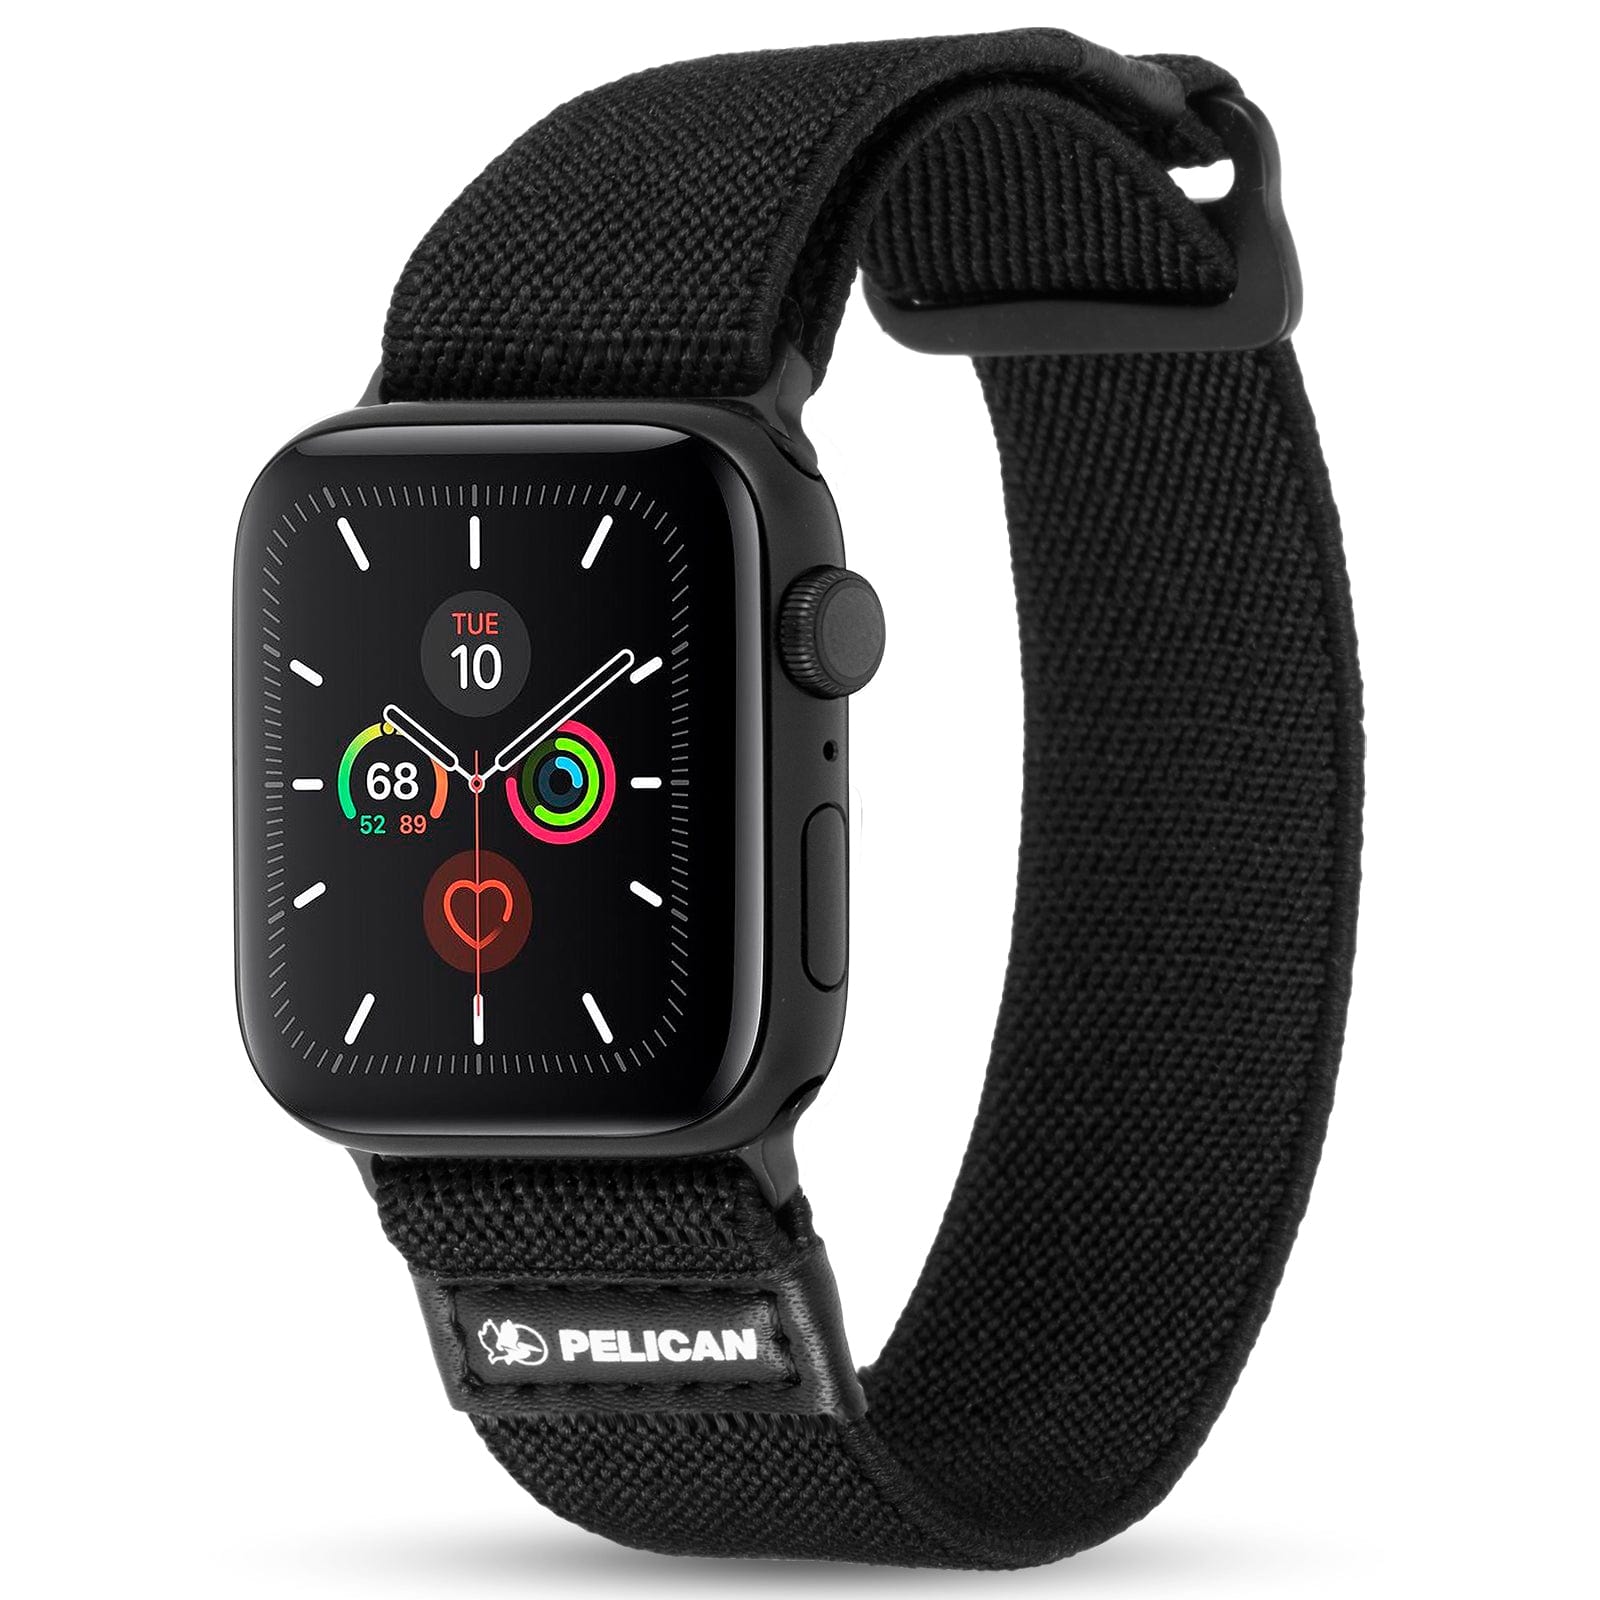
Like the idea of a stylish new Apple Watch band that fits your personality and lifestyle? Case-Mate offers a wide range of Apple Watch bands to suit all tastes. Whether you’re heading to the gym to break a sweat or stepping out on the town with a date, Case-Mate carries a huge collection of cute Apple Watch bands. Choose a stainless steel band with polished inner links or a flexible elastomer band with a colorful and charming print, courtesy of the Rifle Paper Co.
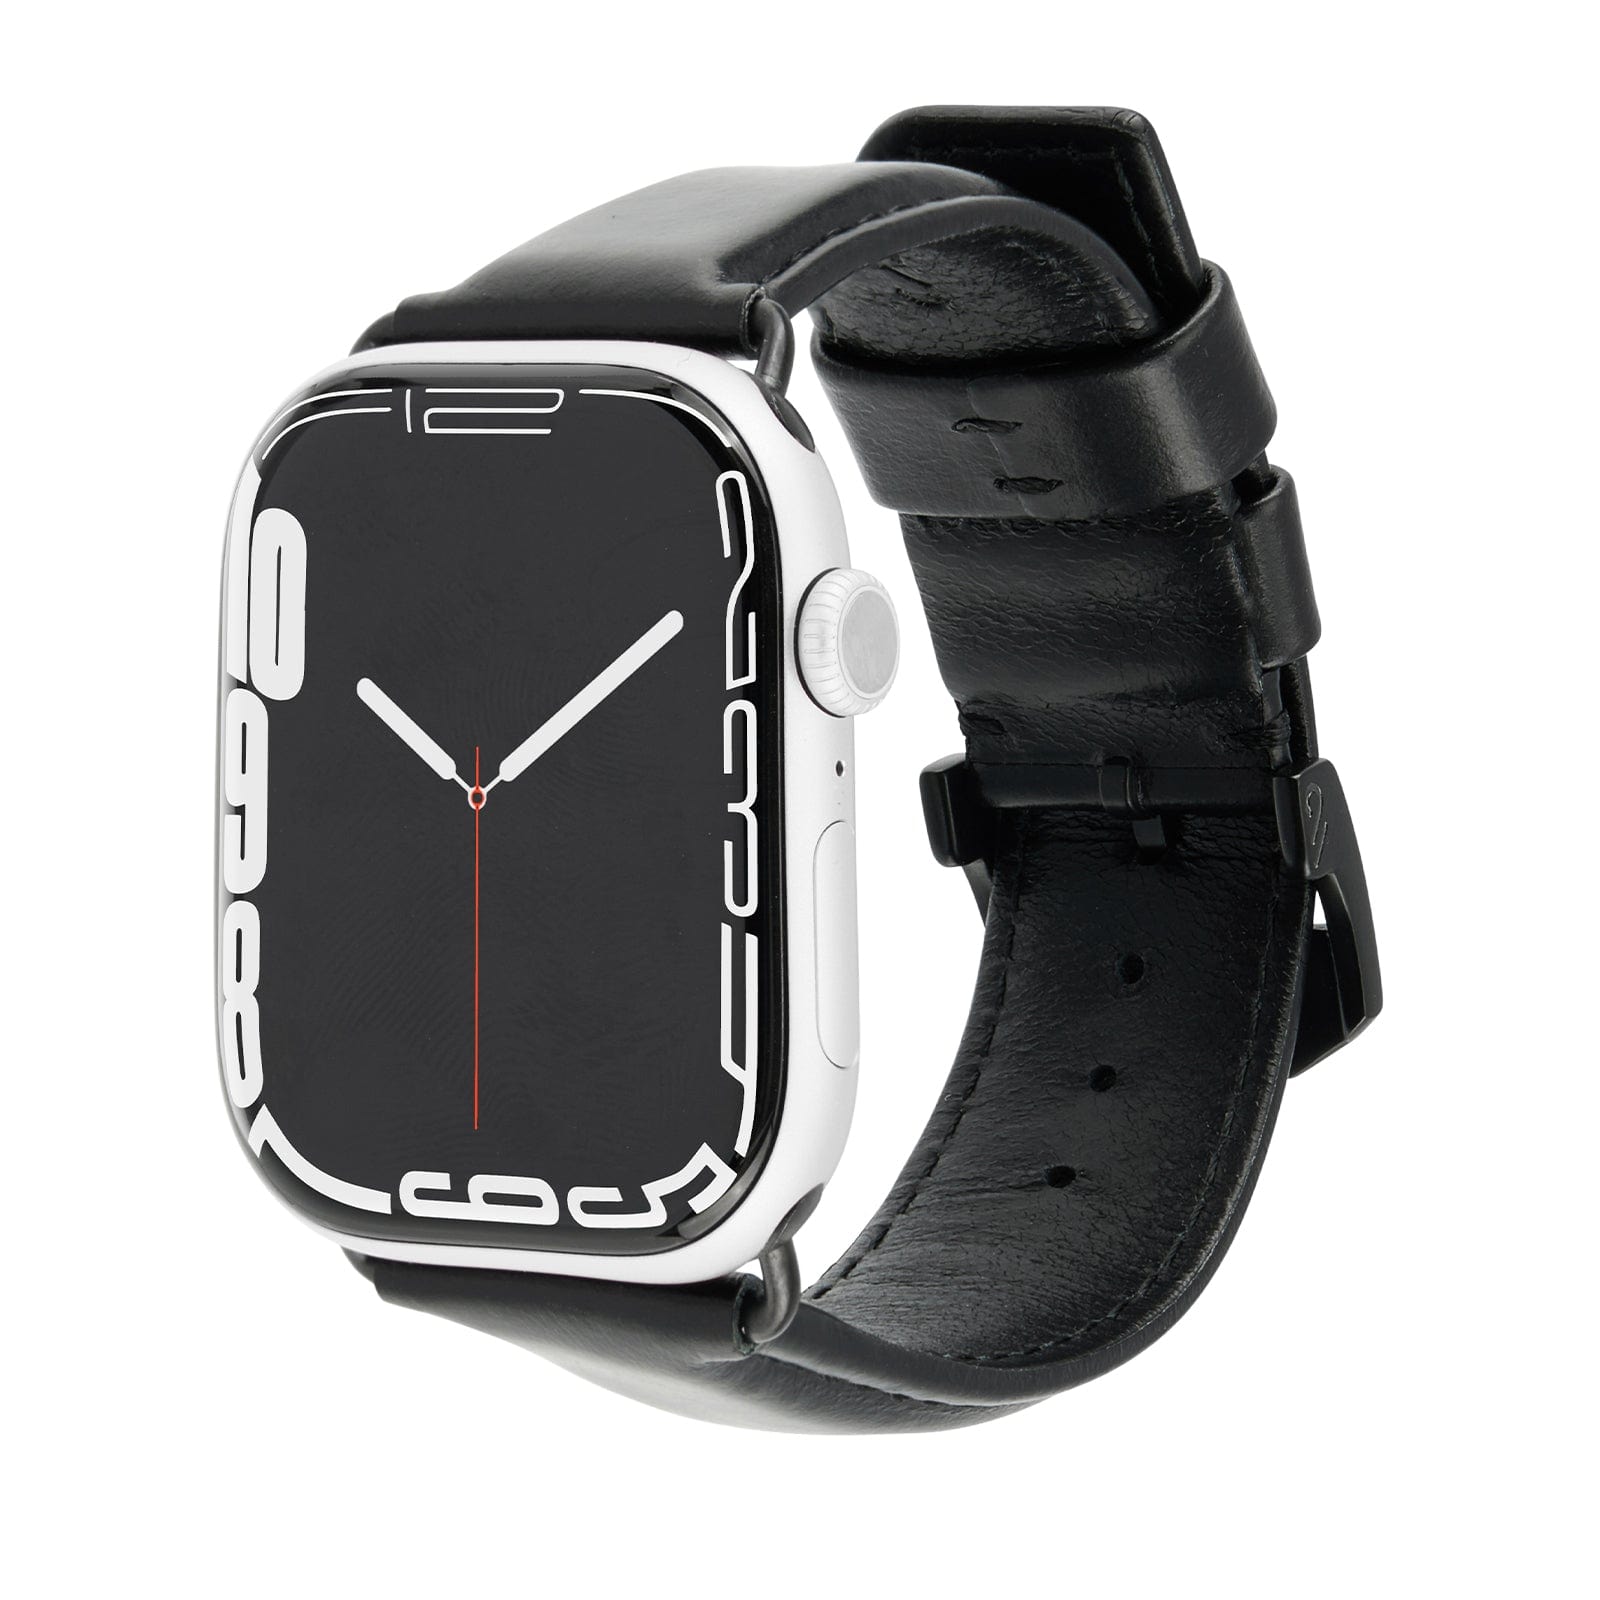
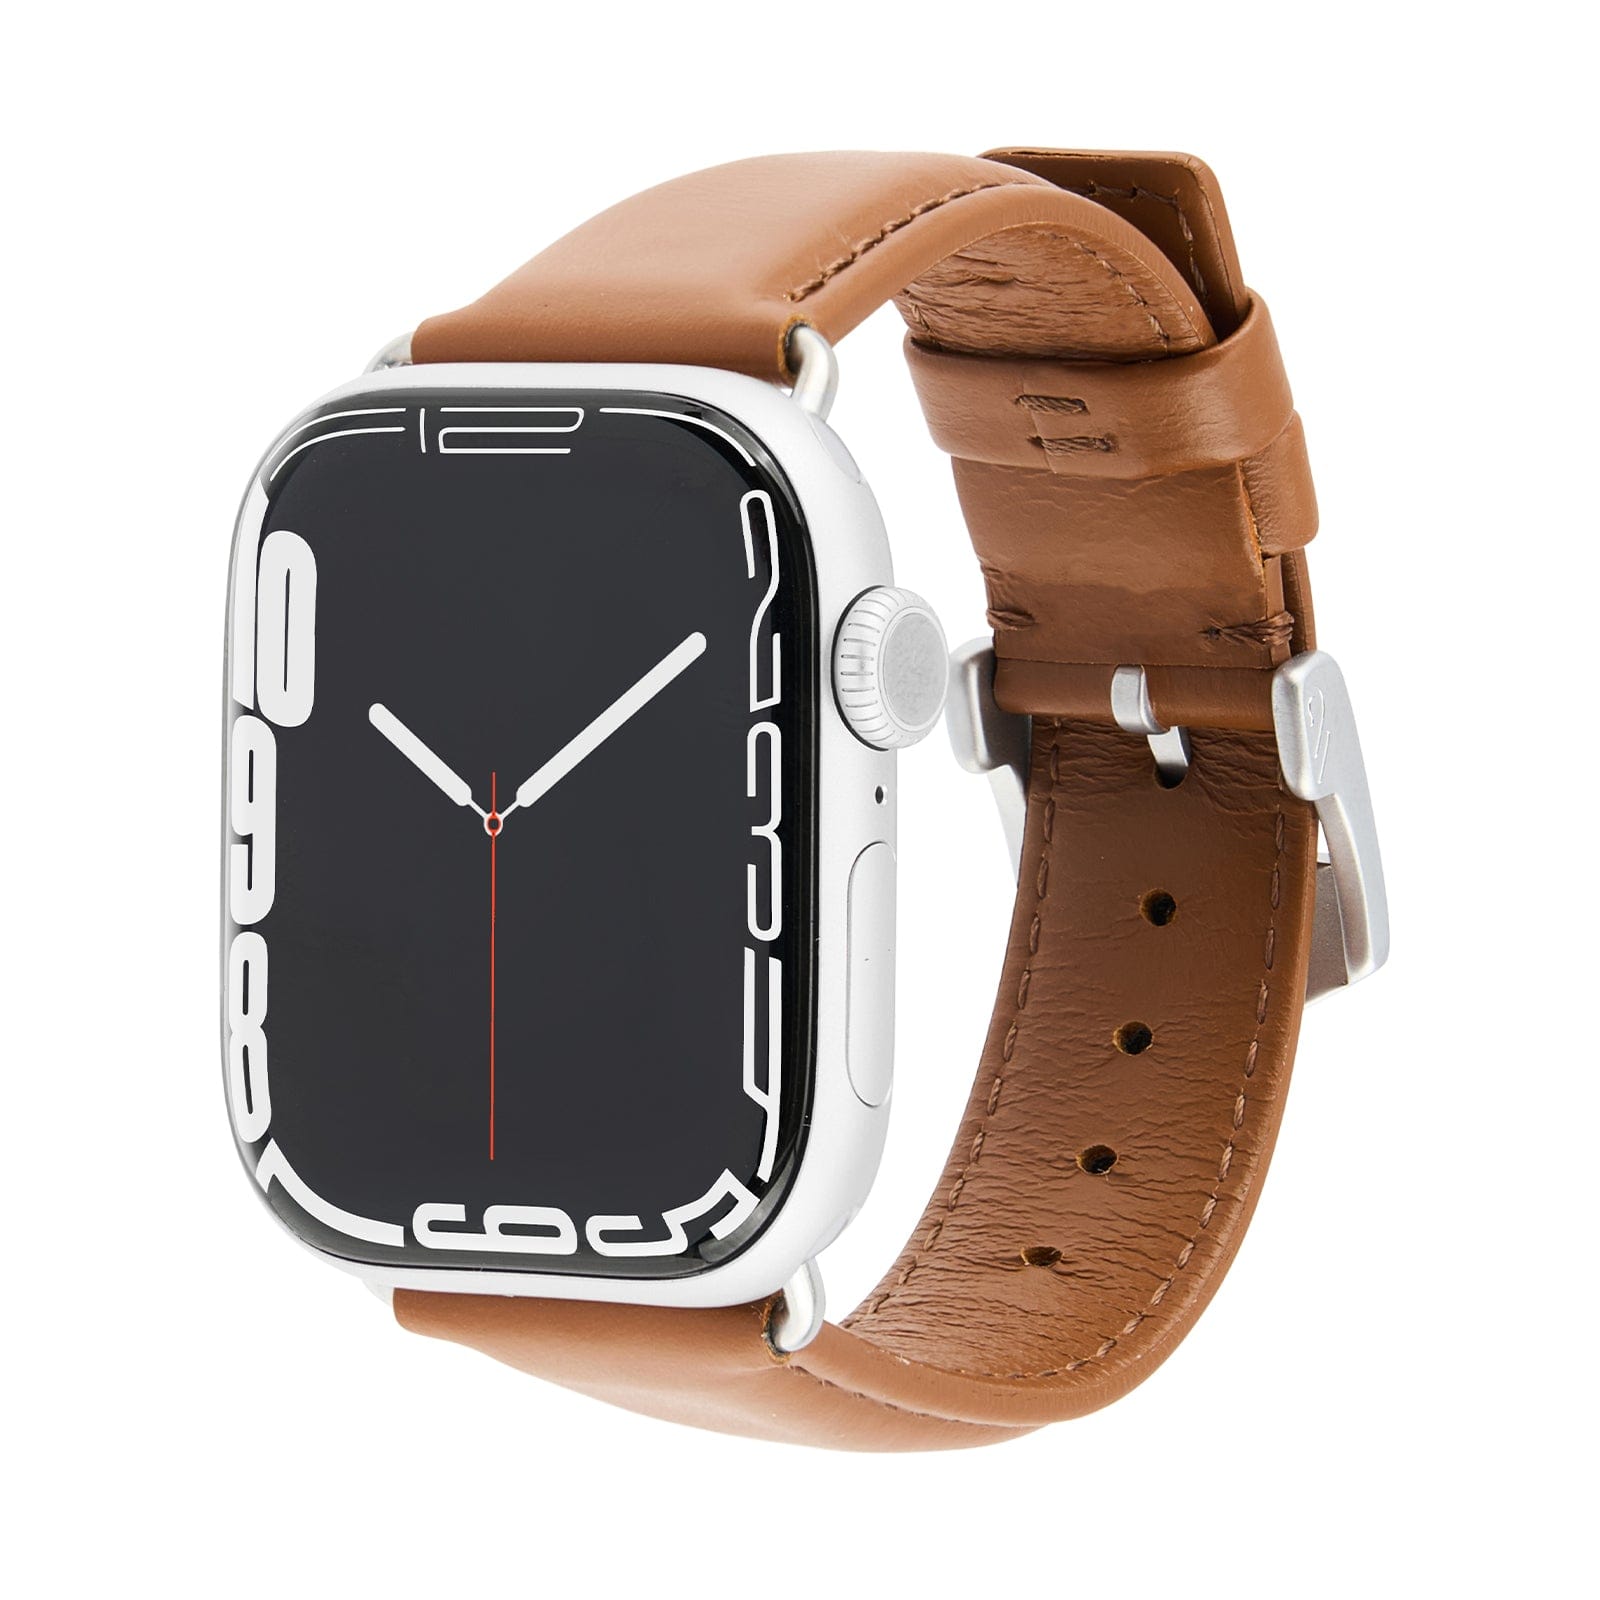
If you are looking for something more professional looking for work or special occasions, explore our leather Apple Watch bands. Our leather bands feature handcrafted signature leather designed with tonal stitching and a logo-engraved clasp. It is also made to fit the 42mm or 44mm Apple Watch Series 1, Series 2, Series 3 and Series 4, Series 6 and SE.
Shop Case-Mate to find the perfect Apple Watch band to fit your lifestyle!


